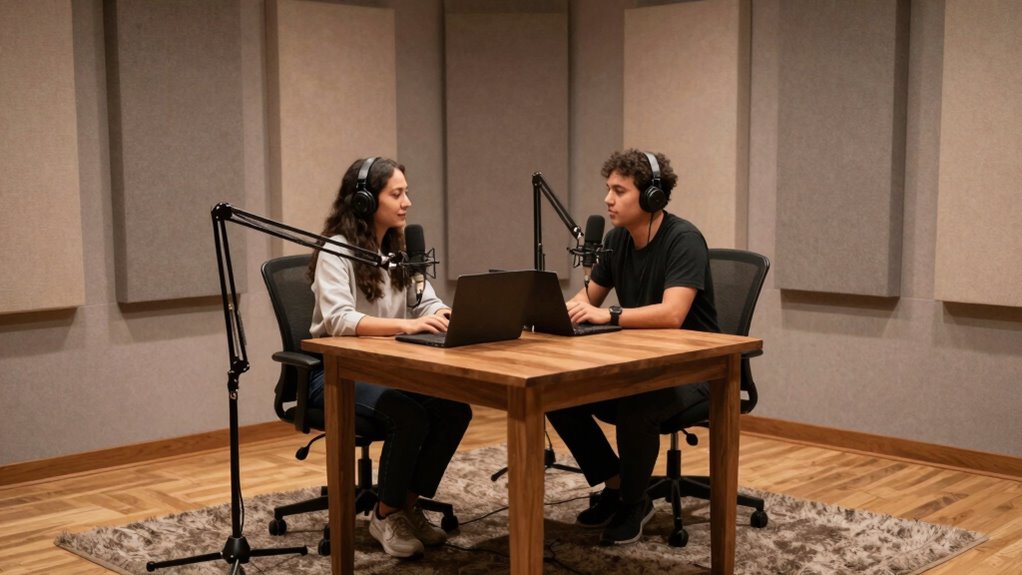

To record two people talking without room echo, use close-miking with dynamic or condenser microphones placed just outside each speaker’s mouth, and position them to minimize reflections. Enhance your space with acoustic panels, foam, or reflection filters to absorb sound. Speak into the mics without loud plosives, and monitor with headphones for adjustments. Recording in a smaller, treated room with a proper setup helps, and post-processing can further clean the audio — keep exploring for detailed tips.
Key Takeaways
- Use close-miking techniques with lavalier or shotgun microphones positioned near each speaker’s mouth.
- Incorporate sound-absorbing materials like foam panels, curtains, and rugs to reduce room reflections.
- Place microphones just outside speakers’ mouths to minimize plosive sounds and harsh sibilance.
- Record in a smaller, acoustically treated room to minimize echo and reverberation.
- Apply post-processing tools such as noise reduction, equalization, and de-essing to clean up room echo.
dynamic microphone for voice recording
As an affiliate, we earn on qualifying purchases.
As an affiliate, we earn on qualifying purchases.
Choose the Best Microphones to Capture Clear Voices

Choosing the right microphones is crucial for capturing clear voices when recording two people. Your choice of microphone types directly impacts voice clarity and overall sound quality. For vocals, dynamic microphones are durable and handle loud sounds well, making them ideal for lively conversations. Condenser microphones, on the other hand, offer greater sensitivity and detail, capturing subtle nuances in each voice. Lavalier mics are perfect for hands-free recording and can be discreetly clipped onto clothing, providing consistent voice clarity. Shotgun microphones are excellent for focusing on sound sources from a distance, reducing background noise. Selecting the appropriate microphone types ensures that each voice is captured crisply and clearly, minimizing the need for extensive post-production corrections. Your choice greatly influences the quality of your recording. Additionally, understanding microphone placement can significantly enhance sound clarity by minimizing room echo and background noise. Proper placement can also help avoid issues related to room echo, ensuring a more natural and professional sound. Employing soundproofing techniques around your recording area can further improve clarity by reducing unwanted ambient noise.
acoustic foam panels for soundproofing
As an affiliate, we earn on qualifying purchases.
As an affiliate, we earn on qualifying purchases.
Optimize Your Room to Minimize Echo and Reverberation
To reduce echo and reverberation, start by adding soft, absorptive materials like carpets or foam panels to your room. You should also consider controlling room dimensions and arranging speakers to minimize sound reflections. These adjustments help create a cleaner recording environment with clearer dialogue. Additionally, using acoustic treatments such as bass traps or diffusers can further improve sound quality by managing reflections more effectively. Incorporating sound absorption materials in strategic locations can significantly enhance overall audio clarity and reduce unwanted echoes. Being mindful of room acoustics can also contribute to a more balanced sound environment, ensuring that recordings sound natural and professional. Implementing proper measurement tools can help you assess and optimize your room setup for the best acoustic results. Properly assessing your room’s acoustic properties allows for targeted adjustments that can make a substantial difference in sound quality.
Use Soft, Absorptive Materials
Soft, absorptive materials are essential for reducing echo and reverberation in your recording space. They help dampen reflected sound waves, creating a clearer recording environment. Using items like soundproof curtains can block sound from bouncing around, while acoustic foam panels absorb sound energy directly. Place these materials strategically around your room, especially at reflective surfaces. Here’s a quick overview:
| Material | Purpose |
|---|---|
| Soundproof curtains | Minimize sound reflections |
| Acoustic foam panels | Absorb mid to high frequencies |
| Rugs and carpets | Reduce floor echo |
| Upholstered furniture | Absorb sound and soften reflections |
Incorporating these soft, absorptive materials transforms your space into a controlled recording environment, free of distracting echoes. Additionally, acoustic treatment can further enhance sound quality by reducing unwanted reverberations. Properly room layout and positioning of these materials are crucial for maximum effectiveness. To optimize your setup, consider soundproofing techniques that help contain sound within your recording area and prevent external noise from interfering. Employing sound absorption principles ensures a more natural and intelligible recording. Furthermore, experimenting with material placement can help you find the most effective configuration for your specific space.
Control Room Dimensions
Have you ever noticed how small, cramped rooms tend to sound more echoey than larger spaces? Your room dimensions directly impact the amount of echo and reverberation. To minimize room echo, aim for a balanced size—not too small, not overly large. Larger rooms can reduce echo but may require more acoustic treatment. Conversely, small rooms tend to trap sound, creating unwanted reflections. Consider adding acoustic treatment like bass traps, diffusers, and absorptive panels to improve sound quality. Properly controlling room dimensions helps prevent sound waves from bouncing excessively, making your recordings clearer. Additionally, understanding room acoustics can help you make informed choices about your space and treatment options. Adjusting the room size and shape can also contribute significantly to sound clarity, especially when combined with effective acoustic treatments. Paying attention to sound reflection and how it interacts with your space is also essential for achieving optimal audio clarity. Moreover, being aware of sound waves and their behavior within your environment can guide you in choosing the best room setup for recording. Carefully managing reflections and reverberation is key to creating an ideal recording environment.
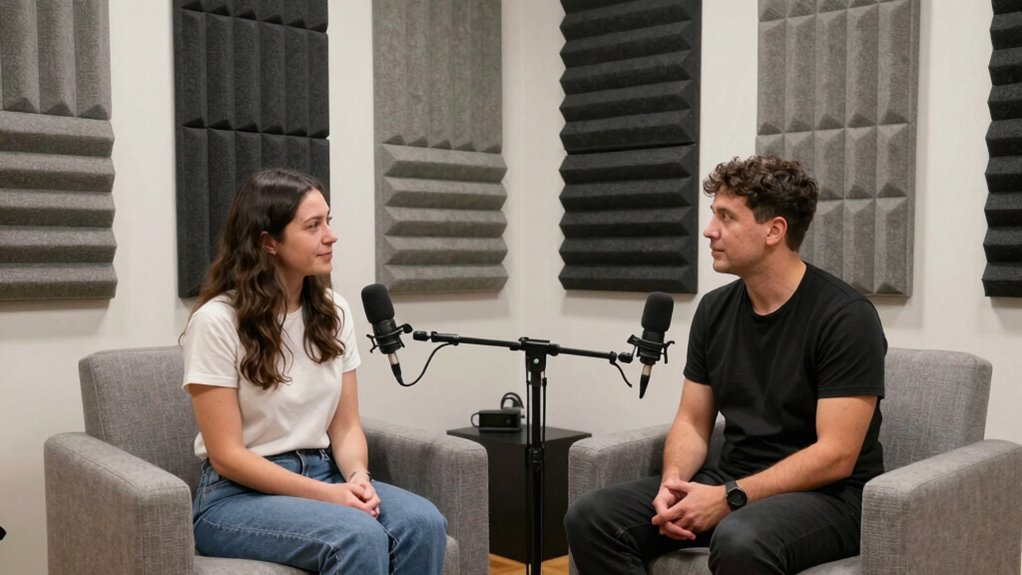
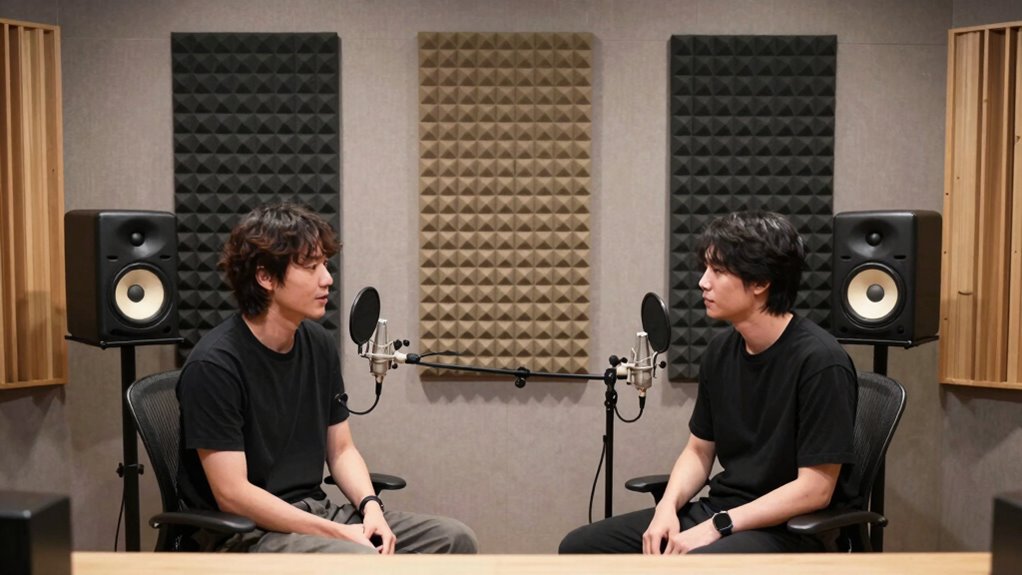
Arrange Speakers Strategically
Strategic speaker placement can substantially reduce room echo and reverberation, making your recordings sound clearer and more professional. To achieve this, position your speakers away from reflective surfaces like walls, windows, or large furniture, and aim for a more central location in the room. Keep the speakers at ear level and avoid placing them directly against the walls. Additionally, pay close attention to microphone positioning; place your mics closer to the speakers and slightly off-axis to minimize capturing echo. Experiment with angles and distances to find the most suitable setup that reduces reflection and emphasizes direct sound. Proper speaker placement combined with thoughtful microphone positioning is key to creating a clean, echo-free recording environment. Room acoustics also play a crucial role in controlling echo, so consider adding sound-absorbing materials to further improve audio quality. Using acoustic treatments like panels or diffusers can significantly enhance your recording space by reducing unwanted reverberations. Understanding sound reflection principles can help you make more informed choices for your room setup and acoustic treatments, especially when integrating aromatherapy spaces to create a soothing environment. Incorporating room dimensions awareness can further optimize your setup, ensuring minimal sound distortion and clearer recordings.
lavalier microphone for interviews
As an affiliate, we earn on qualifying purchases.
As an affiliate, we earn on qualifying purchases.
Position Microphones Correctly and Speak to Reduce Room Sound

To minimize room echo when recording two people talking, proper microphone placement and encouraging clear speaking are essential. Position microphones close to each speaker, ideally just outside their mouths, to capture direct sound and reduce ambient noise. Use the correct microphone technique, like keeping the mic slightly off-axis from the mouth, to avoid plosive sounds and sibilance. Remind your speakers to speak clearly and directly into the mic, avoiding unnecessary movement. Consistent speaking distance helps maintain even audio levels and reduces room sound pickup. Adjusting microphone placement based on room size and acoustics ensures you record clear voices with minimal echo. Focusing on these microphone placement tips and speaking techniques will notably improve your recording quality and diminish room reverberation.
soundproof reflection filter
As an affiliate, we earn on qualifying purchases.
As an affiliate, we earn on qualifying purchases.
Add Acoustic Panels and Reflection Filters to Cut Reverb
Adding acoustic panels and reflection filters directly addresses the issue of room echo by controlling how sound interacts with the environment. You can place acoustic foam panels on walls to absorb sound waves and reduce reverb, creating a clearer recording. Reflection filters, often positioned behind microphones, help block sound reflections from bouncing off surfaces. For added soundproofing, consider using soundproof curtains around your recording area; these curtains trap sound and prevent it from reflecting back into the room. Combining acoustic foam panels with reflection filters ensures that unwanted reverberations are minimized, resulting in a more direct and natural sound. This setup helps you achieve professional-quality recordings without the need for extensive room modifications.
Record With a DAW and Use Noise Reduction in Post-Production
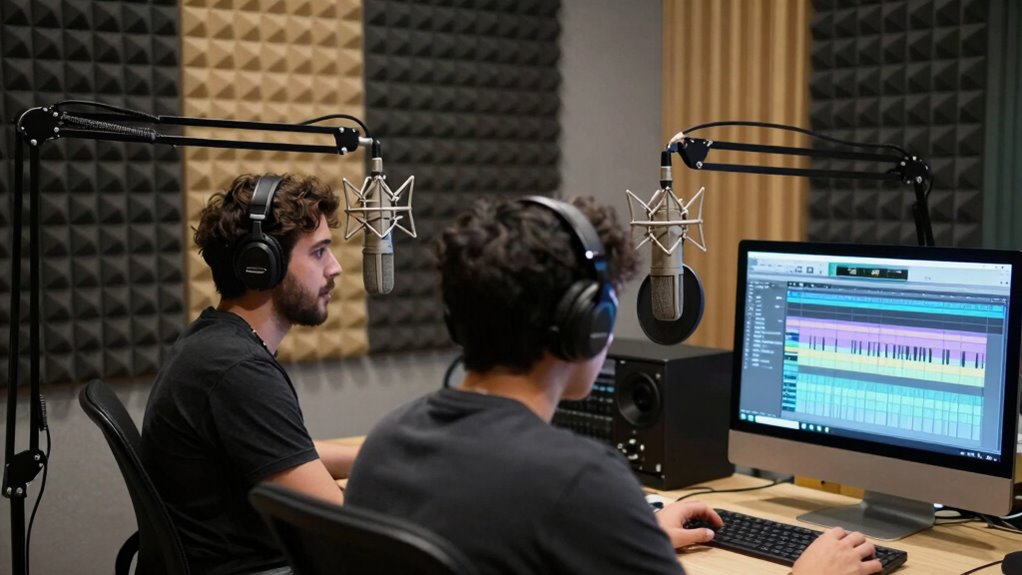
Recording with a Digital Audio Workstation (DAW) allows you to capture high-quality sound directly from your microphone while giving you the flexibility to control and refine your audio afterward. To improve clarity, focus on microphone placement, ensuring each voice is isolated. Use your DAW’s noise reduction tools during post-processing to minimize ambient sounds and room echo. Apply filters like noise gates and spectral editing to clean up recordings effectively. Here’s a quick overview:
| Technique | Benefit | Example Tools |
|---|---|---|
| Proper microphone placement | Reduces unwanted room reflections | Position close to speakers |
| Noise reduction plugins | Eliminates background noise | iZotope RX, Audacity |
| Equalization | Enhances voice clarity | EQ filters |
| De-essing | Reduces harsh sibilance | De-esser plugins |
These post-processing techniques help achieve professional, echo-free recordings.
Record Shorter Takes and Edit Out Room Echo Effectively

Capturing shorter takes can considerably reduce the buildup of room echo and make editing easier. When you record in brief segments, you maintain better control over dialogue pacing, ensuring conversations stay natural and engaging. Short takes limit the amount of room reverberation captured, making it simpler to isolate and remove echo during content editing. This approach allows you to focus on clean audio segments, reducing the need for extensive post-production work. If you notice room echo creeping in, you can easily trim or re-record specific takes without affecting the overall flow. Consistently recording shorter takes also speeds up your editing process, giving you more precise clips to work with and ensuring your final audio sounds clear and professional.
Test Your Setup and Make Final Adjustments Before Recording

Have you tested your equipment and environment thoroughly before hitting record? It’s essential to test your setup to guarantee everything functions correctly. Check microphone placement, levels, and connections to prevent issues during recording. Listen carefully to the sound quality, making sure there’s no unexpected noise or distortion. Make final adjustments to microphone angles, gain settings, and positioning to optimize clarity and minimize room echo. Use headphones to monitor your audio in real-time and catch any problems early. Confirm that your recording device captures clean, balanced sound from both speakers. Taking these steps helps avoid surprises later and guarantees your final recording sounds professional. Don’t rush this process—testing your setup and making final adjustments now saves time and frustration during editing.
Use Reflection Filters and Portable Booths for Better Sound Isolation

After ensuring your equipment is properly set up and adjusted, the next step is to improve sound isolation to reduce room echo and background noise. Reflection filters are excellent tools that surround your microphone, absorbing unwanted sound reflections and preventing them from bouncing around the room. Portable booths provide a dedicated space that minimizes echo and external noise, making your recordings clearer. Use reflection filters to create a controlled environment without building permanent soundproofing. Portable booths are ideal if you need mobility or don’t want to alter your room permanently. Consider these options to enhance sound quality:
Enhance your recording environment with reflection filters and portable booths for clearer sound.
- Attach reflection filters directly to your microphone stand
- Place portable booths around your recording area
- Combine both for maximum sound isolation and echo reduction
Frequently Asked Questions
Can I Record Two People on One Microphone Without Losing Sound Quality?
Yes, you can record two people on one microphone without compromising sound quality by carefully adjusting microphone placement and using proper room treatment. Position the mic closer to the speakers and direct it to capture their voices clearly, minimizing background noise. Also, treat the room with sound-absorbing materials like foam or blankets to reduce echo. This setup helps ensure each voice is distinct and maintains high audio quality.
What Are the Best Settings for Noise Reduction Software?
Like a trusty old gramophone, your noise reduction software needs the right settings. Set your noise reduction level to gently remove background sounds without making voices sound hollow. Adjust sensitivity based on room acoustics, ensuring the software targets consistent noise. Proper microphone placement minimizes echo, so position mics close to speakers. Balance attenuation and frequency smoothing to keep dialogue clear and natural, avoiding over-processing that introduces artifacts.
How Do I Prevent Microphone Bleed Between Speakers?
To prevent microphone bleed between speakers, focus on proper mic placement and room acoustics. Keep each mic close to its respective speaker to minimize pickup of the other’s voice. Use directional microphones like cardioids to reduce spill. Additionally, improve room acoustics with sound-absorbing materials, carpets, and panels to dampen reflections. These steps help isolate each voice, ensuring clearer recordings with less bleed and echo.
Is It Better to Record in a Small or Large Room?
A cozy, well-treated room suits recording best, as it minimizes unwanted reflections and echoes. Larger rooms can be charming but often introduce more room sound, making it harder to capture clear dialogue. Focus on room size and acoustic treatment; small, treated spaces help control sound, while large rooms may need extra soundproofing. Choose a space that balances size and acoustic quality, ensuring your recordings stay crisp and natural.
How Can I Monitor Sound Levels Effectively During Recording?
To monitor sound levels effectively during recording, use sound level meters for real-time monitoring. Keep an eye on the meters to guarantee levels stay within an ideal range, avoiding distortion or quietness. Adjust your microphone placement or input levels as needed. Regularly check the meters throughout the session to maintain consistent audio quality, and consider using headphones to listen for any sudden changes or issues in sound levels.
Conclusion
So, there you have it—your foolproof plan to turn your living room into a professional studio, minus the fancy soundproofing. Just follow these tips, and you’ll be the star of podcasts and interviews without sounding like you’re recording inside a cave. Who knew that a few microphones, some acoustic panels, and a bit of patience could make your neighbors jealous of your sound quality? Happy recording—now go make those echoes jealous!