
To fix shaky videos effectively, combine hardware tools like gimbals or stabilizers with software solutions such as professional stabilization programs and mobile apps. Use stable filming techniques—keep your elbows close and move slowly—and consider post-production stabilization to smooth out remaining jitters. The best method depends on your needs and budget, whether quick fixes with apps or high-quality hardware. Keep exploring how to achieve steady footage that looks professional and polished.
Key Takeaways
- Use hardware stabilization tools like gimbals, steadicams, or tripods during filming for real-time shake reduction.
- Apply professional or mobile software stabilization in post-production to smooth out jitters and minor shake.
- Practice proper filming techniques, such as keeping elbows close and moving smoothly, to prevent shake from the start.
- Incorporate environmental awareness and stable surfaces to minimize external instability factors.
- Choose stabilization methods based on budget and needs, combining hardware, software, and good filming habits for best results.

hohem iSteady X3 SE Gimbal Stabilizer for iPhone, Phone Stabilizer with Detachable Remote Control, Portable Foldable 3-Axis Phone Gimbal for Android & iPhone 16 15 Pro Max, Ideal for Travel Vlogging
Detachable Remote Controller: The hohem iSteady X3 SE Gimbal comes with a detachable magnetic remote, allowing you to…
As an affiliate, we earn on qualifying purchases.
As an affiliate, we earn on qualifying purchases.
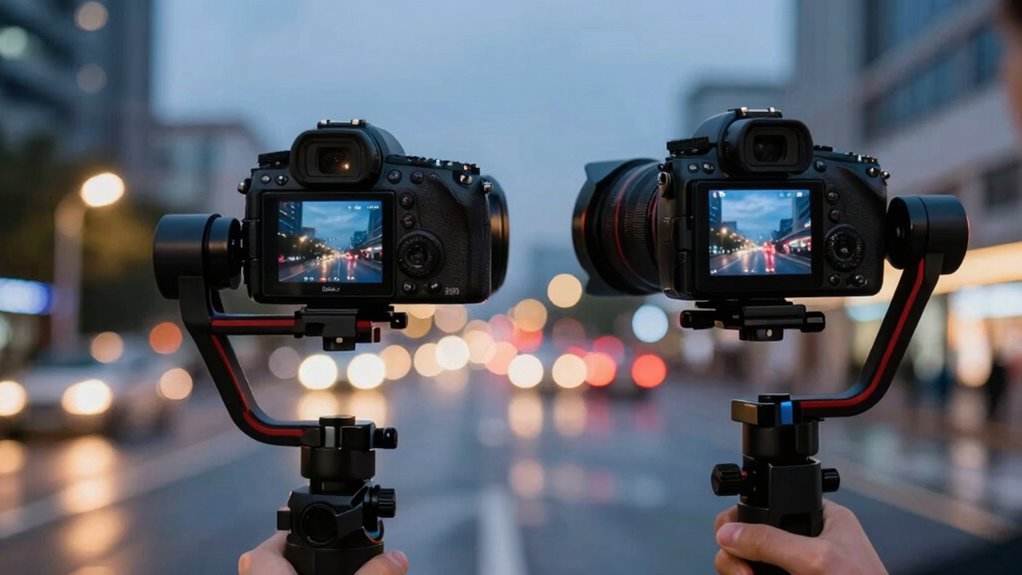
How Do Video Stabilization Methods Compare? Software vs. Apps
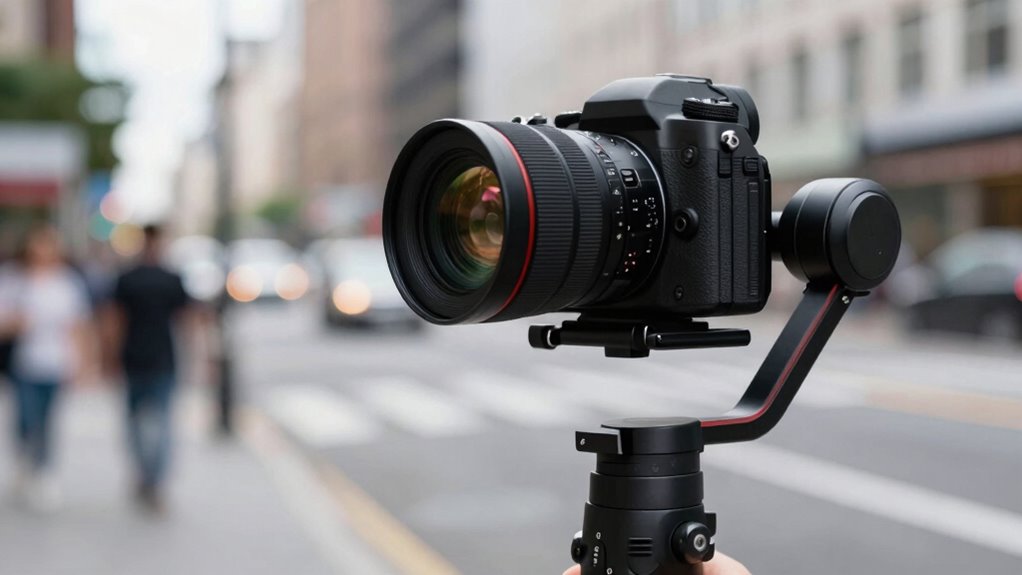
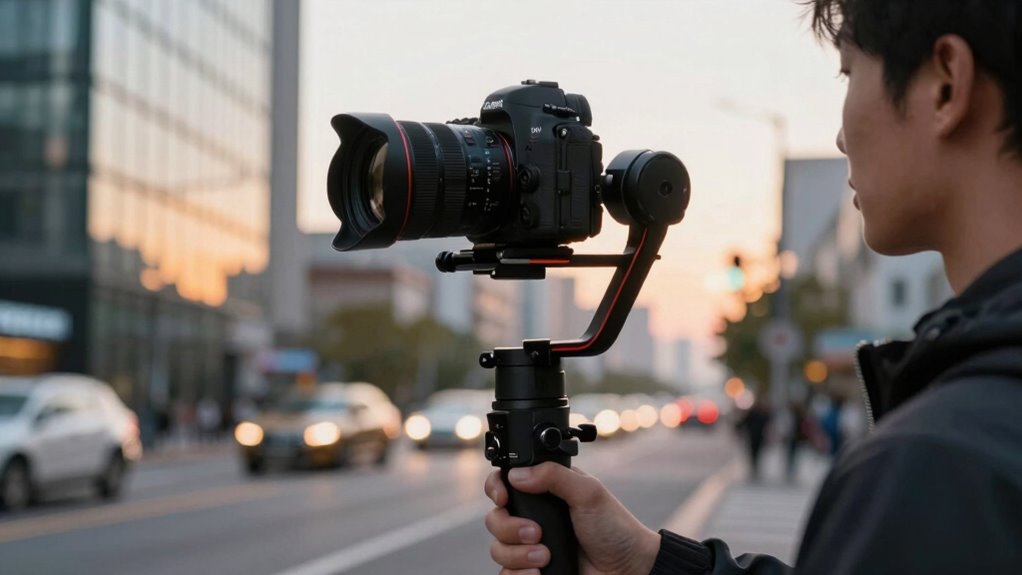
When it comes to stabilizing shaky videos, both software and apps offer effective solutions, but they differ in capabilities and ease of use. Camera mountings and gimbal technology provide hardware-based stabilization, offering smooth footage during filming. Gimbals use motorized systems to counteract movements in real time, making them ideal for dynamic shots. On the other hand, software stabilization works after filming, analyzing frames to reduce shake. While software can fix minor jitters, it often can’t match the stability achieved with physical tools like gimbals. Apps tend to be more user-friendly and portable, but may have limitations compared to professional software. Additionally, understanding the performance of different stabilization methods can help you choose the best solution for your specific filming situation. Considering software capabilities and hardware options will ensure you select the most effective stabilization technique for your needs. For example, real-time feedback during filming can further improve overall stability and footage quality. Recognizing the importance of hardware versus software options can guide you toward the most suitable stabilization method based on your shooting environment. Moreover, being aware of the cost and convenience factors associated with each method can help you make a more informed decision.
![Corel VideoStudio Ultimate 2023 | Video Editing Software with Premium Effects Collection | Slideshow Maker, Screen Recorder, DVD Burner [PC Download]](https://m.media-amazon.com/images/I/510k7uBmvCL._SL500_.jpg)
Corel VideoStudio Ultimate 2023 | Video Editing Software with Premium Effects Collection | Slideshow Maker, Screen Recorder, DVD Burner [PC Download]
POWERFUL VIDEO EDITING SUITE: Create stunning movies and slideshows with this powerful, fun, and intuitive video editing suite,…
As an affiliate, we earn on qualifying purchases.
As an affiliate, we earn on qualifying purchases.
How Can You Fix Shaky Videos Quickly With Professional Software
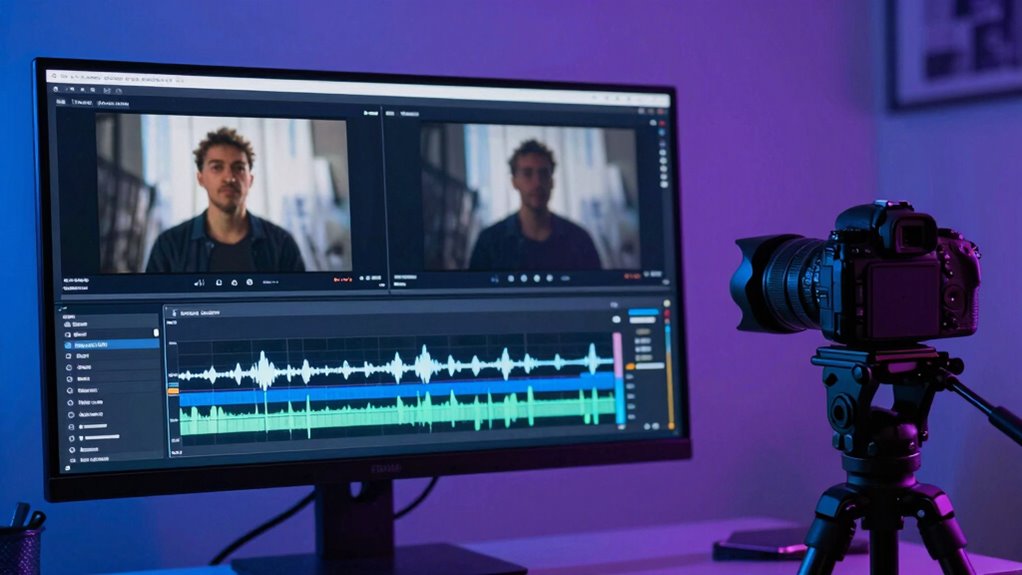
Professional video stabilization software offers a quick and effective way to fix shaky footage without the need for specialized hardware. Many video stabilization myths suggest that only expensive equipment can produce smooth results, but professional editing techniques prove otherwise. With advanced stabilization tools, you can correct shaky videos in just a few clicks, saving time and effort. These programs analyze motion and apply algorithms to stabilize footage seamlessly. You don’t need to be a tech expert—most software features intuitive interfaces designed for quick fixes. By using professional software, you can achieve high-quality results that look natural and polished, even if your original footage was highly unstable. This approach ensures your videos appear professional without the need for costly stabilizers or extensive post-production work.

AOCHUAN XE AI Version,Gimbal Stabilizer for Smartphone,NO APP AI Tracking, Gesture Control,360°Inception Gimbal with TikTok YouTube,3-Axis Foldable Handheld Tripod for iPhone& Android,Black
[Smart AI Tracking Module]Integrated AI Tracker Module Re-Evoluted Smart XE AI version gimbal. Artificial intelligence vision sensors enable…
As an affiliate, we earn on qualifying purchases.
As an affiliate, we earn on qualifying purchases.
Using Mobile Apps to Stabilize Your Shaky Footage

Choosing the right app is key to effectively stabilizing your shaky footage on mobile. Look for options that offer user-friendly interfaces and strong stabilization features. Once you select the right app, you can improve your video’s stability quickly and easily. Using appropriate stabilization techniques can make a noticeable difference in the quality of your final video. Additionally, selecting apps with good reviews and updates ensures reliable performance and access to new features. Incorporating fan engagement strategies in app design can also enhance user satisfaction and usability. Being aware of software updates helps ensure the app continues to perform optimally over time.
Choosing the Right App
Selecting the right mobile app can make a significant difference in stabilizing your shaky footage. Look for apps that offer sensor calibration features, which fine-tune your device’s gyroscope and accelerometer, improving stabilization accuracy. Additionally, choose an app that encourages proper tripod setup or steady holding techniques, as some apps integrate stabilization settings optimized for fixed positions. Consider user reviews and app ratings to gauge effectiveness, and check if the app provides manual controls or advanced options for better results. Compatibility with your device’s camera and operating system is also essential. A well-chosen app will help you achieve smoother footage by leveraging your device’s sensors effectively and guiding you toward stable shooting practices. Proper sensor calibration can greatly enhance stabilization performance, especially when combined with good shooting techniques. Using stabilization features within an app can further improve your footage by automatically compensating for minor shakes and movements. To maximize stabilization, always ensure your device is properly mounted or held steady during recording. Additionally, selecting an app with real-time feedback can help you identify shakes during filming and make adjustments on the spot.
Enhancing Video Stability
To improve shaky footage, mobile apps offer effective stabilization tools that can substantially enhance your videos with just a few taps. These apps utilize advanced algorithms to analyze frame motion and smooth out jitters, making your footage look professional. To get the best results, consider your camera techniques; steady shots during filming reduce the stabilization workload. While stabilization hardware like gimbals can help, mobile apps are a convenient alternative for quick fixes. Many apps automatically detect shaky footage and apply stabilization filters, but some allow manual adjustments for fine-tuning. By combining good camera techniques with app-based stabilization, you can considerably improve your video’s stability without investing in expensive equipment. This approach makes your shaky videos much more watchable and polished. Additionally, understanding video stabilization techniques can help you achieve even better results and maintain footage quality over time.

NEEWER Basic 74" Video Tripod with Fluid Head , Metal Camera Tripod with Smooth Friction Damping, Mid Level Spreader, Quick Release Plate Compatible with Manfrotto 501, Max Load 17.6lb, TP37
【Introducing NEEWER Basic】 Simple and practical, NEEWER Basic is an economical product line that focuses on essential functions…
As an affiliate, we earn on qualifying purchases.
As an affiliate, we earn on qualifying purchases.
Why Do Videos Shake, and How Does Stabilization Help?
Videos shake mainly because of camera movements caused by hand tremors, sudden motions, or unstable surfaces. This camera shake results in uneven footage and often introduces motion blur, making videos difficult to watch. When your hands aren’t steady, even slight movements can cause significant shake, especially during slow or smooth pans. Stabilization helps by analyzing the footage and compensating for unwanted movements, reducing the appearance of camera shake. This process smooths out the video, making motion appear more natural and less jarring. With stabilization, you can produce clearer, more professional-looking videos without requiring extra equipment or perfect conditions. It’s an effective way to fix shaky footage after filming, ensuring your videos look steady and polished. Additionally, understanding camera shake causes can help you prevent issues during filming and improve your overall video quality, especially when combined with proper filming techniques. Being aware of common stabilization methods can further enhance the quality of your final product, and leveraging software tools can streamline the stabilization process for better results.
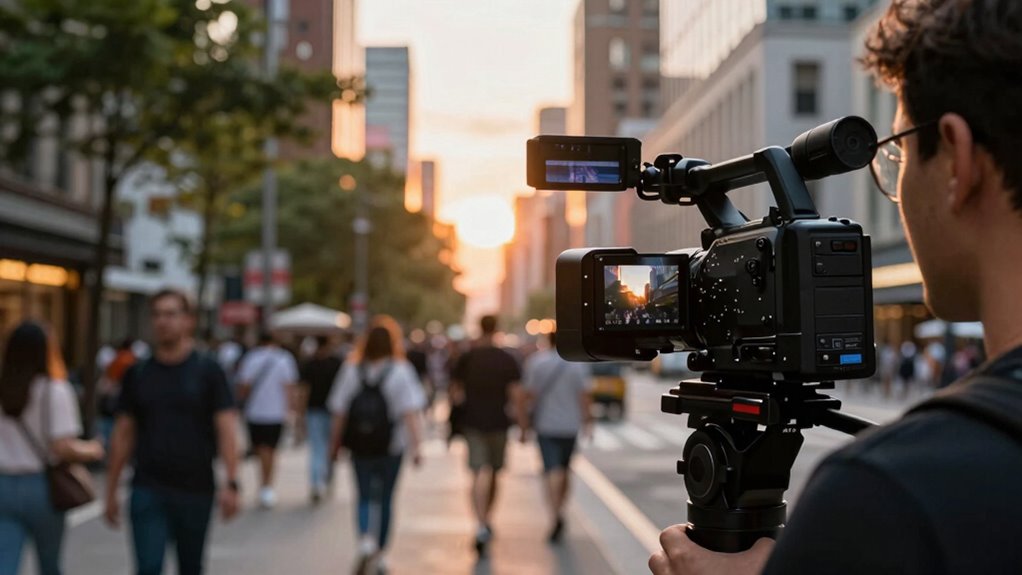
Tips to Prevent Shaky Videos While Filming
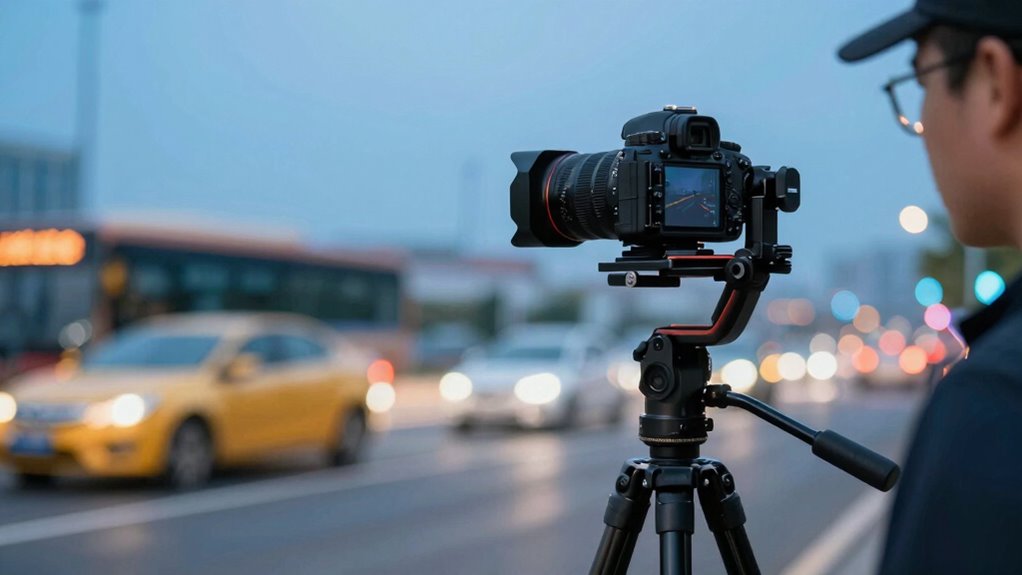
Keeping your camera steady during filming is key to preventing shaky footage. Start with a solid tripod setup to keep the camera stable, especially for static shots. If you’re hand-holding, focus on maintaining a proper camera grip—firm but not tense—to reduce unnecessary movement. Keep your elbows close to your body and use both hands to hold the camera securely. Practice smooth, deliberate movements instead of jerky ones, and avoid sudden shifts. If possible, use a monopod or stabilizer for added support during dynamic shots. Check your footing before filming to ensure stability. Paying attention to your tripod setup and camera grip, along with understanding camera application techniques, can considerably reduce the chances of capturing shaky video from the start. Additionally, being aware of your environment and surrounding conditions can help you anticipate and counteract external factors that might cause instability. Incorporating proper technique and environmental awareness can further enhance your stability while filming.
Common Troubleshooting Tips for Stabilizing Videos
When your footage turns out shaky despite good filming techniques, troubleshooting becomes essential. First, check if your camera is stable on a reliable video tripod—this can considerably reduce unwanted shake. Ensure your camera settings are optimized for shake reduction; many modern cameras have in-built stabilization features. Additionally, if your footage still wobbles, consider using post-production stabilization tools or software designed for shake reduction. Sometimes, minor camera movements can be corrected with these programs, giving your video a smoother look. Remember, even small adjustments can make a big difference. To troubleshoot effectively, keep these tips in mind:
- Use a sturdy video tripod for steady shots
- Enable shake reduction features in your camera settings
- Apply post-production stabilization when needed
- Proper equipment maintenance can help prevent issues with camera shake and improve overall video quality
Which Stabilization Method Is Best for Your Needs and Budget?
Choosing the right stabilization method depends on your specific needs and budget. If you want quick, affordable results, software-based camera stabilization is your best bet—it’s accessible and easy to use. For smoother footage, consider gimbals or steadicams if you have a flexible budget and need professional-quality footage; these equipment options offer superior stability during movement. In contrast, built-in camera stabilization features are suitable for casual shooting and require minimal investment. If you’re working with a limited budget, portable handheld stabilizers or smartphone stabilizers provide a practical solution without sacrificing too much quality. Ultimately, your decision hinges on how much you’re willing to invest and the level of stability you need for your projects. Choose the method that aligns with your goals and equipment constraints.
Frequently Asked Questions
Can Stabilization Methods Affect Video Quality or Resolution?
Stabilization methods can affect your video quality or resolution. When you apply stabilization, it sometimes introduces compression artifacts or causes slight blurring, especially with aggressive settings. Motion smoothing, a common stabilization technique, can make your footage look overly smooth or unnatural, potentially reducing clarity. To avoid these issues, choose stabilization tools that balance smoothness with preservation of detail, ensuring your video remains sharp and true to the original.
Are There Any Limitations to Stabilization Software for Certain Videos?
Stabilization software has limitations, especially with equipment compatibility issues and varying user expertise. If your device or footage isn’t compatible, the software might not work effectively. Additionally, if you’re new to stabilization tools, you might struggle to get the best results, leading to unnatural motion or cropping. For complex shots or low-quality footage, software alone may not fully stabilize the video, requiring manual adjustments or professional help.
How Long Does It Typically Take to Stabilize a Video Professionally?
Stabilizing a video professionally usually takes between a few minutes to several hours, depending on the software compatibility and the video’s length and complexity. When comparing costs, professional stabilization services might be pricier than DIY software, but they often deliver higher quality. Consider your project’s needs and budget to choose the right solution, keeping in mind that faster stabilization usually requires more advanced software compatible with your editing setup.
Does Stabilization Work Equally Well on All Types of Footage?
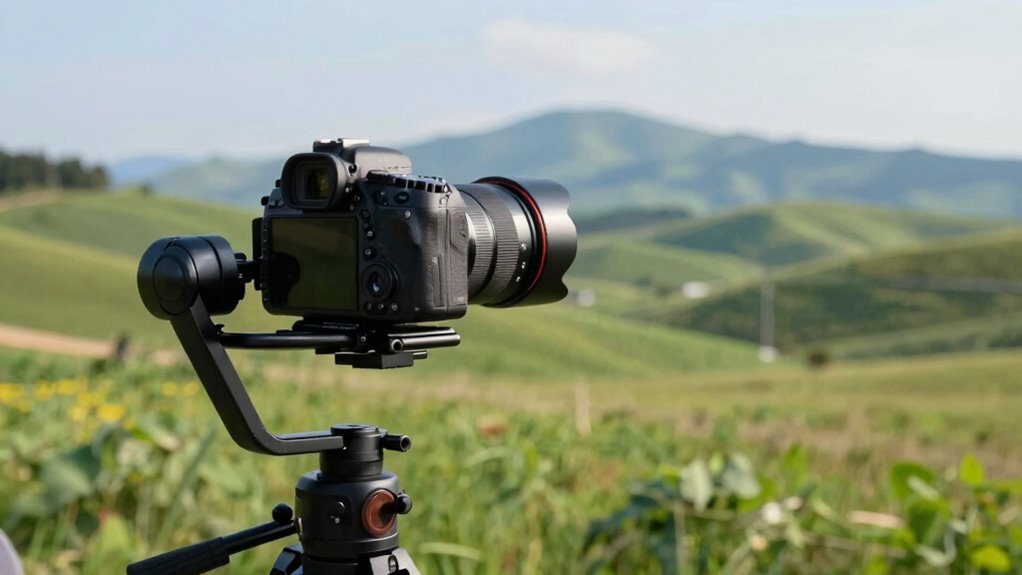
Is stabilization a one-size-fits-all solution? Not quite. Its effectiveness varies with footage type—smooth scenes like landscapes respond well, while fast-moving or complex shots may still have minor jitters. You might find stabilization works better on some footage than others, depending on motion and quality. So, don’t expect perfect results every time. Instead, choose your stabilization tools carefully, considering your footage’s unique characteristics for the best outcome.
Can Stabilization Methods Be Combined for Better Results?
Yes, you can combine stabilization methods for better results through method integration and layered stabilization. By applying multiple techniques—like electronic and optical stabilization—you enhance overall footage smoothness. Layered stabilization targets different types of shake, reducing residual jitters. This approach works especially well for complex shots or handheld footage, ensuring your videos look professional and steady without sacrificing clarity or detail. Combining methods gives you more control and improved stability throughout your footage.
Conclusion
Whether you’re smoothing out a quick clip on your phone or refining a professional shot, choosing the right stabilization method is like steering a steady boat through choppy waters. Imagine your footage gliding smoothly across calm seas, free from unwanted shakes and jitters. With the right tools and tips, you can transform shaky footage into a polished, cinematic experience that captures your story effortlessly. Steady your shot, and let your vision shine clear and true.