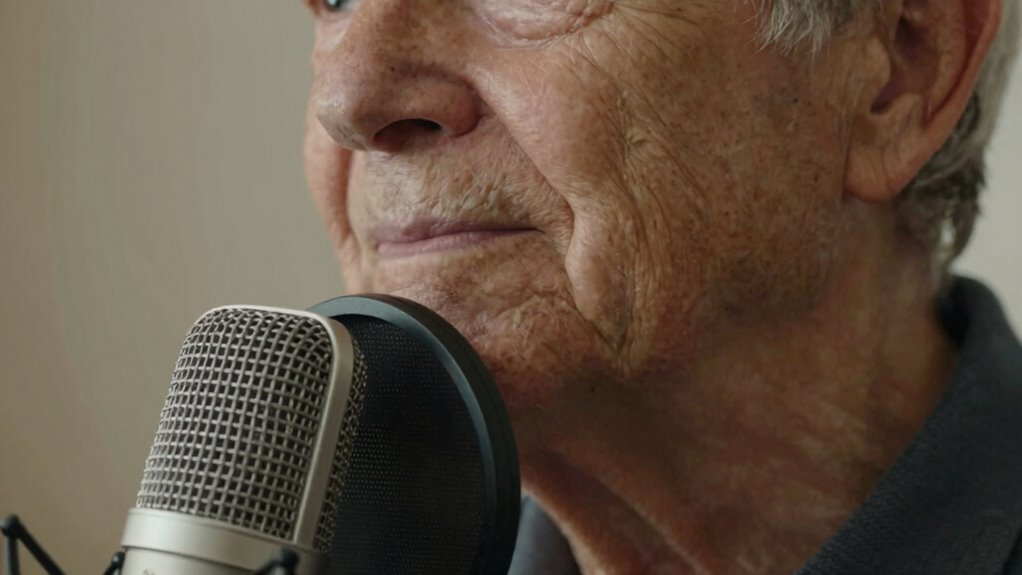
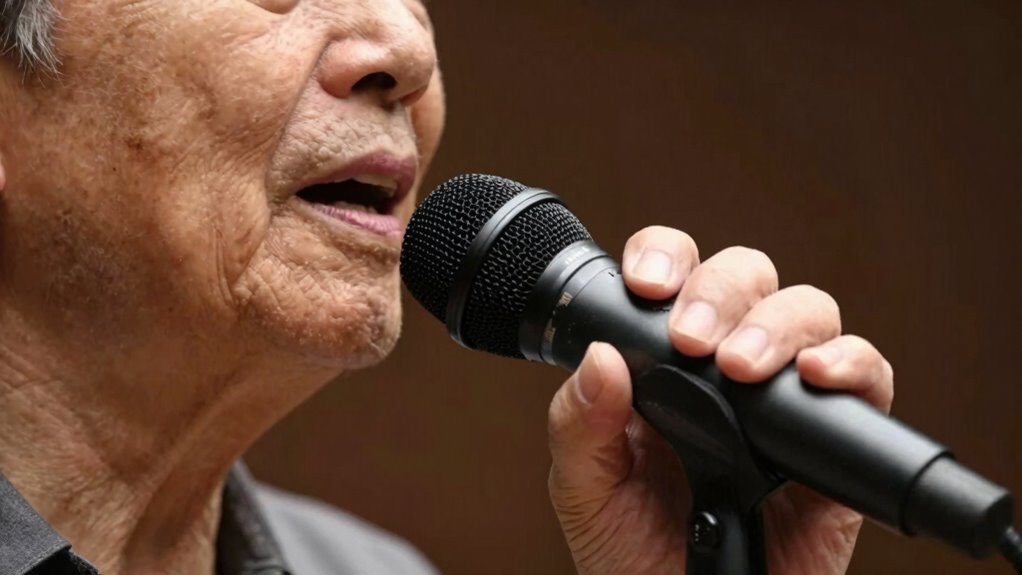
The key to making elders sound crystal clear is placing the microphone about 6 to 12 inches from their mouth at a slight angle, just below chin level. This distance captures natural, full speech while reducing muffling and distortion. Keep the mic steady and focus it directly at their mouth for best results. If you want to learn all the tips for perfect placement and clarity, there’s more to discover.
Key Takeaways
- Position the microphone 6 to 12 inches directly in front of the mouth for optimal clarity.
- Keep the microphone slightly below chin level and tilt upward for natural sound projection.
- Use a cardioid or hypercardioid microphone to focus on the speaker’s voice and reduce background noise.
- Maintain a steady distance during speech to prevent muffling or distortion.
- Regularly test and adjust placement to accommodate voice volume and acoustic environment.

SHIDU Portable Voice Amplifier Personal Microphone Headset for Speaking Rechargeable Mini Pa System for Teachers Tour Guides Coaches Classroom Singing Yoga Fitness Instructors
【 Powerful&Original Sound 】 The SD-258 voice amplifier is in compact size, but with output crystal sound and…
As an affiliate, we earn on qualifying purchases.
As an affiliate, we earn on qualifying purchases.
Why Proper Microphone Placement Is Key for Elders’ Voice Clarity

Proper microphone placement is essential for making elders’ voices clear and easily heard. When it comes to elder speech, positioning the microphone correctly enhances sound quality and reduces strain. Good microphone ergonomics allows for comfortable use, preventing the need for constant adjustments. If the microphone is too far, voices become faint or muffled; too close, and speech can sound distorted or cause popping noises. Proper placement ensures the elder’s speech is captured naturally without extra effort. It also minimizes background noise, making conversations clearer. Prioritizing ergonomic design means the microphone fits comfortably in your hand or on a stand, encouraging consistent positioning. Additionally, understanding the importance of Free Floating microphone setups can help achieve optimal sound clarity. Incorporating microphone ergonomics into your setup enhances overall comfort and sound quality. Recognizing the significance of proper positioning can significantly improve communication effectiveness and reduce frustration. Proper placement, combined with sound source localization, can further enhance clarity and ensure the elder’s voice is heard distinctly. Overall, understanding and applying proper microphone placement directly impacts the clarity of elders’ voices and the effectiveness of communication.

NEEWER NW-040 Cardioid Dynamic Microphone with XLR Cable, Rigid Metal Housing, Unidirectional Pickup Mic for Musical Instruments Voice Public Speech Podcast Singing PC Gaming Streaming Studio, Black
【Cardioid Dynamic Mic】 This dynamic microphone with an advanced moving coil transducer ensures high gain before feedback. The…
As an affiliate, we earn on qualifying purchases.
As an affiliate, we earn on qualifying purchases.
What’s the Best Microphone Placement for Elders?

What’s the best microphone placement for elders to guarantee their voices come through clearly? Position the microphone about 6 to 12 inches from the mouth, slightly below or above, to enhance speech intelligibility. Ensure it’s at a comfortable height to avoid muffling or distortion. If using hearing aid-compatible microphones, look for models that minimize interference and background noise. Proper placement reduces echo and improves clarity, especially important for elders with hearing aids. Using the right equipment can significantly improve sound quality and reduce the need for repeated recordings. Additionally, selecting the right urban pursuits can create a quieter environment, further improving sound clarity during recordings. Considering the acoustic environment of the space can also help optimize microphone placement and sound quality.

InnoGear Microphone Stand, Tripod Boom Arm Floor Mic Stand Height Adjustable Heavy Duty with Carrying Bag 2 Mic Clips 3/8" to 5/8" Adapter for Singing Podcast for Blue Yeti Shure SM58 SM48 Samson Q2U
Adjustable Height & Solid: The height of the microphone stand with boom arm is adjustable from 28.1 inches…
As an affiliate, we earn on qualifying purchases.
As an affiliate, we earn on qualifying purchases.
How to Position Your Microphone for Clear, Natural Voices
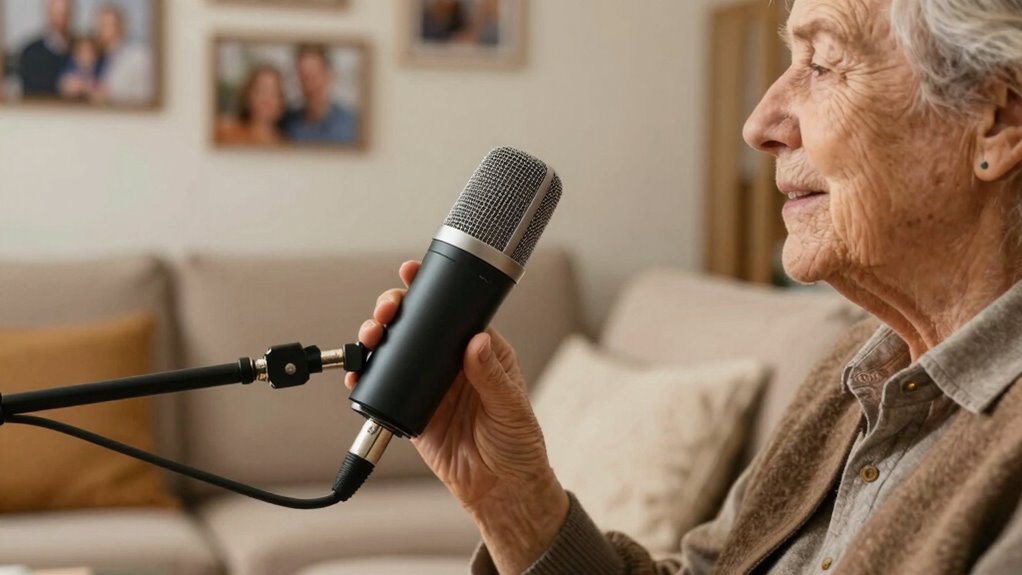
Positioning your microphone correctly is key to capturing voices that sound natural and clear. To achieve this, place the microphone about six to twelve inches from your mouth, slightly off to the side to avoid breathing noises. Consistent placement helps with voice training, making your speech more familiar and easier to understand. If you wear hearing aids, ensure they’re properly adjusted, as they can affect how your voice sounds on recordings. Keep the microphone at a steady height and angle, so your voice remains balanced and natural. Avoid speaking directly into the mic, which can cause distortion. Regularly test your setup and make small adjustments to find the sweet spot that captures your voice clearly and authentically. Proper microphone placement is essential for sound quality and clarity. Additionally, using an appropriate microphone type can significantly improve your voice clarity.
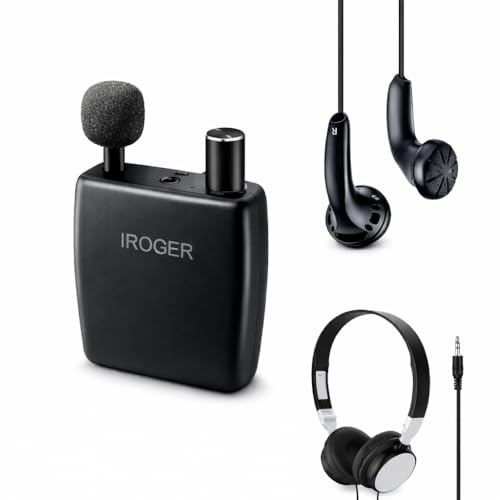
IROGER Hearing Amplifier for Seniors, Personal Sound Amplifier, Smart Auto-Gain, Directional Microphone, Rechargeable with 120-Hour Battery, Headphones & Earbuds Included
Smart Auto-Gain Control – Enjoy crystal-clear sound at all times. iRoger automatically balances audio levels to enhance voices…
As an affiliate, we earn on qualifying purchases.
As an affiliate, we earn on qualifying purchases.
Which Microphone Type Is Best for Elders?

Choosing the right microphone depends on your needs and comfort. You might prefer a lavalier for hands-free use or a handheld for easy control, but which type suits your style best? Additionally, consider whether a dynamic mic or a condenser will capture your voice most clearly and naturally. If privacy is a concern, selecting a microphone with privacy considerations can help protect your conversations. Understanding microphone types can also guide you toward the most suitable choice for clear and effective communication. For those prioritizing security, opting for smart lock technology can add an extra layer of protection to your space. Being aware of water damage prevention techniques can also help maintain your equipment’s longevity and performance. Moreover, knowing how different audio environments impact microphone performance can ensure you choose the best setup for your specific setting.
Lavalier vs. Handheld
When selecting a microphone for elders, understanding the differences between lavalier and handheld options is essential. Lavalier microphones are small, discreet, and clip onto clothing, offering excellent microphone ergonomics for hands-free use. They promote natural movement and reduce the risk of accidental noise. Handheld microphones, on the other hand, are larger, held close to the mouth, giving you control over distance and volume. They require proper audio recording etiquette, such as maintaining a consistent distance to avoid clipping or muffling. Imagine a lavalier subtly attached, allowing elders to speak comfortably without fuss, versus a handheld that demands steady grip and mindful handling. Both have their advantages, but choosing depends on comfort, mobility, and the setting’s needs. Microphone ergonomics play a crucial role in ensuring clear communication, especially for elders. Additionally, selecting a microphone with appropriate sensitivity can help maximize clarity and minimize background noise, which is important for audio quality in various environments. Being aware of ambient noise levels and adjusting microphone settings accordingly can further improve overall sound clarity. Furthermore, considering ear wax odor or other environmental factors can influence microphone choice and positioning to optimize sound pickup.
Dynamic vs. Condenser
Dynamic microphones are often preferred for elders because they are durable and handle loud sounds well, making them ideal for less controlled environments. They excel with straightforward microphone techniques, capturing sound reliably without much fuss. While they may not offer the same sound quality detail as condensers, they are less sensitive to background noise, which helps elders be heard clearly. Condenser microphones, on the other hand, provide richer sound quality and greater sensitivity, capturing subtle nuances in voice. However, they can pick up unwanted background sounds, requiring careful placement and controlled settings. If you want simplicity and durability, a dynamic mic is your best choice. For situations where sound quality and detail matter most, a condenser microphone might be better, but it demands more precise microphone techniques.
How to Adjust Microphone Distance and Angle for Better Sound

To improve sound quality, you need to find the right distance and angle for your microphone. Proper microphone ergonomics guarantees your voice projects clearly without strain. Keep the mic about 6-12 inches away from your mouth, adjusting based on your voice’s volume. Angle the microphone slightly upward or downward to minimize pops and plosive sounds. Visualize this setup:
- Positioning the mic directly in front, just below your chin
- Keeping it steady and level, avoiding movement
- Tilting slightly upward for natural voice projection
- Maintaining consistent distance during speaking
- Optimal microphone placement is key to capturing clear audio and reducing background noise.
This setup helps capture your voice clearly while reducing background noise. Experiment with distance and angle until you find the sweet spot that makes your voice sound vibrant and crisp. Microphone placement is essential for ensuring clear communication, especially for elders who may need additional clarity.
Common Microphone Placement Mistakes That Muffle Voices

One common mistake is placing the microphone too far or too close, which can muffle voices instead of capturing clarity. Poor directional focus also causes unwanted background noise and reduces sound quality. Paying attention to these placement errors can make a big difference in how clear and natural your voice sounds.
Improper Microphone Distance
When a microphone is placed too far from an elder’s mouth, their speech can sound distant and muffled. This issue often results from improper talking distance, making it hard for their voice to reach the mic clearly. To avoid this, aim for a consistent talking distance of about 6 to 12 inches. If you keep the mic too far, you lose essential voice details. Imagine the sound as if you’re:
- Speaking from across a room rather than close enough
- Struggling to project your voice clearly
- Having to repeat yourself often
- Losing natural tone and clarity
Maintaining proper distance ensures the microphone captures the elder’s voice accurately, enhancing voice projection and overall clarity. Keep the mic close enough for crisp, natural sound without causing distortion.
Poor Directional Focus
Poor directional focus is a common mistake that can considerably muffle an elder’s voice. When you don’t pay attention to microphone directionality, the device may pick up unwanted background noise or fail to focus on the speaker’s voice. This results in poor voice isolation, making it harder to hear clearly. To fix this, ensure the microphone is pointed directly at the elder’s mouth, minimizing side and rear pickup. Using a microphone with proper directionality, like a cardioid or hypercardioid, helps concentrate on the sound source and reduces ambient sounds. Adjusting the placement to align with the speaker’s mouth enhances voice clarity and ensures only their voice is captured, avoiding muffling and background noise interference. Proper focus is key to crystal-clear sound.
Troubleshooting Microphone Clarity Problems
If your microphone isn’t capturing clear sound, the issue might stem from its placement or settings. Poor clarity can happen if it’s too far from the speaker, blocked by clothing, or not configured properly. To troubleshoot, consider these steps:
- Adjust the microphone closer to the mouth, ensuring it’s just enough to pick up speech without capturing background noise.
- Check for obstructions like clothing or hair that may muffle sound.
- Ensure the microphone is set to the correct input level, avoiding distortion or low volume.
- Test with hearing aids or speech therapy devices to confirm compatibility and proper functioning.
Quick Tips to Test and Fine-Tune Microphone Placement at Home
To guarantee your microphone sounds clear, start by testing its placement through simple at-home checks. Hold or position the microphone near your mouth, ensuring it’s not too close or too far, which can affect voice amplification and clarity. Speak naturally and listen to the playback or ask a friend for feedback. If you wear hearing aids, make sure the microphone isn’t obstructed by your hearing devices, as this can cause muffled sound. Adjust the distance slightly and test again until your voice sounds crisp and balanced. Keep in mind, the goal is to find a position that captures your voice clearly without picking up excessive background noise. Regularly fine-tuning your microphone placement at home helps maintain excellent voice clarity for elders.
Extra Tips and Accessories to Boost Elder Voice Clarity
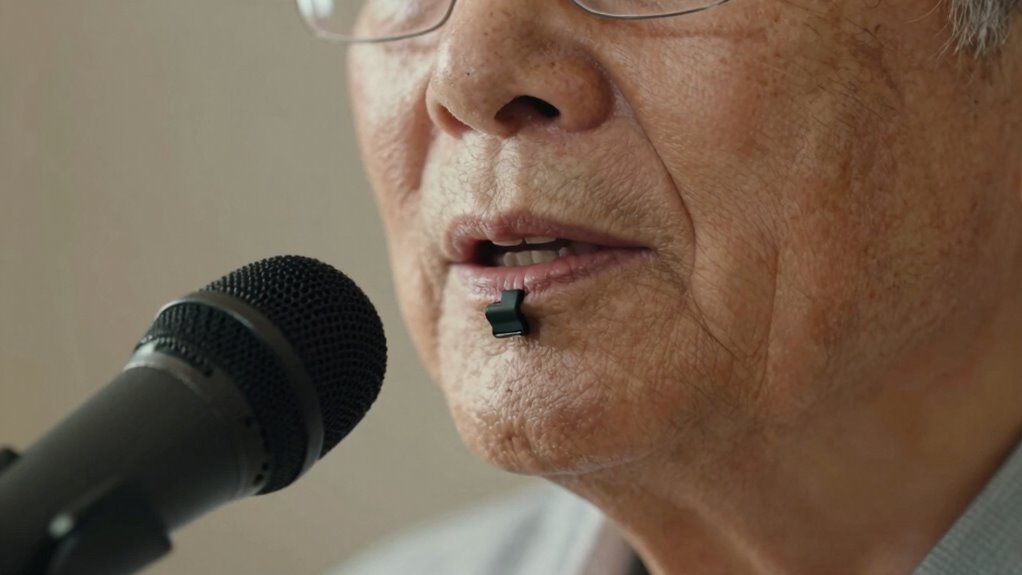
Using the right accessories can considerably enhance your voice clarity. Consider adding voice amplification devices designed for elders, which can make speech more intelligible and reduce strain. Hearing aids with direct audio input or telecoil features improve sound quality and reduce background noise. Additionally, using a quality microphone with a noise-canceling feature guarantees your voice stays clear and focused. You might also try a lapel mic clipped close to your mouth for consistent pickup. To further boost clarity, use a pop filter to minimize plosive sounds and a sturdy mic stand to keep the microphone steady. These accessories work together to amplify your voice effectively, making communication easier and more natural, especially for those with hearing aids or diminished hearing.
Frequently Asked Questions
How Can Background Noise Affect Elder Voice Clarity During Microphone Placement?
Background noise can considerably reduce voice clarity for elders during microphone placement. When there’s too much ambient sound, it competes with their voice, making it harder to hear clearly. To improve, position the microphone close to their mouth and choose a quiet environment. This way, you minimize background noise, ensuring their voice comes through crisp and clear, and their message is heard without distraction.
Are There Specific Microphone Settings Recommended for Elders With Speech Impairments?
You should set your microphone to a high sensitivity level and use a directional or cardioid pattern to focus on their voice, reducing background noise. For elders with speech impairments, prioritize voice amplification settings that boost clarity without distortion—think of it as turning their voice into a powerful, crystal-clear signal. Engage in speech therapy techniques alongside these settings to enhance communication, making every word effortlessly heard and understood.
What Are Cost-Effective Microphone Options Suitable for Elderly Users?
You should look for affordable options like handheld amplifiers or clip-on microphones, which are easy to use and portable. Brands like Pocketalker or Hearing Assist offer budget-friendly devices that provide clear sound without complicated setup. These options are lightweight, simple to operate, and ideal for elderly users with speech challenges, ensuring they can communicate comfortably and confidently in various settings.
How Does Room Acoustics Influence Microphone Placement Effectiveness?
Room size and sound reflection substantially impact your microphone placement effectiveness. In smaller rooms, sound reflections can cause echo, so position your mic closer to the speaker to minimize background noise. In larger spaces, avoid placing the mic too far away, which can cause muffled sound. Adjust placement based on room acoustics to guarantee clear, natural audio. Experiment with distances to find the perfect spot that reduces reflections and enhances clarity.
Can Microphone Placement Help Reduce Senior Citizens’ Voice Fatigue?
Yes, proper microphone placement can help reduce senior citizens’ voice fatigue. In speech therapy, positioning the microphone close to their mouth minimizes the effort needed to speak loudly, easing strain. If they wear hearing aids, correct placement also guarantees clearer sound, reducing the need to repeat themselves. You can help seniors maintain comfortable speaking levels by adjusting the microphone for ideal clarity, making conversations less tiring and more natural.
Conclusion
Think of your microphone as a bridge connecting your voice to the world. When you place it just right, it becomes a clear pathway for your words, shimmering like sunlight breaking through clouds. Proper placement isn’t just a trick—it’s the heartbeat of clarity, ensuring every voice resonates pure and true. So, tune your setup with care, and let your words flow freely, illuminating every conversation with confidence and warmth.