
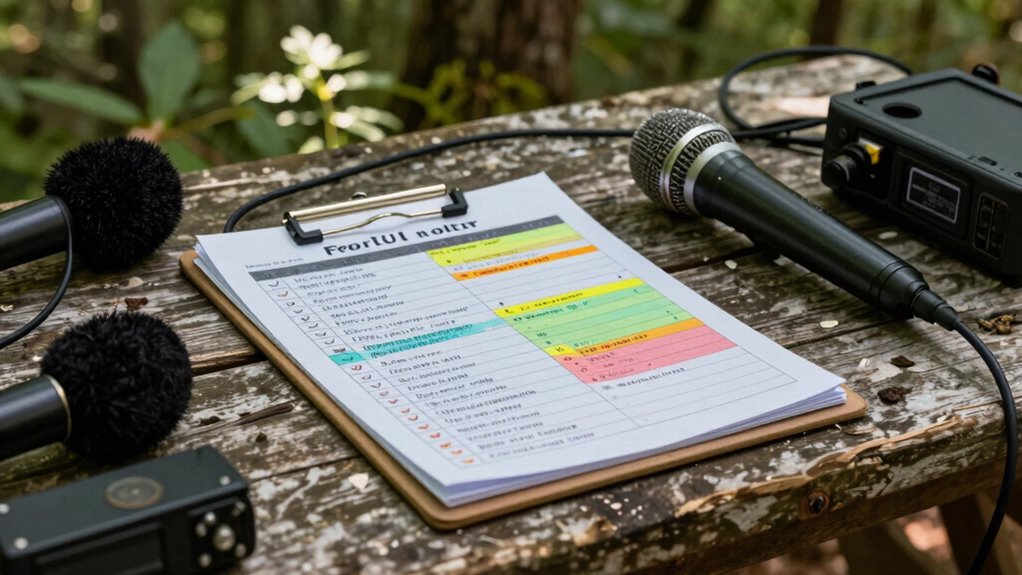
To guarantee your field recordings are always successful, use a detailed checklist that covers everything from prepping your gear and testing equipment to evaluating environmental factors. Verify batteries, cables, and settings beforehand, and arrive early to observe sound conditions. Double-check for interference and safety hazards, and make final adjustments before recording. Following this guide helps you avoid mistakes and captures clear, high-quality audio every time—keep going to discover all the essential steps.
Key Takeaways
- Prepare a comprehensive checklist covering gear, environment, and settings to prevent oversights during recording sessions.
- Perform equipment tests and calibration beforehand to ensure optimal audio quality and avoid malfunctions.
- Manage power sources with charged batteries and backup options to prevent device shutdowns mid-recording.
- Monitor sound levels in real-time with headphones and adjust settings to avoid distortion or noise issues.
- Conduct final environment checks to minimize interference, secure cables, and optimize acoustics for consistent, high-quality recordings.

Zoom H1 Essential Handheld Recorder for Musicians, Podcasters & Filmmakers with Stereo Microphones, 32-Bit Float, USB Microphone Mode
Stereo 32-bit float recording – perfect audio with no need to set gain
As an affiliate, we earn on qualifying purchases.
As an affiliate, we earn on qualifying purchases.
Why a Field Recording Checklist Ensures Reliable Audio
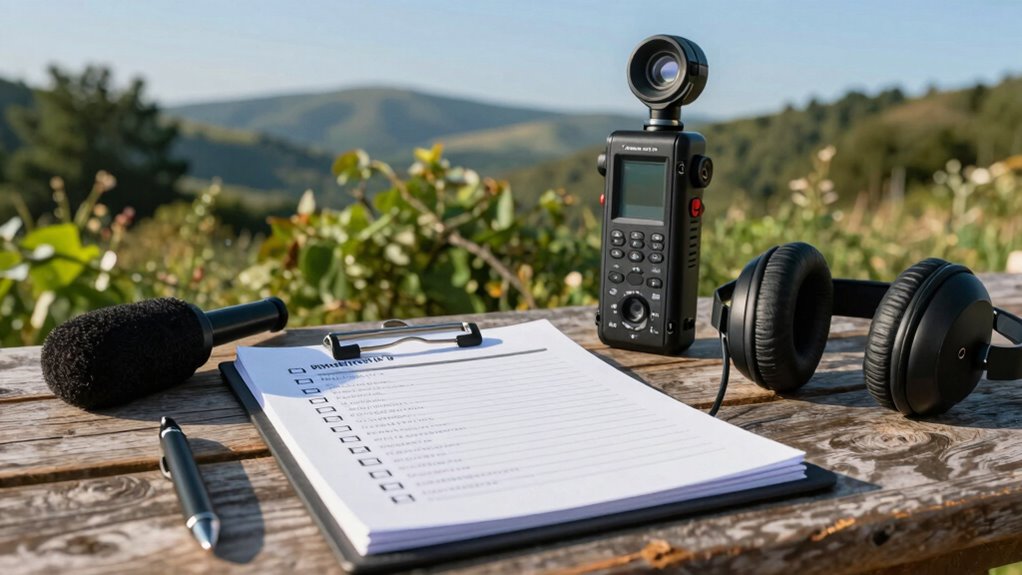
Using a field recording checklist helps you stay organized and guarantees you don’t forget essential gear or settings. This organization directly impacts your audio quality, ensuring each recording captures clear, crisp sound without unnecessary noise or interruptions. When you systematically check your equipment, you reduce the risk of device failures or malfunctions during critical moments, boosting equipment reliability. A checklist also prompts you to verify your batteries, cables, and microphone placement, which are essential for consistent performance. By following a structured plan, you minimize errors and last-minute surprises, allowing you to focus on capturing authentic sounds. Incorporating Free Floating techniques can also help you adapt to unpredictable outdoor environments, which is crucial for maintaining audio stability and enhancing your overall recording quality. Understanding regional flavors and how they influence soundscape recordings can provide richer context to your captures. Additionally, being aware of stair proportions and planning your positioning accordingly can prevent unwanted echoes or sound reflections that might compromise audio clarity. Recognizing the importance of contrast ratio in your recording environment can further improve sound definition by managing ambient light and background noise. Ultimately, this preparation leads to more professional recordings and less time spent troubleshooting, making your field recording process smoother and more dependable.

136GB Digital Voice Recorder with Playback,9000 Hours Audio Recording Device,Voice Activated Recorder with Noise Reduction,A-B Repeat,Mp3 Player and Password for Lectures Meeting/Classes/Interviews
【PCM Recording and Automatic Noise Reduction】:This digital voice recorder is equipped with advanced dual noise reduction microphones and…
As an affiliate, we earn on qualifying purchases.
As an affiliate, we earn on qualifying purchases.
Getting Your Location Ready for Great Recordings
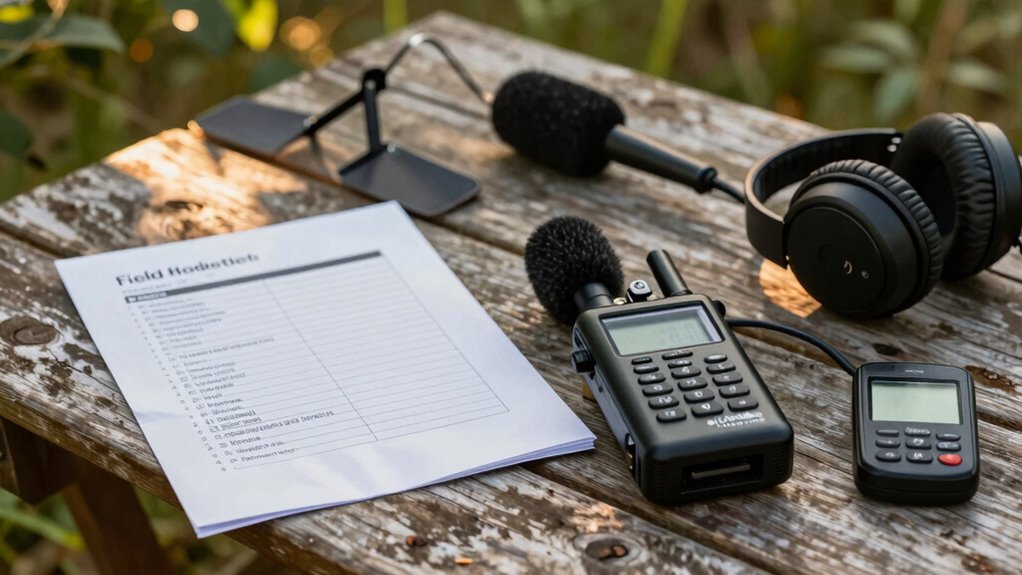
Preparing your recording location is essential to capturing high-quality audio. Start by evaluating the soundscapes to identify potential noise sources and natural ambient sounds that enhance or detract from your recording. Consider environmental factors like wind, traffic, and weather, which can introduce unwanted noise or affect equipment performance. Choose a spot that minimizes disruptions and provides a clean sound environment. If possible, arrive early to observe the area’s typical soundscape and make adjustments. Clear the area of any distracting objects or obstacles that might interfere with your recordings. Keep in mind how environmental considerations, such as wind or nearby machinery, can impact audio quality. Properly preparing your location ensures a controlled environment and improved chances of capturing pristine sound. Additionally, understanding historical highlights of the area can help you anticipate and avoid disturbances related to past events or landmarks. Being aware of local noise ordinances can also prevent unexpected interruptions during your recording session. Considering environmental influence on sound can further help you select the best spot and timing for your recording sessions. Being mindful of seasonal variations can also assist in choosing the optimal time for recording when noise levels are naturally lower. Incorporating traditional practices, such as community-based sound awareness, can further enhance your ability to select a harmonious recording environment that respects local cultural and natural rhythms.

OneOdio Wired Over Ear Headphones Hi-Res Studio Monitor & Mixing DJ Stereo Headsets with 50mm Drivers and 1/4 to 3.5mm Jack for AMP Computer Recording Podcast Keyboard Guitar Laptop – Black
Bass Sound: Enjoy clear sound and superior comfort with the OneOdio Studio Monitor Headphones. Equipped with large 50mm…
As an affiliate, we earn on qualifying purchases.
As an affiliate, we earn on qualifying purchases.
Choosing and Preparing Your Equipment for Field Recording
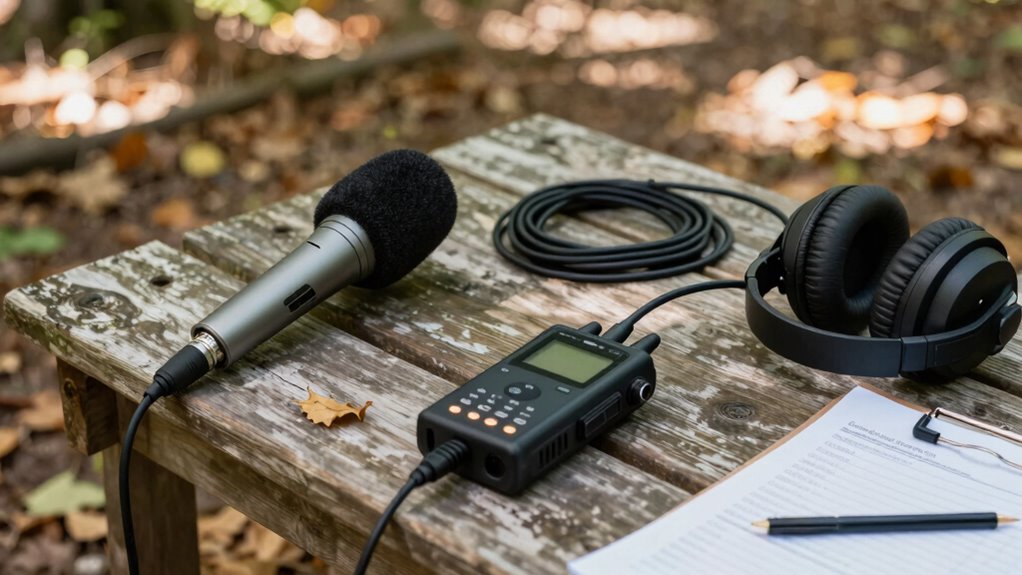
Selecting the right equipment is essential to capturing high-quality field recordings, as your gear directly influences sound clarity and detail. Start by choosing audio gear suited to your recording locations—consider portable microphones, windshields, and durable recorders. Think about the environment: outdoor settings may require weather-resistant gear, while indoor locations might need different microphones to capture room acoustics. Guarantee your recording devices have sufficient storage and battery life for your session’s duration. Test your equipment beforehand to confirm everything functions properly and is compatible. Bringing versatile, lightweight gear allows you to adapt quickly to changing conditions. Proper equipment selection ensures you can handle a variety of situations and achieve better sound quality. Additionally, understanding sound capture techniques can significantly improve the quality of your recordings. Preparing your gear with appropriate accessories like spare batteries and cables can prevent interruptions during crucial moments. Proper preparation and organization can also help streamline your workflow and ensure you don’t miss important sounds, reducing the risk of technical issues that could compromise your recordings. Being familiar with field recording best practices can further enhance your results and help you troubleshoot common issues efficiently.
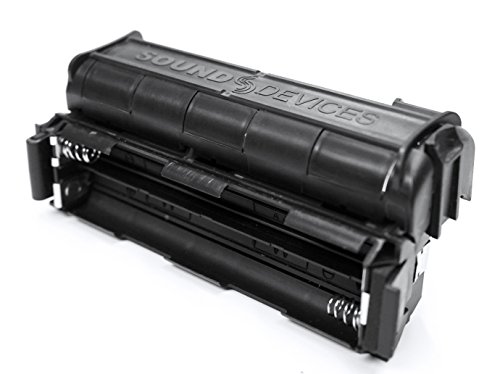
Sound Devices MX-8AA Battery Sled Accessory for the MixPre-3 & MixPre-6 Audio Recorders
Powering accessory for the MixPre-3 & MixPre-6 recorders/USB audio interfaces
As an affiliate, we earn on qualifying purchases.
As an affiliate, we earn on qualifying purchases.
Setting Up and Testing Your Gear Before Recording
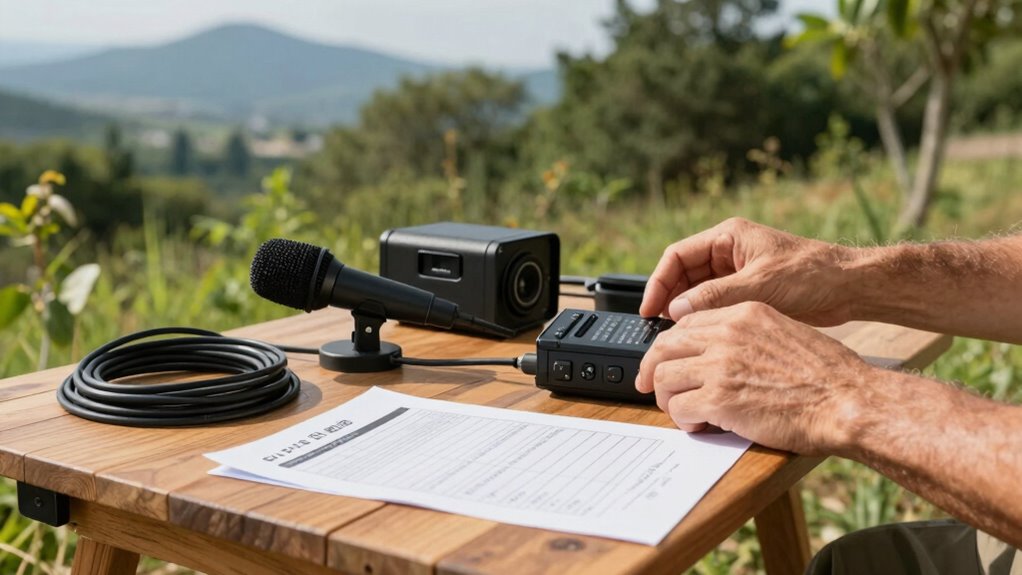
Before you start recording, make sure your equipment is powered on and functioning properly. Test your audio levels to guarantee they’re not too loud or too quiet, and double-check your recording settings to match your environment. Taking these steps helps prevent issues and ensures you capture high-quality sound from the start. Additionally, inspect your essential DIY tools to ensure your setup is safe and efficient. Confirm that your POS/receipt printers are configured correctly to avoid printing errors during recording sessions. Performing a quick equipment check helps identify any potential problems before they affect your recording quality. Incorporating a brief review of your sound environment can also help optimize acoustics and minimize unwanted noise. Remember to review your audio calibration procedures to maintain consistent sound levels throughout your recording session.
Check Equipment Power
Ensuring your equipment is powered on and functioning correctly is a critical first step before you start recording. Check your batteries to confirm they’re fully charged or fresh, and consider carrying spare batteries for backup power. Proper battery management prevents unexpected shutdowns, which can ruin your session. If your gear has an AC power option, verify that your power source is stable and secure. Use power strips or portable batteries if necessary to maintain a reliable supply. Test your device’s power indicator lights to ensure everything is operational. Avoid relying solely on internal batteries; always have backups to avoid interruptions. Additionally, power management strategies can help extend your gear’s operational time during long recording sessions. Regularly monitoring your power consumption helps anticipate when adjustments are needed, ensuring continuous operation. Being aware of ear wax odor and other environmental factors can also help prevent unexpected audio issues caused by external contaminants, allowing you to focus solely on capturing high-quality audio without worry.
Test Audio Levels
Have you tested your audio levels before starting to record? Checking sound calibration guarantees your recordings aren’t distorted or too quiet. Properly setting your audio levels helps capture clear, balanced sound from the start. To do this effectively, consider these key steps:
- Use headphones to monitor sound quality in real-time, catching issues immediately.
- Speak or produce typical sounds at your recording site to observe how levels respond.
- Adjust your microphone gain and input volume so the sound peaks just below clipping, maintaining a healthy buffer.
Verify Recording Settings
Are your recording devices properly configured and functioning correctly? Verify your recording settings to ensure peak audio quality. Double-check that your input levels aren’t too high or too low, avoiding distortion or noise. Confirm that your equipment calibration is accurate so the audio captures true sound without coloration or bias. Make sure you’ve selected the correct sample rate and bit depth for your project, as mismatched settings can cause issues later. Review your microphone placement and connection settings to prevent any unexpected problems during recording. Testing these settings beforehand helps catch errors early, saving you time and frustration. Properly verifying your recording setup guarantees clear, professional-quality audio and reduces the need for extensive post-production fixes.
Troubleshooting Common Equipment Problems on the Spot

When equipment isn’t working as expected, start by checking that everything is powered on and all connections are secure. Look for sources of interference like nearby electronic devices or loose cables, and address them quickly. Small adjustments can often fix issues and keep your recording on track.
Check Power and Connections
Ever find yourself facing unexpected audio issues during a recording session? The first step is to check power and connections. Poor battery health can cause sudden drops in device performance, so verify batteries are fresh or fully charged. Confirm all cables are securely plugged in, with no loose or frayed wires that could disrupt connection stability. Inspect the power source—whether batteries or AC adapters—to avoid interruption. Sometimes, a simple reset of the device or reconnecting cables makes all the difference. Visual checks help identify obvious issues quickly, saving valuable recording time. Remember, stable power and solid connections are the foundation for clear, reliable audio. Staying attentive to these details ensures your gear performs when you need it most.
Identify and Fix Interference
Interference from external sources can quickly disrupt your recording, so it’s essential to identify and eliminate it on the spot. Electromagnetic interference from nearby electronics or power lines often causes unwanted hums or buzzes. To troubleshoot, first turn off nearby devices that could be causing the issue. Check your cables and connections for loose or damaged wiring, as these can introduce noise. For ambient noise mitigation, consider changing your position or shielding your equipment with a portable shield or foam. If interference persists, try switching to a different frequency band or using balanced cables. Always monitor your audio in real time so you can catch and fix interference immediately, ensuring the clearest recording possible.
Final Checks to Guarantee Quality and Safety

Before you begin recording, it’s essential to perform final checks to guarantee both quality and safety. Proper equipment maintenance ensures your gear functions smoothly, preventing unexpected failures. You should also confirm that all cables are secure and free from damage to avoid interference or hazards. Additionally, prioritize listener safety by setting appropriate volume levels and verifying that no exposed wires could cause harm. These steps help catch potential issues before recording starts, saving time and ensuring clean audio. Remember, a quick review of your equipment and environment can make all the difference in delivering high-quality sound and protecting everyone involved. Taking these precautions guarantees your recording session runs safely and produces professional results.
Customizing Your Recording Checklist for Different Scenes
Customizing your recording checklist for different scenes is essential to make certain you capture the best sound quality in each environment. Every scene has unique ambient sounds that influence your setup. For outdoor interviews, include scene-specific gear like windshields and portable mics to reduce noise, while indoor recordings might require different microphones to handle echo. Think about the environment’s characteristics and adjust your checklist accordingly. For busy city scenes, prioritize noise reduction gear, whereas serene natural settings may need equipment that captures ambient sounds authentically. By tailoring your gear list and focus based on the scene, you guarantee ideal audio quality. This approach minimizes overlooked essentials and helps you adapt quickly, saving time and preventing missed recording opportunities.
Frequently Asked Questions
How Often Should I Update My Field Recording Checklist?
You should update your field recording checklist whenever you notice changes in your equipment or encounter new recording scenarios. Regular updates help maintain audio quality and guarantee your gear is in top shape. Schedule reviews every few months or after major projects to check for equipment maintenance needs and adjust your checklist accordingly. Doing this keeps your recordings consistent, reliable, and professional, no matter where you record.
Can I Use the Same Checklist for Indoor and Outdoor Recordings?
Using the same checklist for indoor and outdoor recordings is like wearing the same outfit in summer and winter—you need to contemplate equipment compatibility and environment adaptability. While some items, like batteries and microphones, stay the same, others, such as windshields or noise filters, differ. Tailor your checklist to suit each setting, ensuring you’re prepared for the unique challenges of indoor versus outdoor environments.
What Are the Best Practices for Storing Recorded Audio Safely?
You should store your recorded audio with digital backups on multiple devices or cloud services to prevent data loss. Always organize your files with proper metadata management, including date, location, and device info, to easily find and verify recordings later. Regularly check your backups for integrity, and consider encrypting sensitive files for added security. Following these best practices guarantees your recordings stay safe and accessible over time.
How Do I Prioritize Equipment Items in Limited Space?
Think of your gear as treasures in a compact chest—you’ve gotta choose your gems wisely. Prioritize essential equipment like your microphone and recorder, placing them front and center for quick access. Use vertical space and stack smaller items to maximize every inch. With smart gear organization, you turn limited space into a well-oiled studio, ensuring you’re always ready to capture that perfect sound without digging through clutter.
What Legal Considerations Should I Keep in Mind During Field Recording?
When field recording, you should always consider copyright considerations and location permissions. Make sure you have explicit permission to record, especially in private or restricted areas, to avoid legal issues. Respect copyright laws by avoiding copyrighted sounds unless you possess rights or licenses. Always research local regulations beforehand, and get written consent if needed. Staying aware of these legal considerations helps protect you and ensures ethical recording practices.
Conclusion
With your trusty checklist in hand, you’re the captain steering through the unpredictable seas of field recording. It keeps your gear steady and your mind sharp, so no unexpected storm catches you off guard. Each step becomes a lighthouse guiding you to safe, clear audio shores. Trust this roadmap, and watch your recordings flourish like a well-tended garden—blooming with vibrant, reliable sound every time you set out.