
To capture songs and dance drumming without distortion, start by choosing the right microphones—dynamic for loud hits and condensers for capturing detail—and place them properly to balance direct sound and room ambiance. Set your gain levels carefully, aiming for peaks around -6 dB, and use high sample rates and bit depths for clarity. Acoustic treatment and equipment checks help prevent unwanted noise. Keep levels under control, and make adjustments to ensure pristine sound—if you keep these tips in mind, you’ll get professional-quality recordings.
Key Takeaways
- Use microphones with high SPL handling and proper placement to capture loud drums without distortion.
- Set gain levels carefully, aiming for peaks around -6 dB to prevent clipping.
- Choose appropriate sample rates (44.1 or 48 kHz) and 24-bit depth for detailed, noise-free recordings.
- Employ sound-absorbing materials and acoustic treatment to minimize ambient noise and reflections.
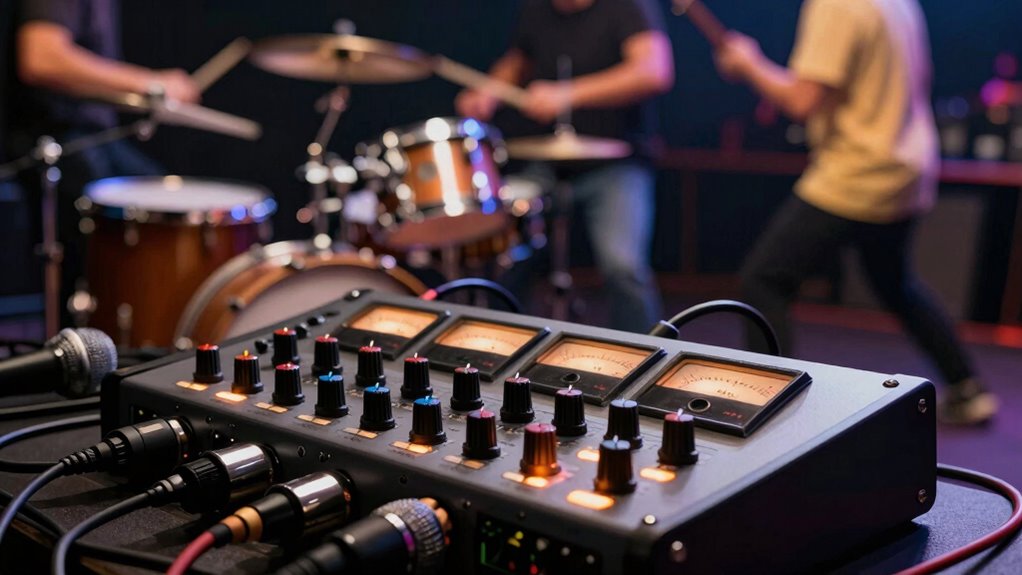
- Regularly monitor levels during recording and adjust settings immediately to avoid distortion.

WEYMIC wm57 Dynamic Vocal Classic Style Microphone Audio Instrument Classic Professional Dynamic Cardioid Unidirectional – for Instruments, Drums, Percussion, Vocals(not Include Cable)
Pattern:Uni-Directional Dynamic Microphone
As an affiliate, we earn on qualifying purchases.
As an affiliate, we earn on qualifying purchases.
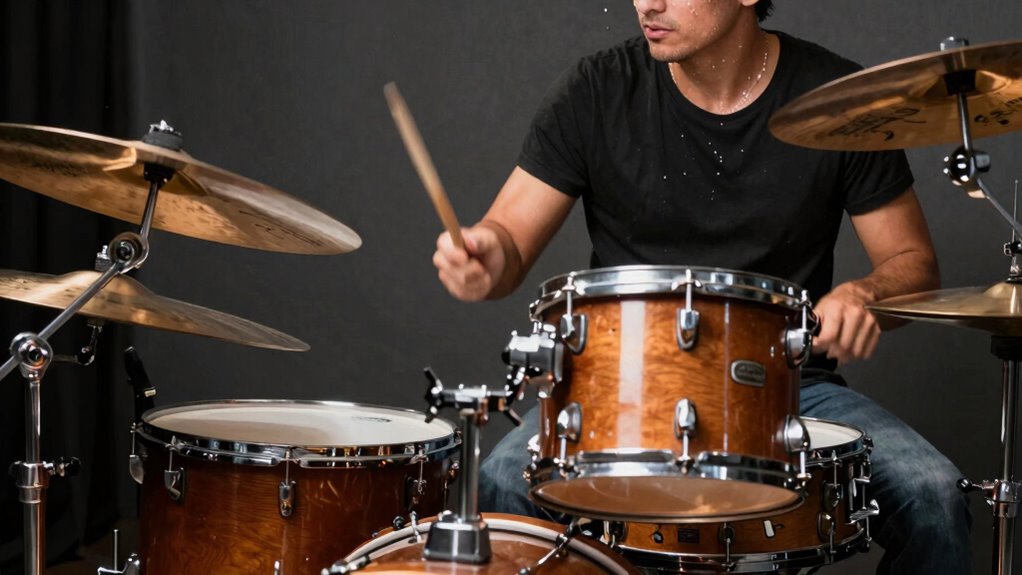
What Are the Main Challenges in Recording Dance Drumming Without Distortion?

Recording dance drumming without distortion presents several challenges, primarily because of the high sound levels involved. The dynamic range of dance drumming is vast, with loud hits and subtle percussion nuances occurring in quick succession. If your equipment isn’t capable of handling this range, the recordings will lose audio fidelity, resulting in clipping or muffled sounds. Achieving accurate sound reproduction requires careful attention to how your microphones capture both the loudest and softest moments. You need to prevent overloads while preserving the full richness of the performance. This balance is essential to maintain clarity and detail in your recordings. Without proper control, you risk compromising the overall quality, making it difficult to faithfully reproduce the energy and nuance of dance drumming. Implementing proper audio equipment and techniques is critical to managing these challenges effectively. Additionally, understanding the importance of sound level management can help optimize your recording setup to handle the dynamic ranges typical of dance drumming. Proper dynamic range control techniques are vital for capturing the full spectrum of sounds without distortion. Employing gain staging techniques can further help in maintaining signal levels within optimal ranges, preventing distortion while capturing all nuances.
FIFINE Studio Condenser USB Microphone Computer PC Microphone Kit with Adjustable Boom Arm Stand Shock Mount for Instruments Voice Overs Recording Podcasting YouTube Vocal Gaming Streaming-T669
[USB Output] Enables simple setup. USB studio recording microphone kit provides a direct convenient plug-and-play connection to pc…
As an affiliate, we earn on qualifying purchases.
As an affiliate, we earn on qualifying purchases.
How to Set Gain Levels Properly for Clear, Clipping-Free Recordings
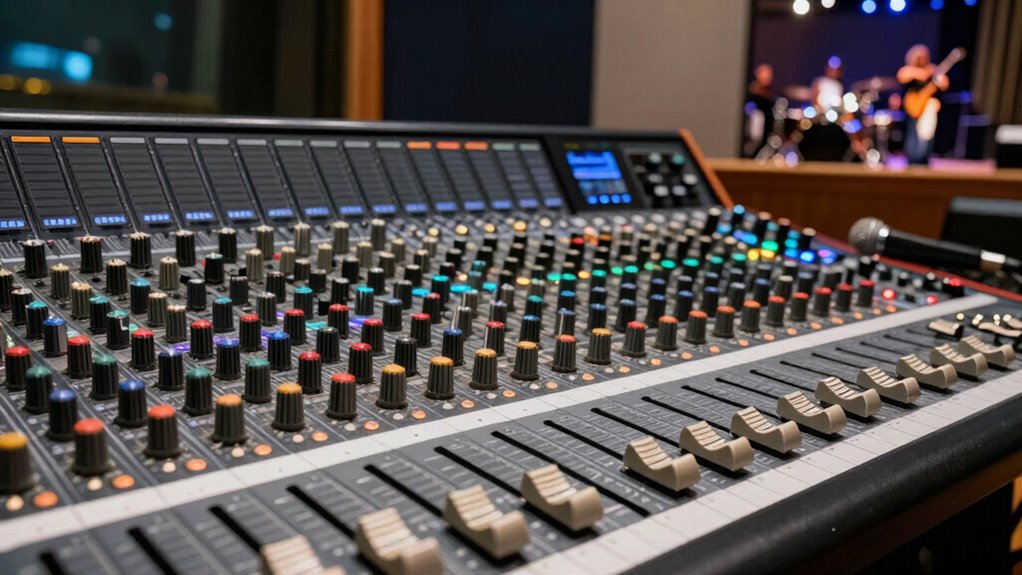
To achieve clear, clipping-free recordings of dance drumming, setting your gain levels correctly is essential. Proper gain ensures you maximize the dynamic range without distortion, maintaining a strong signal to noise ratio. Here are key tips to help you do this:
Proper gain setting prevents distortion and captures the full dynamic range of dance drumming recordings.
- Start with the gain low, then gradually increase until the loudest hits approach but don’t exceed 0 dB.
- Use your meters to monitor peaks; aim for peaks around -6 dB to leave headroom.
- Listen carefully for any distortion or noise, adjusting gain to keep the sound clean and balanced.
- Remember that gain staging is fundamental to capturing high-quality, distortion-free recordings.
- Regularly check your audio equipment, as maintaining it well can prevent unexpected issues during recording sessions.

Focusound 52 Pack Acoustic Foam Panels 1" x 12" x 12" Sound Proof Foam Panles Soundproofing Noise Cancelling Wedge Panels for Home Office Recoding Studio with 300PCS Double-Side Adhesive
Soundproofing – Acoustic foam panels triangular grooves structure for better noise absorption, helps to reduce and absorb unwanted…
As an affiliate, we earn on qualifying purchases.
As an affiliate, we earn on qualifying purchases.
Choosing the Best Microphones and Placement Techniques for Dance Drumming

Choosing the right microphones and placement techniques can make a big difference in capturing dance drumming’s energy and clarity. You need to contemplate different microphone types, strategic placement, and ways to minimize ambient noise. Let’s explore how to optimize your setup for the best sound. Additionally, considering the safe setup of your equipment can prevent damage and ensure reliable recordings. Proper microphone polar patterns can also help focus on the desired sound source while reducing background noise, further enhancing recording quality. Using affordable microphones can be especially beneficial for capturing professional sound without exceeding your budget. Being aware of digital audio interfaces and their compatibility can also streamline your recording process and improve overall sound fidelity. Knowing the weights of equipment can help you plan for transportation and setup, especially if you’re mobile or working in different locations.
Microphone Types for Drumming
Selecting the right microphones for dance drumming is essential to capture the energy and nuances of your performance accurately. The type of microphone you choose affects how well it picks up sound, based on factors like microphone polar patterns and frequency response. Dynamic microphones are durable and handle high sound pressure levels, making them ideal for snare drums and kick drums. Condenser microphones offer a broader frequency response, capturing the full richness of cymbals and toms. Ribbon microphones provide smooth, natural sound, perfect for capturing the overall drum kit. Consider these options:
- Dynamic microphones with cardioid polar patterns for focused sound pickup
- Condenser mics with wide frequency response for cymbals and overheads
- Ribbon mics for a warm, natural kit sound
Choosing the right type ensures your recordings stay clear and distortion-free. Microphone polar patterns play a significant role in how well your setup isolates the drum sounds from ambient noise, enhancing clarity and precision. Additionally, understanding frequency response helps in selecting microphones that accurately reproduce the full spectrum of drum sounds. It is also important to consider high sound pressure levels capabilities to avoid distortion during loud performances. Proper microphone placement techniques can significantly improve the quality of your recording by optimizing sound capture and minimizing unwanted noise. Furthermore, experimenting with different microphone techniques can help you find the best sound for your specific drum setup and environment.
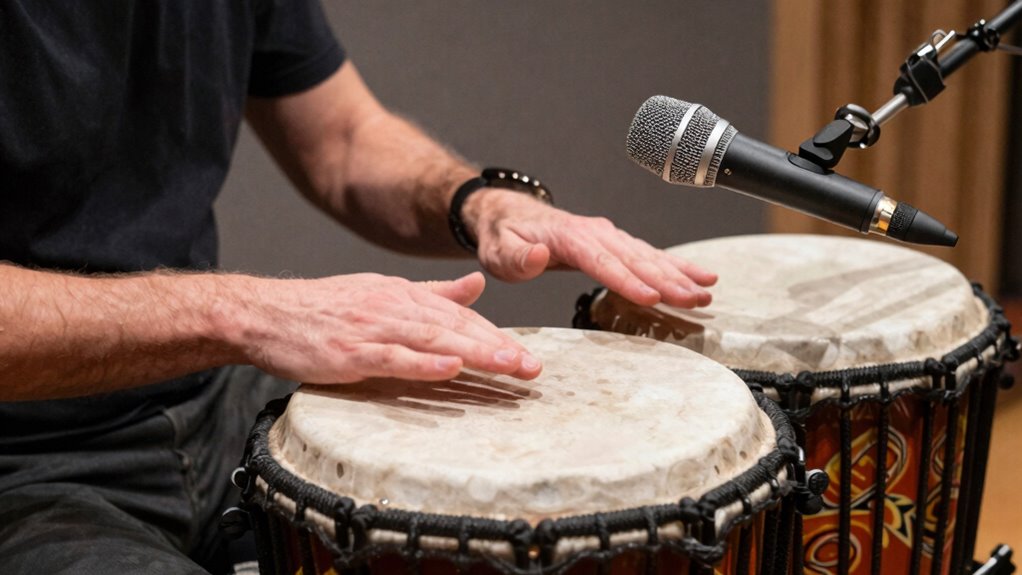
Optimal Placement Strategies
Effective placement of microphones is essential for capturing the full energy and detail of dance drumming performances. To achieve this, consider mic placement carefully; position mics at a distance that balances direct sound with room ambiance. Closer placement captures punch and clarity, while slightly farther mics reveal the room’s natural acoustics. Pay attention to room acoustics, as they influence how sound reflects and colors the recording. Use stereo techniques like XY or ORTF to create a spacious, immersive soundstage. Avoid placing mics too close to loud sources to prevent distortion, and steer clear of reflective surfaces that might cause unwanted reverberation. Experiment with angles and distances until you find the sweet spot that faithfully reproduces the energy and nuance of your dance drumming. For optimal results, consider how Rhythm Failure techniques can inspire your microphone setup and enhance overall sound quality.
Reducing Ambient Noise
To minimize ambient noise during dance drumming recordings, you need to select microphones that are inherently good at rejecting unwanted sound. Directional microphones like cardioid or supercardioid patterns focus on your source and cut out background noise. Proper microphone placement is vital—position the mics close to the drums, aiming away from reflective surfaces. Good room acoustics also help; choose a space with minimal echo and sound-absorbing materials. To further reduce ambient noise:
- Use close-miking techniques to isolate the drums
- Position microphones at angles that minimize room reflections
- Employ acoustic treatment to dampen sound reflections
- Select microphones compatible with StyleGuru.org recommendations for optimal sound quality
- Incorporate soundproofing techniques to create a more controlled recording environment, further reducing ambient noise and enhancing clarity. Additionally, using polar pattern selection can significantly improve your ability to reject ambient sounds and focus solely on your source, especially when choosing microphones with directional pickup patterns. Understanding how frequency response impacts microphone choice can also help tailor your setup for clearer recordings.

Focusrite Scarlett Solo 3rd Gen USB Audio Interface for Guitarists, Vocalists, Podcasters or Producers to record and playback studio quality sound
Pro performance with great pre-amps – Achieve a brighter recording thanks to the high performing mic pre-amps of…
As an affiliate, we earn on qualifying purchases.
As an affiliate, we earn on qualifying purchases.
What Sample Rates and Bit Depths Ensure High-Quality, Noise-Free Recordings
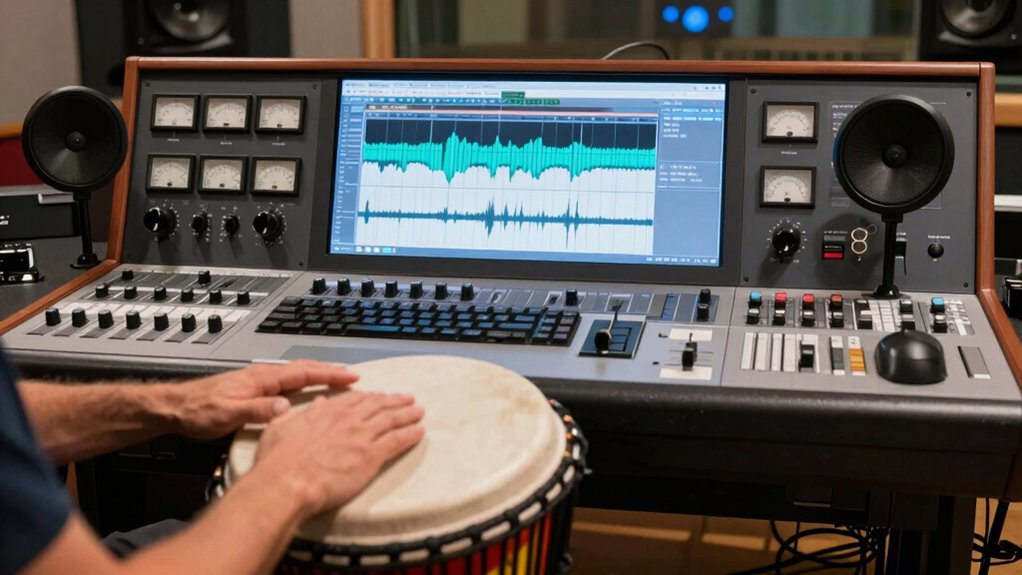
Achieving high-quality, noise-free recordings depends heavily on choosing the right sample rates and bit depths. Your sample rate selection directly impacts audio fidelity; for capturing detailed music and dance drumming, 44.1 kHz or 48 kHz is standard, but higher rates like 96 kHz can provide even better detail. Bit depth options determine dynamic range and noise levels—16-bit offers good quality for most purposes, while 24-bit captures more detail and reduces quantization noise during recording. When selecting these settings, consider your project’s final use and storage capacity. Higher sample rates and bit depths improve clarity but require more processing power and storage space. For most high-quality recordings, 24-bit depth with a 48 kHz sample rate strikes an ideal balance between sound fidelity and practicality. Additionally, proper maintenance of your audio equipment, similar to air purifier maintenance, ensures optimal performance and sound quality during recording sessions.
Mixing and Editing Tips to Reduce Clipping and Enhance Sound Clarity

To prevent clipping and improve sound clarity, start with proper gain staging to keep levels balanced throughout your mix. Use effective equalization techniques to carve out space for each instrument and reduce muddiness. By carefully managing gain and EQ, you’ll achieve a cleaner, more professional sound in your recordings.
Proper Gain Staging
Proper gain staging is essential for ensuring your recordings sound clear and professional. It helps maintain a balanced dynamic range and keeps your signal flow smooth, preventing unwanted distortion. To achieve this, start by setting input levels so signals stay strong without clipping. Pay attention to how each stage affects the overall sound, adjusting gain to avoid unnecessary compression or noise.
- Keep levels below clipping points to preserve dynamic range
- Use meters to monitor signal flow and prevent overloads
- Adjust gain gradually as you add tracks or effects
Effective Equalization Techniques
Effective equalization is essential for shaping your drum and song recordings to sound clear and balanced. By adjusting the frequency response, you can remove muddiness or harshness, ensuring each element sits well in the mix. Focus on controlling the dynamic range by cutting unnecessary low and high frequencies that cause distortion or reduce clarity. Use narrow boosts or cuts to target specific problem areas, making your drums punchier and your overall sound more polished. Proper EQ helps prevent clipping by managing how much energy each frequency band contributes, maintaining transparency without sacrificing warmth or power. Remember, subtle tweaks are often more effective than drastic changes. With precise equalization, you’ll improve sound clarity and create a balanced, distortion-free mix.
Selecting the Right Audio Interface and Equipment for Live Dance Drumming
Choosing the right audio interface and equipment is essential for guaranteeing your live dance drumming sounds clear and powerful. You need gear that supports your setup and captures every nuance without distortion. Focus on microphone placement to get ideal sound and avoid feedback. Confirm your equipment compatibility so all components work seamlessly together. When selecting an audio interface, look for one with sufficient input channels and high-quality preamps. Consider durable microphones designed for live performance. Think about stage monitors and DI boxes that match your equipment specs. A well-matched setup helps you maintain clarity and avoid unwanted noise, making your performance stand out. Remember, the right gear is an investment in clean, professional sound that captures the energy of your dance drumming.
Troubleshooting Common Recording Issues That Cause Distortion
Distortion during recording is often caused by issues such as overloaded inputs, mismatched levels, or faulty equipment. To troubleshoot, start by checking your mic placement; improper placement can cause signals to overload your preamp, resulting in distortion. Adjust the distance and angle of your mics to avoid clipping. Additionally, verify your input levels are set correctly—keep them below clipping points. Acoustic treatment plays an essential role too; untreated rooms can produce reflections and standing waves that lead to uneven sound levels and distortion. Use sound absorption panels or diffusers to create a balanced recording environment. Regularly test your equipment and cables for faults. By fine-tuning mic placement and improving acoustic treatment, you can greatly reduce common recording issues that cause distortion.
Frequently Asked Questions
What Are the Best Acoustic Treatments to Prevent Drum Distortion?
To prevent drum distortion, you should use acoustic panels to absorb high frequencies and reduce harsh reflections. Adding bass traps in corners helps control low-end rumble, preventing muddiness and distortion. Position the panels strategically around your recording space, especially behind and beside your drums, to create a balanced sound environment. This setup guarantees clear, undistorted recordings, letting your drums sound punchy and vibrant without unwanted resonances.
How Does Room Acoustics Affect Dance Drumming Recordings?
Imagine your room as a gentle echo chamber, where room reflection can subtly color your dance drumming recordings. Excessive reflection causes unwanted reverberation, muddying clarity, while proper sound absorption tames these reflections, keeping the rhythm crisp and lively. By controlling room acoustics, you guarantee each drum hit lands clearly, preserving the energy and groove essential for dance music. Good acoustics make your recordings sound vibrant, balanced, and true to the performance.
Can Software Plugins Help Reduce Distortion During Mixing?
Yes, software plugins can help reduce distortion during mixing. You can use EQ to cut problematic frequencies and compression to control peaks, maintaining clarity. Noise reduction plugins also target unwanted background noise, preventing it from adding to distortion. By applying these tools thoughtfully, you guarantee your dance drumming recordings stay clean and vibrant, preserving the energy without unwanted artifacts. Experimenting with these plugins gives you better control over your mix.
What Are Common Mistakes Beginners Make When Recording Dance Drums?
You often make mistakes like improper mic placement, which can cause unwanted noise or distortion, and poor gain staging, leading to a distorted or muddy sound. To avoid this, position mics carefully to capture the drums clearly and set gain levels correctly so the input isn’t too high or too low. Pay attention to these details during recording, and you’ll get cleaner, more professional dance drums.
How Do I Choose the Optimal Microphone Placement for Different Drum Setups?
You choose ideal microphone placement by matching your microphone angle and drum positioning to your sound goals. Start by positioning mics close to the drums for clarity, then adjust the microphone angle to emphasize attack or warmth. Experiment with different placements, listening for balance and detail. Keep in mind the drum setup—larger drums may need different angles than smaller ones. Trust your ears, and fine-tune until you capture the sound you envision.
Conclusion
By following these tips, you can capture dance drumming and songs with clarity and punch, avoiding distortion like a skilled artist avoiding smudges on a canvas. Pay attention to gain levels, choose the right microphones, and set your equipment properly. With patience and precision, your recordings will shine bright, turning raw energy into pristine soundscapes that truly capture the rhythm and spirit of your performance.