To shoot in low light without noise, start with a low ISO setting and increase it gradually if needed. Use wider apertures to let in more light and keep shutter speeds slow but stable, possibly with a tripod or stabilization. Enable noise reduction features on your camera and consider post-processing tools to fine-tune noise levels. Proper exposure, focus, and stabilization help keep footage clear—continue exploring to master these essential techniques.
Key Takeaways
- Use the lowest feasible ISO setting and increase it gradually to reduce sensor noise during low-light shooting.
- Opt for a wider aperture to maximize light intake, minimizing the need for high ISO and reducing noise.
- Stabilize your camera with a tripod or remote shutter to allow longer exposures without introducing motion blur or noise.
- Enable camera-specific noise reduction features or shoot in RAW to better manage noise during post-processing.
- Balance shutter speed and aperture to gather sufficient light without increasing ISO excessively, maintaining image clarity.

Shcngqio 1080P HD Webcam with Microphone, Noise Cancellation, Privacy Cover, Wide-Angle Lens, Auto Light Correction, Plug & Play USB Webcam for Laptop, Desktop, PC, Mac, Zoom, Skype, Streaming (Black)
【1080P HD Clarity with Wide-Angle Lens】Experience exceptional clarity with the Shcngqio TWC29 1080p Full HD Webcam. Its wide-angle…
As an affiliate, we earn on qualifying purchases.
As an affiliate, we earn on qualifying purchases.
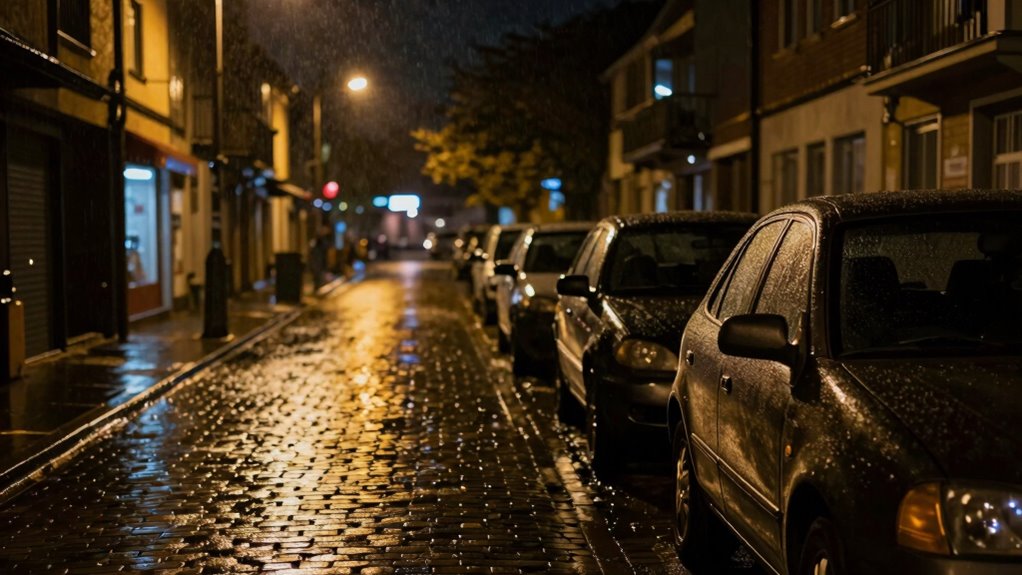
Why Low-Light Noise Ruins Your Night Photos and How to Fix It
When shooting in low light, digital noise often appears as grainy or speckled patches that can ruin your night photos. This happens because increasing sensor sensitivity, or ISO, amplifies the camera’s signal, which also boosts noise. If your sensor sensitivity is too high, your images become less clear and more distracting. To combat this, rely on noise reduction features, either in-camera or during post-processing. Modern cameras often have built-in noise reduction settings that smooth out graininess without sacrificing too much detail. Understanding how sensor sensitivity affects noise and knowing how to apply noise reduction techniques helps you capture sharper, cleaner night photos. Additionally, using a tripod can help stabilize your shot at slower shutter speeds, reducing the need to increase ISO and thereby minimizing noise. Being mindful of sensor technology can also influence your results, as newer sensors typically produce less noise at higher ISO levels. Recognizing the importance of sensor performance in low-light conditions can guide you in choosing the right camera for night photography. Keeping these factors in check allows your photos to look more professional and less cluttered by unwanted noise. Moreover, understanding the impact of sensor design on noise levels can further improve your ability to shoot effectively in challenging lighting. A better grasp of sensor architecture can help you select equipment that inherently produces cleaner images at high ISO settings.

Ulanzi TT43 Extendable Photography Light Stand, Adjustable 6.23ft Aluminum Tripod, Reversible Portable Studio Lighting Tripod for Continute Output Lighting/Strobe Light/Webcams/Cameras/Softbox
【Ultra Sturdy Aluminum Light Stand】This TT43 professional photography light stand features full metal build with anodized aluminum alloy,…
As an affiliate, we earn on qualifying purchases.
As an affiliate, we earn on qualifying purchases.
How to Choose the Right ISO for Clearer Night Shots
Choosing the right ISO setting is essential for capturing clear night photos, as it directly affects the amount of noise in your images. Higher ISO increases sensor sensitivity, making it easier to shoot in low light, but it also introduces more noise. To avoid grainy photos, start with a lower ISO and gradually increase it until you achieve a well-exposed shot. Proper ISO calibration ensures your camera’s sensor sensitivity aligns with the setting, minimizing unnecessary noise. If your camera allows, use auto ISO with a noise reduction feature enabled for better results. Remember, every camera handles ISO differently, so test your gear in low-light conditions to understand its ideal sensitivity. This way, you’ll strike the perfect balance between brightness and clarity. Additionally, understanding the importance of filtering and pump protection can help maintain your camera’s performance during extended low-light shooting sessions. Recognizing the role of ISO calibration can further enhance image quality by reducing unwanted noise and ensuring consistent exposure. Regularly calibrating your camera’s ISO settings can also help prevent overexposure and achieve more accurate color reproduction. Being aware of your camera’s noise reduction capabilities can also significantly improve night shot results.

TTArtisan 7.5mm F2.0 APS-C Large Aperture Cameras Lens Fisheye Lens Compatible with Sony E Mount Camera A5000, A5100, A6000,A6100, A6300,A6400, A6500, A6600, NEX-3,NEX-3N, NEX-3R
Documentary Photography: People and objects can achieve a good balance in the picture, shooting with 17mm lens. So…
As an affiliate, we earn on qualifying purchases.
As an affiliate, we earn on qualifying purchases.
How Aperture and Shutter Speed Affect Noise in Low Light
Aperture and shutter speed play significant roles in managing noise during low-light photography. A wider aperture size allows more light to reach the sensor, reducing the need for high ISO settings that can introduce noise. Keep your aperture as open as possible without compromising depth of field. Shutter duration also impacts noise; longer shutter times let in more light, but excessive shutter duration can increase motion blur. To minimize noise, balance a larger aperture with a suitable shutter speed that prevents blur. Shorter shutter durations reduce noise but require more light, which may mean opening the aperture wider. Adjust both settings carefully to maximize light intake while maintaining sharpness and minimizing grain in your footage. Understanding camera settings is essential for achieving clear shots in low-light conditions. Additionally, selecting professional-grade equipment can further improve low-light performance and noise reduction.

OBSBOT Tiny SE 1080P 100FPS Webcam for PC, AI Tracking PTZ Streaming Camera with 1/2.8" Sensor, Gesture Control, Dual ISO, Staggered HDR, Web Camera for Desktop Computer, Laptop, Meeting, Video Calls
【OBSBOT × EWC 2025 Official Partnership】 OBSBOT is thrilled to be the 2025 Esports World Cup (EWC) Official…
As an affiliate, we earn on qualifying purchases.
As an affiliate, we earn on qualifying purchases.
How to Use Image Stabilization to Reduce Blur and Noise

Ever wondered how to keep your shots sharp and free of noise even in low-light conditions? Using image stabilization (IS) helps prevent blur caused by hand movement, allowing you to shoot at slower shutter speeds without introducing noise. When stabilized, your camera can capture cleaner images, reducing the need for high ISO and minimizing digital noise. Proper stabilization also ensures your footage remains sharp, making post-processing smoother. Additionally, understanding camera stabilization techniques can significantly improve your low-light shooting results. Implementing proper camera handling practices further enhances the effectiveness of stabilization. Mastering stabilization methods can lead to more consistent and professional-looking footage in challenging lighting. Here’s a quick comparison:
| Stabilized Shots | Unstabilized Shots |
|---|---|
| Crisp, clear images | Blurry, noisy footage |
| Reduced motion blur | Increased noise from high ISO |
| Less camera shake | More post-processing needed |
| Better low-light detail | Difficult to recover detail |
| Easier color grading | Difficult to correct |
Leverage stabilization to maximize your footage’s clarity and visual impact. Effective stabilization techniques can further enhance your low-light shooting success, especially when combined with appropriate camera settings.
How to Use Camera Noise Reduction and Post-Processing Techniques

Adjust your camera’s noise reduction settings to find the right balance between reducing grain and preserving detail. Post-processing tools can further clean up noise, but overdoing it may blur important textures. Focus on applying effective techniques that enhance your image without sacrificing sharpness. Additionally, understanding lighting conditions can help you optimize camera settings for low-light shooting. Being aware of camera sensor sensitivity can also help you choose the best ISO settings for minimal noise in challenging lighting. Considering cabling and installation techniques can ensure your camera setup maintains optimal performance in different environments.
Optimizing Noise Reduction Settings
When shooting in low light, noise can quickly become a major issue, but optimizing noise reduction settings on your camera can make a noticeable difference. Start by adjusting your noise reduction level to strike a balance between detail and smoothness. Use sensor calibration to guarantee your camera’s sensor produces accurate noise profiles, which helps software distinguish noise from actual detail. Enable high ISO noise reduction sparingly, as excessive use can blur fine features. Keep in mind that some cameras offer customizable noise reduction settings—experiment to find what works best for your scene. Additionally, consider whether your camera applies in-camera noise profiling during shooting. Fine-tuning these options helps minimize noise without sacrificing vital details, resulting in cleaner footage in challenging low-light conditions. Consulting camera calibration procedures can further enhance your ability to create high-quality low-light footage.
Applying Effective Post-Processing Methods
To effectively reduce noise in your low-light photos, leveraging both camera noise reduction settings and post-processing techniques is essential. Adjusting sensor sensitivity during shooting helps minimize image noise, but some noise may still appear. Post-processing tools like noise reduction software allow you to fine-tune this further. Use programs such as Adobe Lightroom or Photoshop to selectively reduce luminance and color noise without sacrificing detail. Be cautious not to overdo it, as excessive noise reduction can create a plasticky look. Focus on maintaining a balance between noise reduction and preserving image sharpness. By combining careful sensor sensitivity management with targeted post-processing, you can considerably improve low-light footage, resulting in cleaner, clearer images with reduced sensor noise.
Balancing Noise Reduction and Detail
Balancing noise reduction and detail is crucial for capturing high-quality low-light images. Too much noise reduction can smooth out textures, losing detail, while too little leaves noise artifacts visible. To find the right balance, adjust your camera’s noise reduction settings based on sensor sensitivity. Higher sensitivity increases noise, so moderate settings help preserve detail without amplifying noise artifacts. You can also use post-processing software to fine-tune noise reduction, selectively smoothing areas to retain sharpness. Keep in mind that aggressive noise reduction may cause a loss of fine details. Experiment with different levels to see what preserves your image’s clarity while minimizing noise. Remember, the goal is to achieve a natural look without sacrificing important textures or introducing unwanted artifacts. Incorporating advanced noise reduction techniques can further enhance image quality in challenging lighting conditions.
Which Shooting Mode Works Best for Low-Light Photography
Choosing the right shooting mode can make a big difference in low-light conditions. Night mode offers automatic settings to brighten images without much effort, while manual mode gives you full control over exposure and ISO. Understanding the advantages of each helps you capture clearer, more detailed photos in challenging lighting.
Night Mode Advantages
Have you ever struggled to capture clear photos in dim lighting conditions? Night mode is designed to help you succeed. It boosts sensor sensitivity, allowing your camera to gather more light without overexposing the shot. Plus, it leverages advanced image stabilization to reduce blur caused by shaky hands during long exposures. This combination ensures sharper images with minimal noise. Night mode also intelligently adjusts settings like ISO and shutter speed for ideal results. Additionally, it often processes multiple images to create a brighter, clearer photo. The benefits include improved detail, reduced grain, and better color accuracy in low-light environments. Overall, night mode simplifies low-light photography, making it easier to get high-quality shots without manual adjustments. Using optimized camera settings can further enhance your low-light photography experience.
Manual Mode Benefits
Could manual mode be the best choice for low-light photography? Absolutely. It gives you full control over settings like shutter speed, aperture, and ISO, allowing you to optimize for the scene. A larger sensor size captures more light, reducing noise, while adjusting aperture lets you gather more light without sacrificing sharpness. Manual mode also improves autofocus speed, especially with focus peaking and manual adjustments, giving you sharper images in dim conditions. Here’s a quick comparison:
| Feature | Manual Mode Benefits |
|---|---|
| Sensor Size | Larger sensors improve light capture and noise reduction |
| Autofocus Speed | Better control allows quick, precise focusing |
| Low-Light Clarity | Custom settings reduce noise and enhance detail |
Using manual mode empowers you to maximize your camera’s potential in low-light situations.
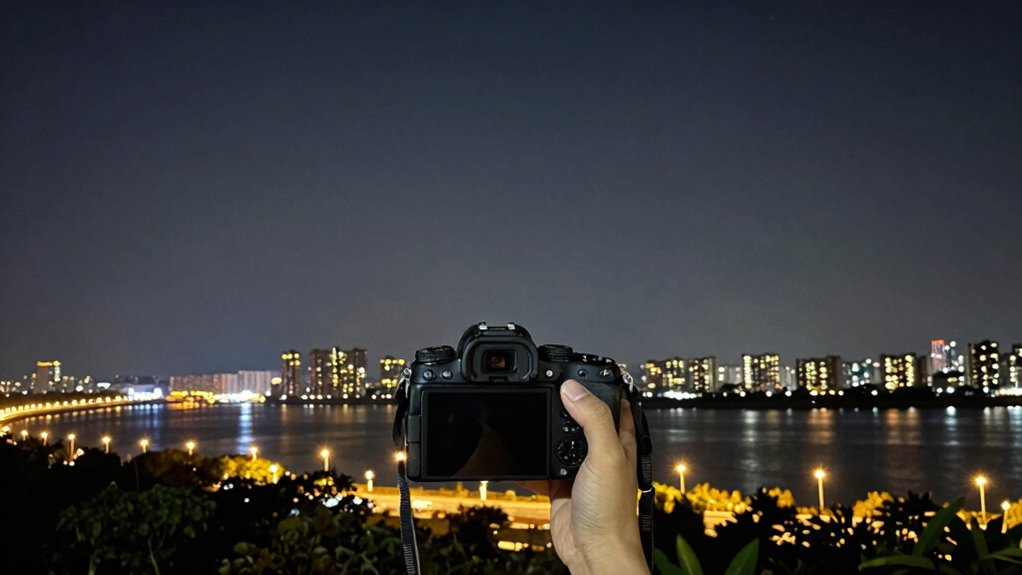
How Using a Tripod or Stabilizer Sharpens Night Photos

Using a tripod or stabilizer is essential for capturing sharp night photos because it eliminates camera shake caused by long exposure times. When you use tripod stability, your camera remains perfectly steady, allowing for clear, detailed images even in low light. This reduces the need for shaky handheld techniques that can blur your shots. To maximize sharpness, ensure your tripod is on a stable surface and fully extended. Use a remote shutter release or timer to avoid vibrations when pressing the shutter button. Keep your camera steady and avoid sudden movements. Consider using a stabilizer if you’re moving around; it helps maintain sharpness during handheld shots. Remember, a stable setup is key to capturing crisp, noise-free night photos.
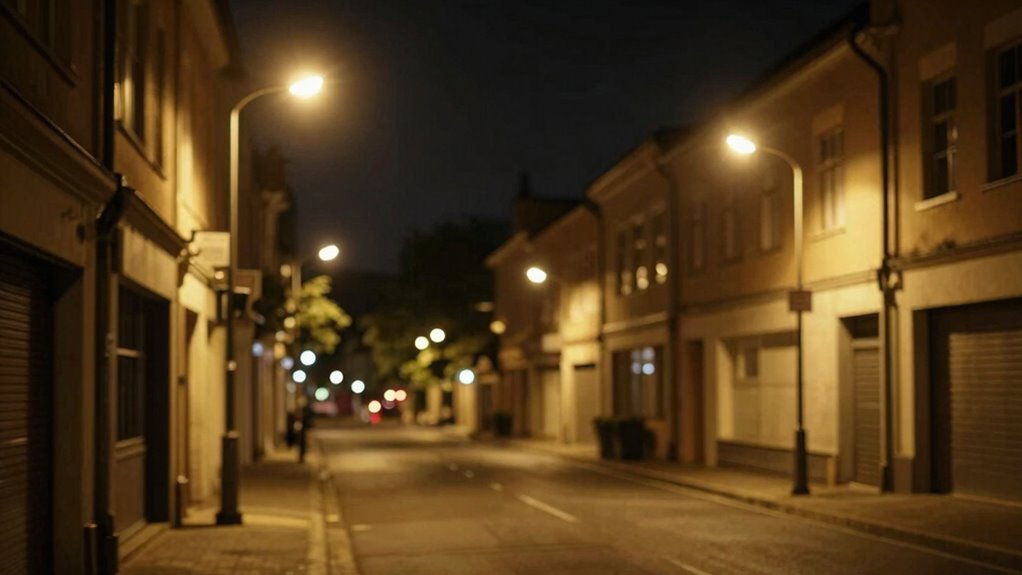
How to Experiment With Exposure and Focus for Better Low-Light Shots

Experimenting with exposure and focus is essential for capturing stunning low-light shots because it allows you to find the perfect balance between brightness and detail. Start by adjusting exposure compensation to brighten or darken your image without changing your camera’s overall settings. This quick tweak helps you gauge the ideal exposure for the scene. Switch to manual focus to gain precise control, especially in low-light conditions where autofocus can struggle. Use your camera’s focus peaking or magnify the image to ensure your subject is sharp. Don’t be afraid to experiment with different exposure levels and focus points; small adjustments can dramatically improve your results. Practice these techniques consistently to develop an intuitive sense of how exposure and focus work together in challenging lighting.
Top Tips for Shooting in Low-Light Conditions Without Noise
Shooting in low-light conditions often introduces noise, but with the right techniques, you can achieve clear, sharp images. First, stabilize your camera using a tripod or other support to prevent motion blur. Use fast lenses with wide apertures and consider lens accessories like image-stabilized lenses to enhance sharpness. Pay attention to camera ergonomics; hold your camera steadily and use both hands for better control. Adjust your ISO carefully—keep it as low as possible to reduce noise. Additionally, consider shooting in RAW format to maximize post-processing options. Ultimately, utilize noise reduction settings in your camera or editing software to refine your footage without sacrificing detail. These tips help you capture high-quality images even in challenging low-light conditions.
Frequently Asked Questions
How Does Sensor Size Influence Low-Light Noise Performance?
A larger sensor size markedly improves noise performance in low-light conditions. When you use a bigger sensor, it captures more light, reducing the need to boost ISO, which often introduces noise. This means your footage stays cleaner and clearer even in dim environments. So, if you want better low-light shots, prioritize cameras with larger sensors, as they naturally deliver superior noise control and better overall image quality.
What Are the Best Camera Settings for Handheld Low-Light Shooting?
For handheld low-light shooting, you should optimize ISO by keeping it as low as possible to reduce noise. Use a wide aperture, like f/1.8 or f/2.8, to let in more light and maintain a faster shutter speed. Stabilize your camera with both hands or a tripod if possible. These settings help you capture clear footage without introducing noise, even in challenging lighting conditions.
Can Specific Lens Coatings Reduce Noise in Night Photography?
While lens coatings don’t directly eliminate noise, they play a subtle role in noise reduction by minimizing reflections and flare, helping your camera capture cleaner images in low light. High-quality coatings improve contrast and clarity, allowing you to maximize your sensor’s potential. So, investing in lenses with advanced coatings can enhance overall image quality, making night photography smoother and more detailed without adding noise, even in challenging lighting conditions.
How Do Different Camera Brands Compare in Low-Light Noise Handling?
You’ll find that different camera brands vary in low-light noise handling due to their sensor technology and brand reputation. For example, Sony and Nikon are known for advanced sensors that reduce noise at high ISOs, while Canon often offers excellent image processing. Your choice depends on your needs; trusted brands with reputable sensor tech typically produce cleaner shots in low light, making your footage sharper and less noisy.
Are There Smartphone Techniques to Minimize Noise in Low-Light Videos?
Yes, you can minimize digital noise in low-light videos on your smartphone. Use apps that allow manual control over ISO and shutter speed, reducing high ISO settings that increase noise. Enable night mode or low-light shooting features, which optimize sensor technology for better light capture. Keep your lens clean and steady, as stable shots reduce digital noise. These techniques help you get clearer footage even in challenging lighting conditions.
Conclusion
Think of low-light photography like catching fireflies at dusk—patience and the right settings make all the difference. I once struggled to get clean shots until I adjusted my ISO and used a tripod. Now, my photos shimmer like stars without noise. With these tips, you’ll turn hazy, noisy shots into clear, stunning images. Keep experimenting, and soon low-light conditions will become your favorite time to capture magic.