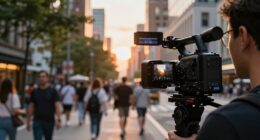
Neglecting good lighting is a cheap habit that instantly makes your videos look unprofessional and low quality. Poor or inconsistent light creates shadows, washes out colors, and kills the mood, no matter how expensive your camera is. To elevate your content, you need to understand proper scene setup, use budget-friendly tools, and leverage natural light effectively. Keep experimenting with lighting techniques, and you’ll discover simple ways to make your videos look cinematic without breaking the bank.
Key Takeaways
- Proper lighting enhances scene quality, making videos appear professional and expensive regardless of budget.
- Inconsistent or harsh lighting creates a cheap look; soft, well-placed lights improve visual appeal.
- Using natural light effectively or DIY diffusers can elevate video quality without high costs.
- Correct light placement reduces unflattering shadows, adding depth and sophistication to scenes.
- Even simple budget tools like reflectors and softboxes significantly boost production value.

Torjim Softbox Photography Lighting Kit, 16'' x 16'' Professional Softbox Lighting Kit with 85W 3000-7500K LED Bulbs, Studio Lights for Photography/Video Recording/Live Streaming/Portraits Shooting
【Illuminate Your Creativity】 Torjim softbox lighting kit is made of high-quality PET fabric and a foldable nylon cover,…
As an affiliate, we earn on qualifying purchases.
As an affiliate, we earn on qualifying purchases.
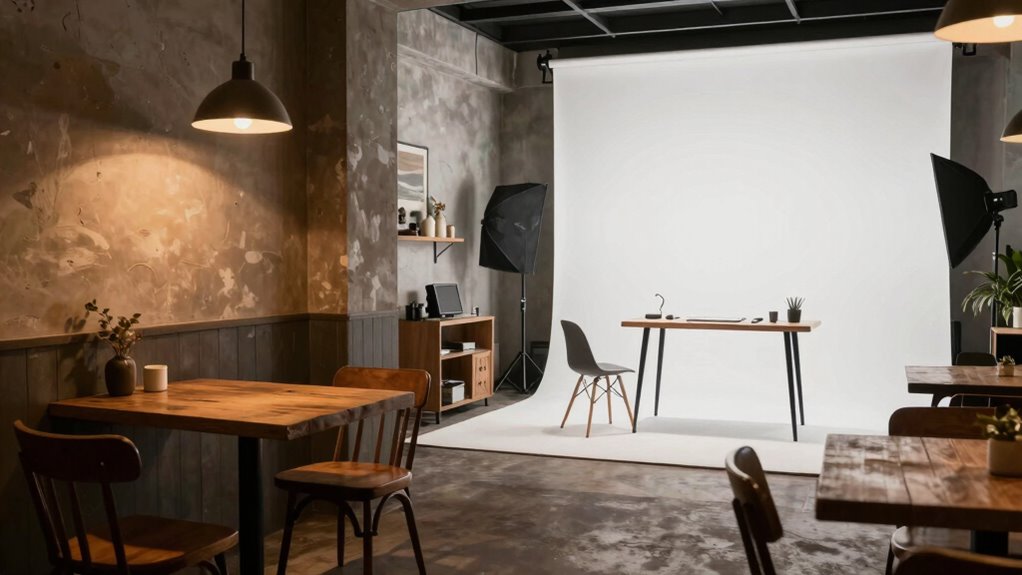
Why Good Lighting Is Essential for Professional-Looking Videos

Good lighting is the foundation of any professional-looking video because it guarantees your subject is clearly visible and accurately represented. Understanding lighting psychology helps you create the right mood and focus, guiding viewers’ emotions and attention. The right color temperature sets the scene’s tone, making your footage feel warm or cool as needed. Warm light (around 3000K) fosters intimacy and comfort, while cooler light (around 5600K) mimics daylight for a clean, clinical look. Proper lighting enhances facial features, reduces shadows, and ensures color accuracy, making your video appear polished. When you control lighting psychology and color temperature, you craft a visual story that feels authentic and professional, elevating your content beyond amateurish quality. Additionally, mastering lighting psychology allows you to evoke specific emotions and reinforce your message more effectively. Using the right lighting techniques can also help in managing visual clarity, ensuring your viewers focus on what matters most. Paying attention to lighting accessories can further refine your setup, giving you greater control over your video quality. Planning your lighting setup in advance with detailed lighting diagrams can also improve your overall results.

UBeesize 12'' Selfie Ring Light with 62’’ Tripod Stand for Video Recording, Live Streaming(YouTube, Instagram, TIK Tok), Compatible with Phones, Cameras and Webcams
Powerful 12-Inch LED Ring Light- Features a robust 12-inch ring design with 240 high-efficiency LEDs that output 10W…
As an affiliate, we earn on qualifying purchases.
As an affiliate, we earn on qualifying purchases.
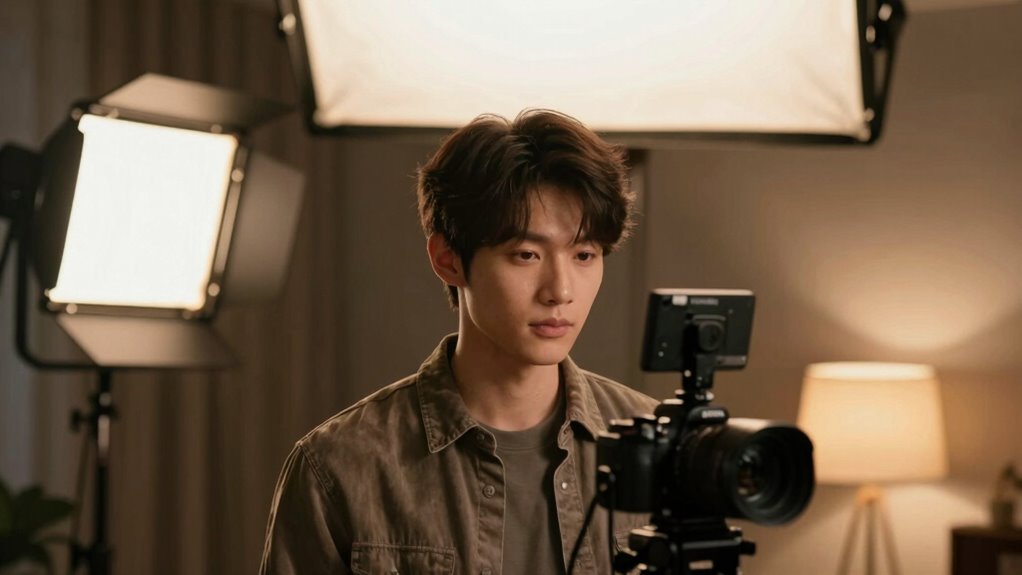
Common Lighting Mistakes That Make Your Videos Look Cheap
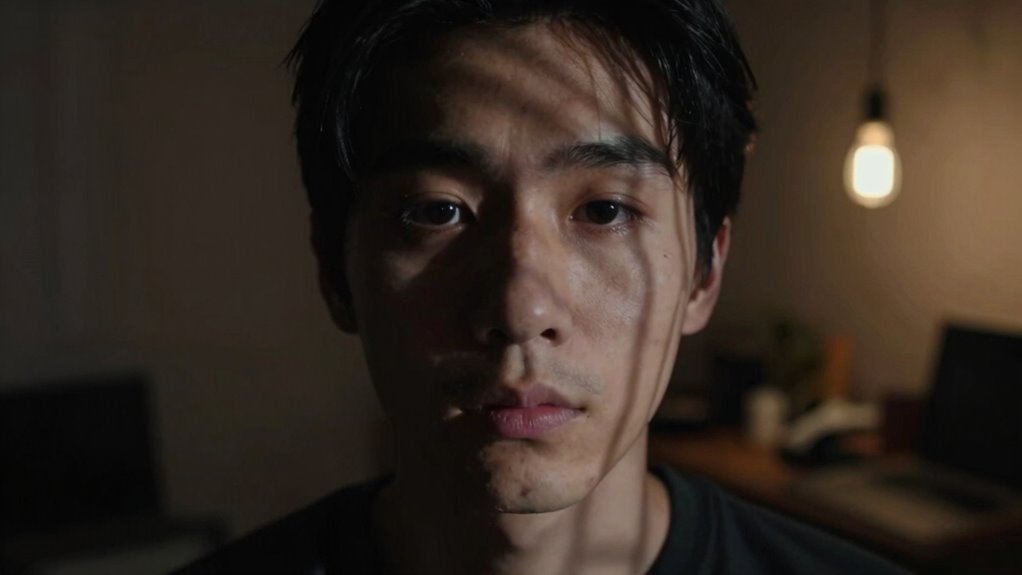
One of the most common mistakes that makes videos look cheap is poor or inconsistent lighting. Incorrect lighting placement can create harsh shadows or uneven brightness, making your footage appear amateurish. Avoid placing lights directly overhead or behind your subject, as it can distort the scene. Additionally, mismatched color temperature sources cause unnatural skin tones and color shifts. Mixing warm and cool lights without adjusting their temperature creates a jarring look. Consistent lighting placement ensures even illumination, while matching color temperature maintains a natural, professional appearance. Proper light positioning is essential to avoid unflattering shadows and hotspots, further enhancing your video’s quality. Paying attention to lighting techniques such as diffusing harsh light and using reflectors can also significantly improve the overall look. Using diffusers and reflectors helps soften shadows and distribute light more evenly, making your footage look more polished. Selecting appropriate lighting equipment that suits your scene and setting can prevent common pitfalls that lead to a cheap appearance. By paying close attention to these aspects, you’ll eliminate cheap-looking shadows and color issues, elevating your video quality and making your content look more polished and expensive.
Diffusion Film Filter Sheet 6 Packs Kit 15.7×19.6inches/ 40x50cm Lighting Gel Diffuser Roll Photography Video for Led Flash Strobe Light
Diffusion Gel Filters: Designed to alter the shadow characteristics or the beam shape of light.Itcan be used by…
As an affiliate, we earn on qualifying purchases.
As an affiliate, we earn on qualifying purchases.
The Best Budget-Friendly Lighting Tools Every Creator Should Have
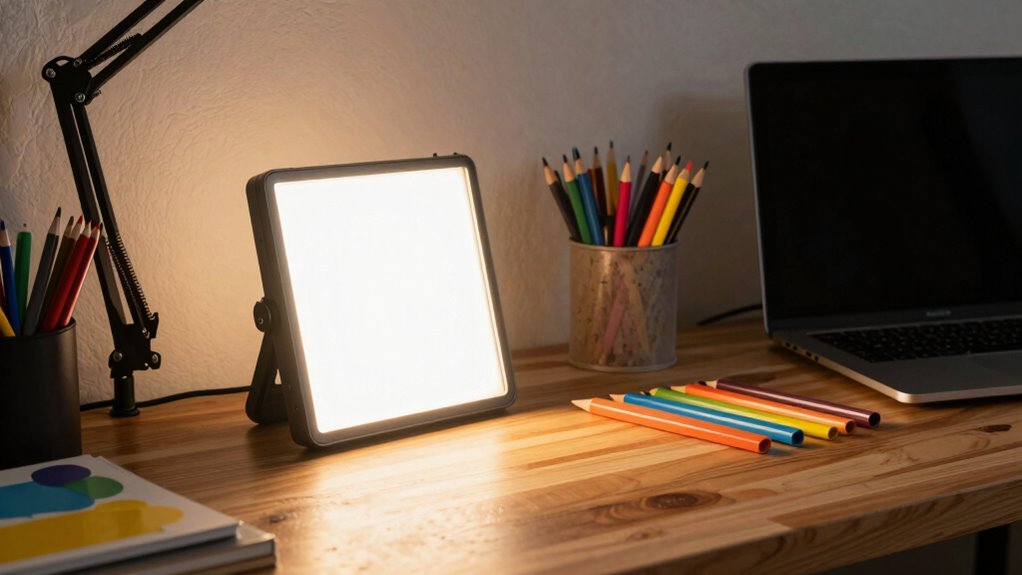
To achieve professional-looking videos on a budget, investing in the right lighting tools is essential. Start with affordable LED ring lights or softboxes that provide consistent, diffuse light, creating flattering illumination. These tools help you understand lighting psychology by shaping how viewers perceive your scene, making your content more engaging. Pay attention to color temperature; opt for lights with adjustable settings to match natural light or create the desired mood. Budget-friendly options often include portable LED panels that are versatile and easy to set up. Using these tools correctly guarantees your subject is well-lit without harsh shadows or unnatural tones. Incorporating lighting techniques can further enhance the visual quality of your videos. Understanding basic personal finance planning principles can help you allocate your budget effectively, ensuring you get quality lighting without overspending. With the right affordable lights, you can elevate your videos’ quality while maintaining control over the mood and visual clarity.

EMART 24'' x 36''(60 x 90cm) 5 in 1 Photo Collapsible Photography Reflector with Bag, Large Oval Portable Panel for Studio Video, Portraint, Outdoor Shooting -Translucent, White, Silver, Gold, Black
【5-in-1 Multi-Purpose Photography Reflector】 This portable reflector features gold, silver, white, black, and translucent surfaces, plus a soft…
As an affiliate, we earn on qualifying purchases.
As an affiliate, we earn on qualifying purchases.
Using Natural Light to Brighten Your Videos Naturally
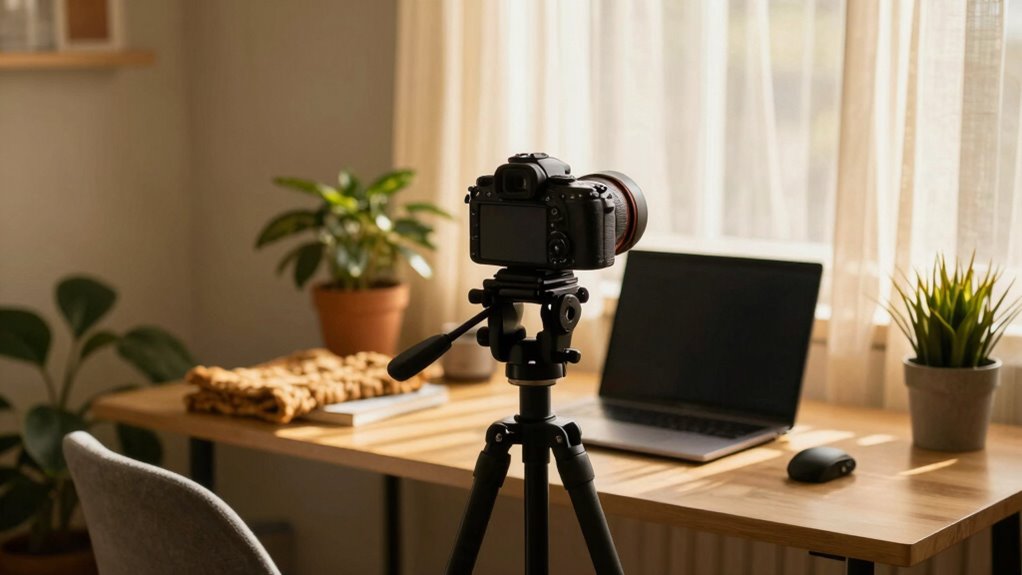
To make the most of natural light, you need to choose the right time of day, like early morning or late afternoon, when the light is soft and warm. Position yourself near windows or open spaces to maximize brightness without harsh shadows. By understanding how to use natural light effectively, your videos will look more professional and inviting. Additionally, controlling light diffusion can help reduce glare and create a more even illumination for your recordings. Using simple DIY tools like reflectors or diffusers can further improve your lighting setup without breaking the bank. Incorporating creative storytelling techniques into your content can also enhance viewer engagement and make your videos stand out. Being aware of your projector technology can also help optimize your setup for clearer images and better color accuracy. Recognizing how lighting conditions impact your footage allows you to adapt your approach for consistently high-quality results.
Optimal Time for Shooting
The best time to shoot videos using natural light is during the golden hour, which occurs shortly after sunrise and just before sunset. This period offers soft, warm lighting that enhances your visuals without harsh shadows. Planning your shooting schedule around these times maximizes lighting enhancement and minimizes post-production adjustments. Keep in mind, weather conditions can affect the light quality, so flexibility is key. Use this table to compare lighting conditions:
| Time of Day | Light Quality |
|---|---|
| Morning (shortly after sunrise) | Soft, cool-toned light |
| Midday | Harsh, direct sunlight |
| Afternoon (just before sunset) | Warm, diffused light |
| Evening (post-sunset) | Low, dim light |
| Cloudy days | Even, diffuse light |
Align your shooting schedule with these ideal times for better results. Being aware of natural light patterns can help you plan more effectively and achieve professional-looking videos with minimal effort. Additionally, understanding how to utilize natural light effectively can significantly elevate the quality of your footage. For example, employing reflectors or diffusers can help manage light diffusion in various conditions, especially during cloudy days or in small spaces.
Positioning Natural Light Effectively
Positioning natural light effectively can dramatically improve the brightness and overall quality of your videos. To achieve this, place yourself near a window with diffuse reflection, such as curtains or blinds, to soften harsh sunlight. This technique helps create a more flattering lighting effect that enhances your appearance on camera. It reduces unflattering natural shadows and creates an even, flattering light on your face. Avoid direct sunlight hitting your subject, as it can cause unwanted glare and sharp shadows. Instead, angle yourself so the light bounces gently around the room, filling your shot with natural brightness. If shadows still appear, reposition yourself slightly until natural shadows soften or disappear. Proper positioning guarantees your scene looks natural and vibrant, making your videos more professional without additional equipment. Additionally, understanding how lighting placement affects your overall shot can help you achieve a more balanced and appealing look. Being mindful of natural light quality and its consistency throughout the day can further enhance your video’s visual appeal.
How to Set Up DIY Softboxes and Diffusers for Great Lighting on a Budget
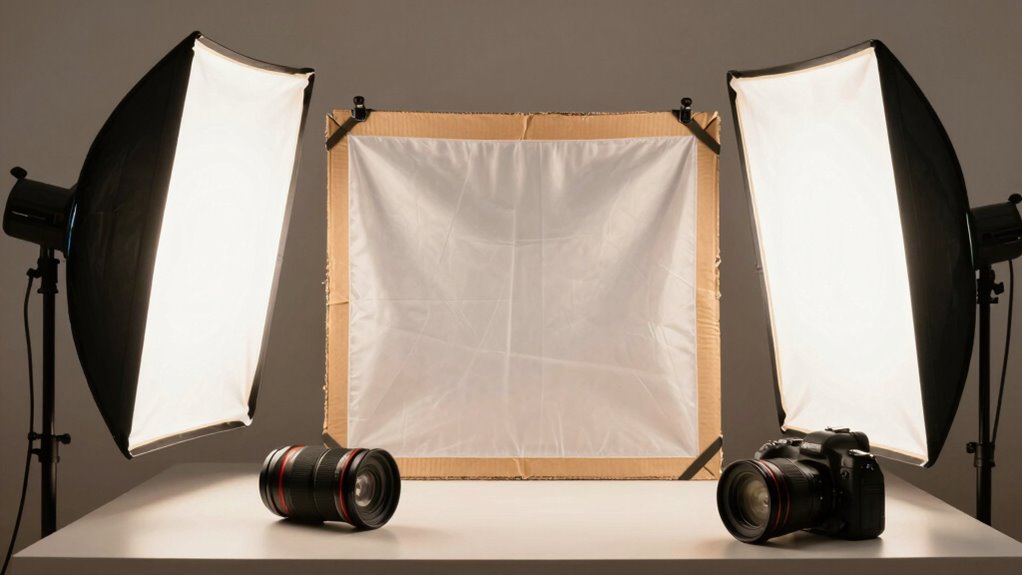
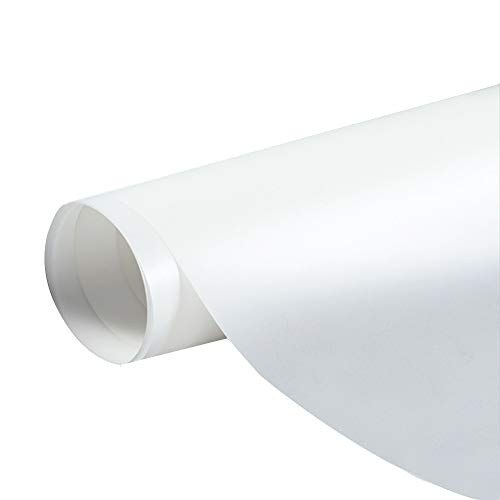
Creating DIY softboxes and diffusers is an affordable way to improve your lighting without breaking the bank. Start by choosing a sturdy cardboard box or a plastic storage container as your frame. Cover the front with white fabric or parchment paper to diffuse light evenly, ensuring good light diffusion. For better color temperature control, add a layer of inexpensive gels or filters if needed. Attach reflective materials like aluminum foil inside to bounce light and minimize harsh shadows. To soften the light further, place a cheap shower curtain or white bed sheet over the diffuser. These DIY softboxes help distribute light smoothly, making your videos look more professional. With some basic materials, you can achieve soft, consistent lighting that enhances your overall video quality on a budget.
Smart Placement Tips for Inexpensive Lights to Maximize Effect
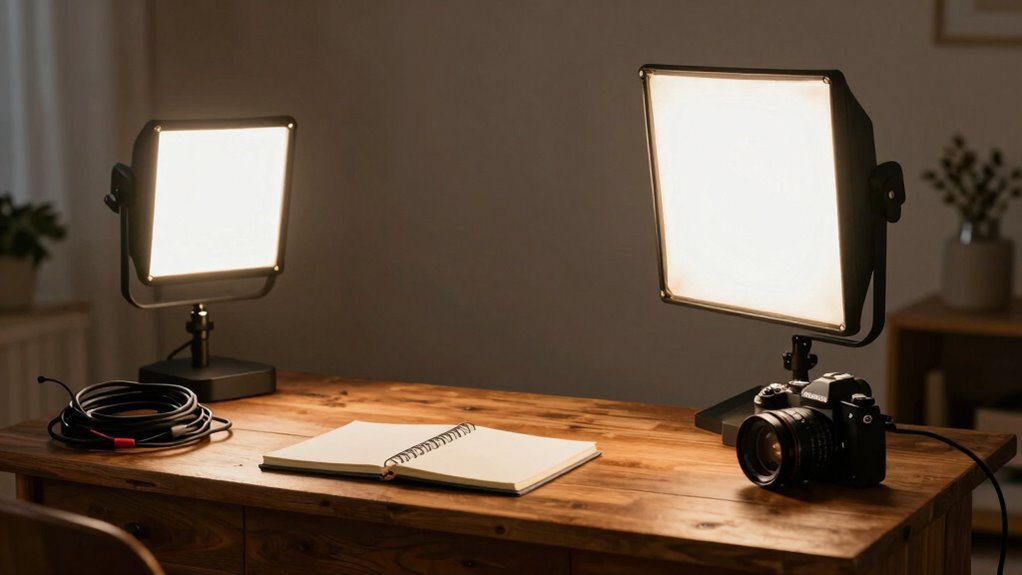
By carefully placing your inexpensive lights, you can dramatically improve your video’s look without spending a lot. Focus on lighting placement to guarantee your subject is well-lit and shadows are minimized. Position your lights at different angles to create depth and avoid flat, uninteresting scenes. For example, place a key light slightly above and in front of your subject to mimic natural light, and add a fill light at eye level to soften shadows. Use light angles to highlight your subject’s features and add dimension. Experiment with angles and distances to find the sweet spot where your lights enhance your shot without harsh shadows or glare. Proper lighting placement and light angles make a significant difference, making even budget lights appear more professional.
Adjusting Your Lighting for Different Settings and Mood Effects
To set the right mood, you need to adjust your lighting’s brightness and contrast to suit your scene. Using color gels can add emotional depth or create a specific atmosphere, while shadows help add dimension and focus. Experimenting with these elements allows you to craft the perfect visual tone for any setting.
Adjust Brightness and Contrast
Have you ever noticed how adjusting brightness and contrast can dramatically change the mood of your video? Brightness control helps you set the overall light level, making scenes feel warm or cold. Contrast adjustment emphasizes differences between dark and light areas, adding depth or softness. To refine your footage:
- Use brightness control to brighten shadows or tone down overly bright spots
- Adjust contrast to create a punchy, vibrant look or a softer, muted tone
- Experiment with subtle tweaks to enhance mood without sacrificing detail
- Match your adjustments to the scene’s setting and emotional tone
Use Color Gels Effectively
Adjusting brightness and contrast helps set the foundation for your video’s mood, but adding color gels takes your lighting to the next level. Use color correction gels to tint your lights, creating specific atmospheres or matching your scene’s color palette. Proper gel placement is key—place gels close to the light source to avoid uneven color spill and ensure even coverage. Experiment with different hues to evoke emotions: warm gels for cozy or energetic scenes, cool gels for calm or somber moments. Remember, the goal is to enhance your story, not distract from it. By thoughtfully applying gels, you can subtly influence how viewers perceive your scene, making your footage look more professional and polished without breaking the bank.
Create Depth With Shadows
Creating depth in your videos hinges on how well you use shadows to shape your scene. Shadow play adds layers, guiding viewers’ attention and enhancing depth perception. Adjust your lighting to create contrast that emphasizes your subject while providing atmospheric effects. To achieve this, consider the following:
- Use side lighting to cast long shadows, adding dimension.
- Soften or harden shadows based on the mood — softer for subtlety, harsher for drama.
- Experiment with distance between light source and subject to control shadow intensity.
- Incorporate practical lights behind objects for interesting shadow patterns.
Mastering shadow play helps you craft scenes with visual depth, making your videos look more professional without expensive gear. Shadows aren’t just dark spots — they’re tools to elevate your storytelling.
Troubleshooting Poor Lighting: Quick Fixes and Tips

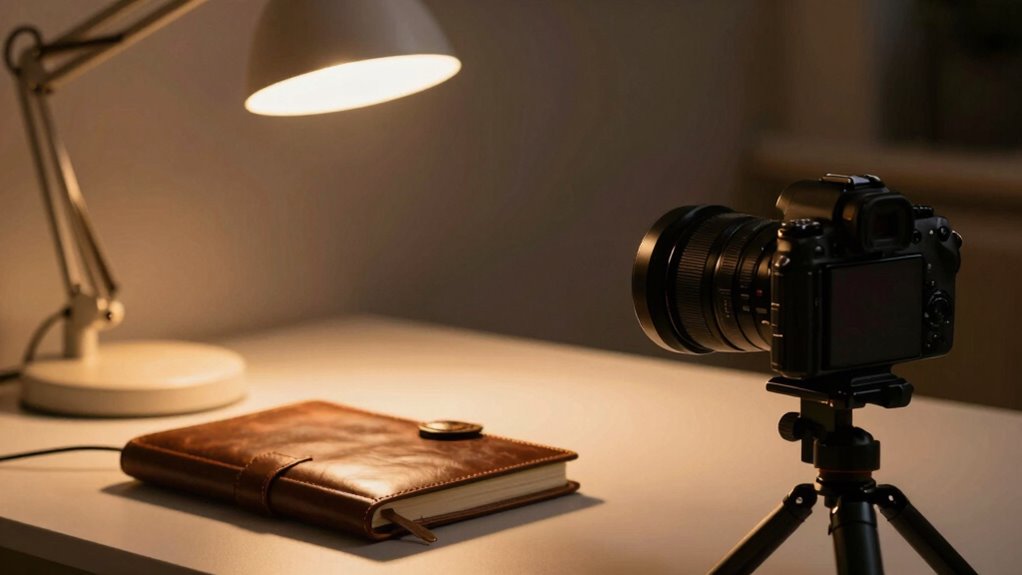
When your videos look flat or shadowy, quick fixes can make a noticeable difference. Start by adjusting your lighting setup—use natural light when possible, or add a lamp with a soft, diffuse bulb. Position your light source slightly above and in front of you to avoid harsh shadows. Experiment with camera angles to improve lighting; changing your position can reduce unwanted shadows or glare. If shadows persist, try bouncing light off a white surface or reflector to fill in dark areas. Avoid placing lights directly behind you or in a way that creates backlighting issues. Small tweaks like these can considerably enhance your footage’s clarity and depth without expensive equipment. Keep experimenting until your lighting feels natural and consistent.
Maintaining Consistent Lighting for a Cinematic Look
Achieving a cinematic look in your videos relies heavily on maintaining consistent lighting throughout your shoot. You need to pay attention to the color temperature to ensure your shots match seamlessly, preventing jarring shifts that break the mood. Using light diffusion helps soften shadows and create a more natural, polished appearance. To keep your lighting steady, consider these tips:
- Use the same light sources and keep their settings unchanged
- Mark your lights’ positions to avoid accidental shifts
- Adjust your camera’s white balance to match the lighting’s color temperature
- Cover windows or control ambient light sources for uniformity
Consistency in these elements helps your footage look professional and cohesive, making your videos appear intentional and high-quality.
Small Lighting Upgrades That Make a Big Difference in Your Videos
Small upgrades to your lighting setup can dramatically improve the quality of your videos without breaking the bank. Adding affordable lighting accessories, like diffusers or reflectors, softens harsh light and creates a more professional look. Adjusting the color temperature of your lights ensures your footage looks natural and consistent, preventing unwanted color casts. Consider investing in inexpensive gels or LED lights with adjustable warmth to fine-tune your scene’s mood. These simple enhancements help you control shadows, eliminate flicker, and achieve a polished appearance. Even small changes, like repositioning lights or using a cheap yet effective light stand, can make a noticeable difference. By paying attention to lighting accessories and color temperature, you’ll elevate your videos without costly equipment.
Frequently Asked Questions
How Do I Choose the Right Color Temperature for My Lighting?
You should select the right color temperature based on your scene’s mood and light consistency. For warm, cozy tones, go for around 2700K to 3000K; for a cooler, professional look, opt for 5000K to 6500K. Keep light consistency in mind to avoid jarring shifts in color that distract viewers. Matching your light temperature to your environment ensures your footage looks natural and polished.
Can DIY Lighting Setups Harm My Camera or Footage?
DIY lighting setups won’t harm your camera or footage if you use lighting that’s compatible with your camera sensors. Avoid overly bright or inconsistent lights that could cause exposure issues or flickering. Make sure your lights don’t produce excessive heat, which might damage your gear over time. Test your setup first to verify it’s safe and produces professional-looking results, keeping your camera and footage protected.
What Are the Best Positioning Techniques for Even Lighting?
Think of light placement as painting with a broad brush—spread it evenly across your scene. Position your lights at a 45-degree angle from your subject to minimize harsh shadows and control shadows effectively. Use diffusers to soften light and avoid hotspots. Keep your lights at eye level or slightly higher to create natural, even illumination. This technique guarantees your footage looks polished, balancing shadows and highlights effortlessly.
How Do I Prevent Shadows From Ruining My Shot?
To prevent shadows from ruining your shot, you should diffuse your light source to create softer, more even illumination. Use a softbox or bounce the light off a reflective surface to reduce harsh shadows and shadow lines. Position your light source at a 45-degree angle, and add fill lights if needed, to achieve shadow reduction. This approach guarantees your subject looks natural and professional without distracting shadows.
Are There Affordable Options for Professional Lighting Accessories?
You can find budget lighting options that deliver professional results without breaking the bank. Affordable accessories like ring lights, softboxes, and LED panels are widely available online and at local stores. These tools are easy to set up and can elevate your videos instantly. By investing in affordable accessories, you’ll enjoy improved lighting quality, making your videos look polished and professional without spending a fortune.
Conclusion
Great lighting transforms your videos from basic to enthralling, but the real secret lies in what you do next. With just a few simple upgrades and clever techniques, you can open a whole new level of professionalism—yet the biggest change might surprise you. Are you ready to discover the game-changing trick that could elevate your content forever? Don’t settle for less—your audience will notice the difference when you make lighting a priority. The next step could be your best one yet.