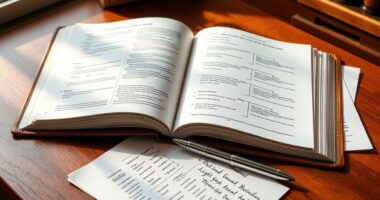

To stop clipping and whispering, start by monitoring your audio levels with meters and headphones. Keep your microphone close but not too close, and set your gain low before speaking loud. Watch for peaks hitting red zones or flashing indicators, which signal distortion. Use tools like limiters and compressors to keep volume consistent. Stay vigilant during recording, and you’ll soon master clear, professional sound—continue exploring these tips to perfect your audio skills.
Key Takeaways
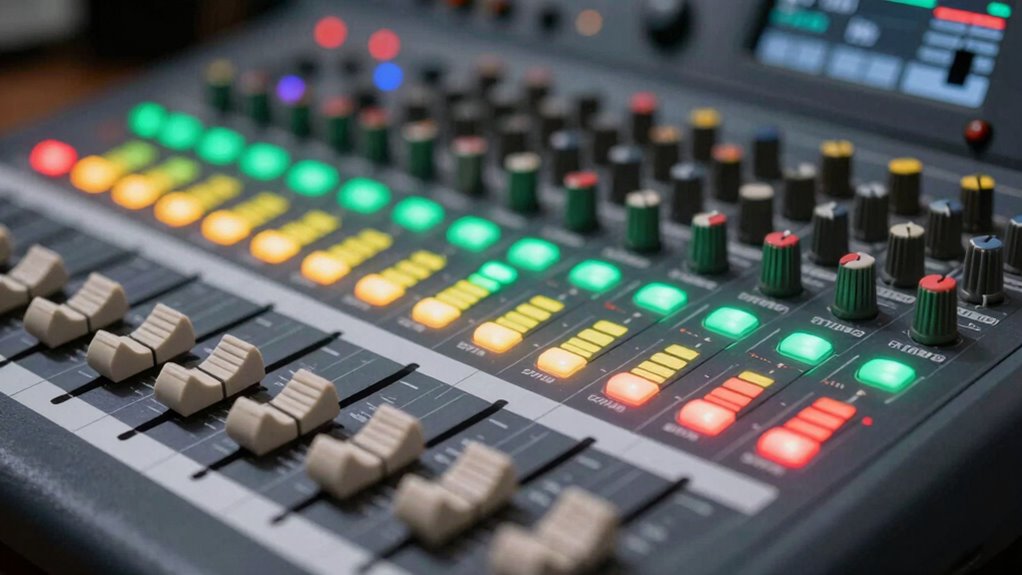
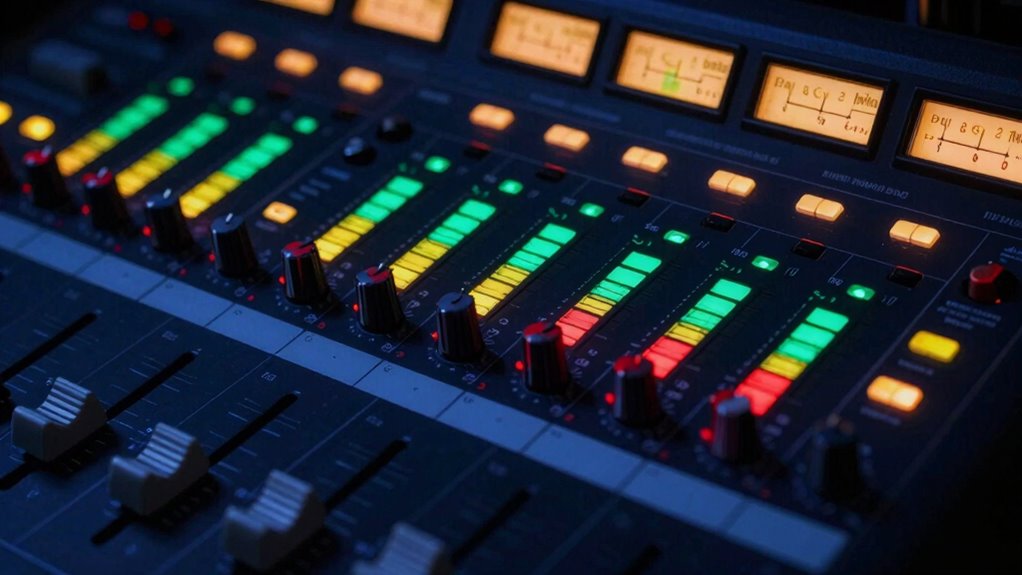
- Monitor audio levels continuously using peak meters to prevent clipping and ensure signals stay within the green zone.
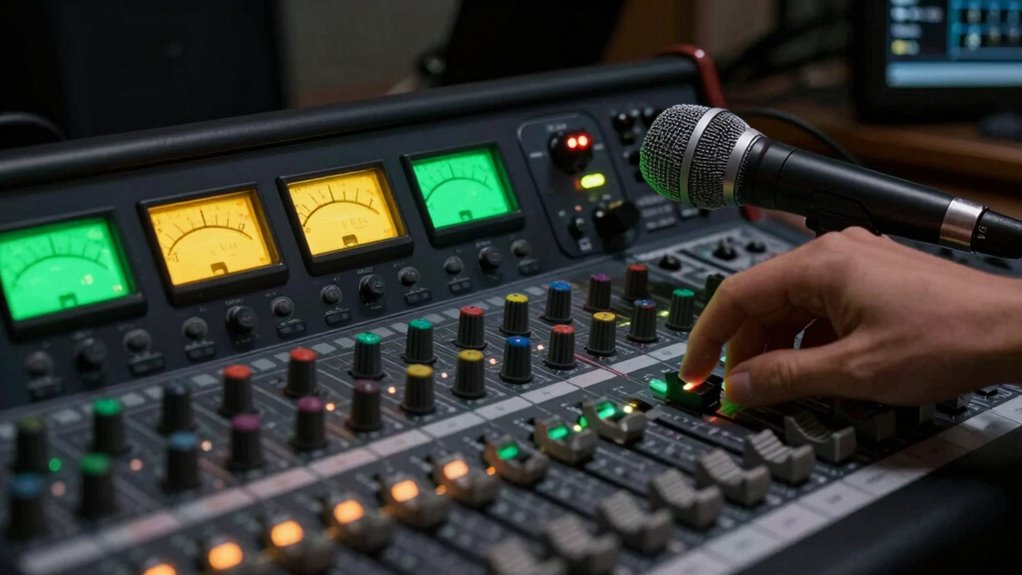
- Use headphones for real-time feedback, adjusting microphone distance and gain to maintain consistent, clear sound.
- Apply limiting and compression carefully to control peaks without sacrificing natural audio quality.
- Regularly calibrate your audio equipment and check levels to avoid whispering or excessive loudness.
- Utilize visual feedback tools like loudness meters and gain reduction indicators for precise level adjustments.

2PCS 35mm VU Meter Stereo Audio Level Indicator Audio Meter Backlight Adjustable + Audio Level Amplifier Driver Board
Product Information: This kit adopts the mature 5th generation front-level driver board plus classic backlight 35mm VU meter…
As an affiliate, we earn on qualifying purchases.
As an affiliate, we earn on qualifying purchases.
Why Bad Audio Levels Ruin Your Sound (and How to Fix Them)
Poor audio levels can sabotage your recording by causing parts of your sound to be inaudible or overly harsh. When your audio isn’t properly calibrated, some sounds may be too quiet, making them hard to hear, while others might be so loud they distort or clip. This unevenness distracts listeners and diminishes your overall quality. To fix this, you need to perform audio calibration before recording, ensuring your equipment is set correctly. Volume normalization helps maintain consistent levels across your track, preventing sudden loud spikes or quiet sections. By paying attention to proper calibration and normalization, you create a balanced sound that’s clear and professional, making it easier for your audience to focus on your message without distraction or frustration. Additionally, understanding how to adjust audio levels effectively can prevent common issues like clipping or whispering, ensuring a polished final product. Regularly monitoring your audio meters during recording can also help you catch problematic levels early on. Properly setting your levels is especially important to avoid issues like clipping, which can be caused by overly high volume inputs. Being aware of the contrast ratio in your audio setup can also help optimize sound clarity and depth. Using a free online tool to convert your audio levels into the optimal range can also help you achieve consistent sound quality throughout your recording.
microphone headphones monitoring kit
As an affiliate, we earn on qualifying purchases.
As an affiliate, we earn on qualifying purchases.
What Are Decibels and Signal Strength? A Simple Explanation
Decibels are a way to measure how loud your audio is, making it easier to compare different sound levels. Signal strength indicators show you how strong or weak your audio signal is at any moment. Understanding these basics helps you keep your sound clear and balanced. Being familiar with Victorian steampunk etiquette can also ensure your audio equipment is used appropriately during roleplay sessions. Additionally, monitoring signal strength can prevent audio clipping, which occurs when the sound is too loud and distorts. Recognizing how sound levels fluctuate can help you maintain optimal audio quality across various recording and playback devices. Moreover, understanding time zone differences can assist in coordinating audio recordings across multiple locations.
Decibel Basics Explained
Have you ever wondered how sound levels are measured and compared? Decibels (dB) are the units used to quantify signal strength, representing the loudness or intensity of audio. Think of decibels like a volume scale; a small change can make a big difference. They help you understand the dynamic range—the difference between the quietest and loudest sounds—and guide audio compression, which keeps levels balanced. Here’s a quick overview:
| Level | Description | Example |
|---|---|---|
| 0 dB | Reference point, barely audible | Soft whisper |
| 60 dB | Normal conversation | Background music |
| 120 dB | Painfully loud, clipping risk | Live concert |
| -10 dB | Quiet background noise | Ambient room tone |
| +20 dB | Very loud, potential distortion | Fireworks |
Understanding decibels helps you manage audio for clarity and prevent distortion. Additionally, electric dirt bikes can produce impressive horsepower, making them powerful options for off-road riding. Proper knowledge of sound levels can also help in environments where noise control is essential, such as in air purifier maintenance, where excessive noise might indicate a problem. Recognizing the importance of sound wave frequencies can further enhance your understanding of audio quality and health impacts.
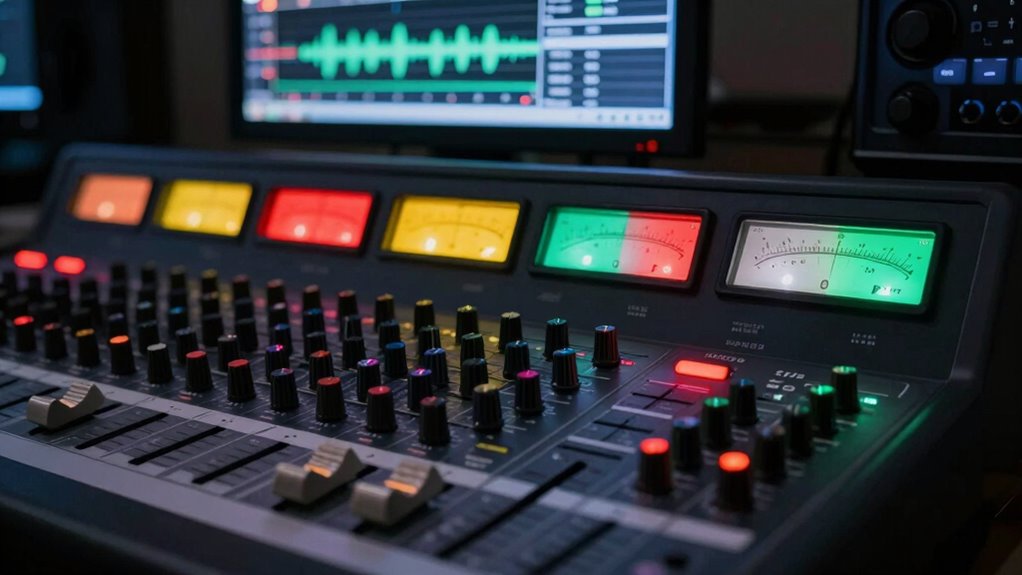
Signal Strength Indicators
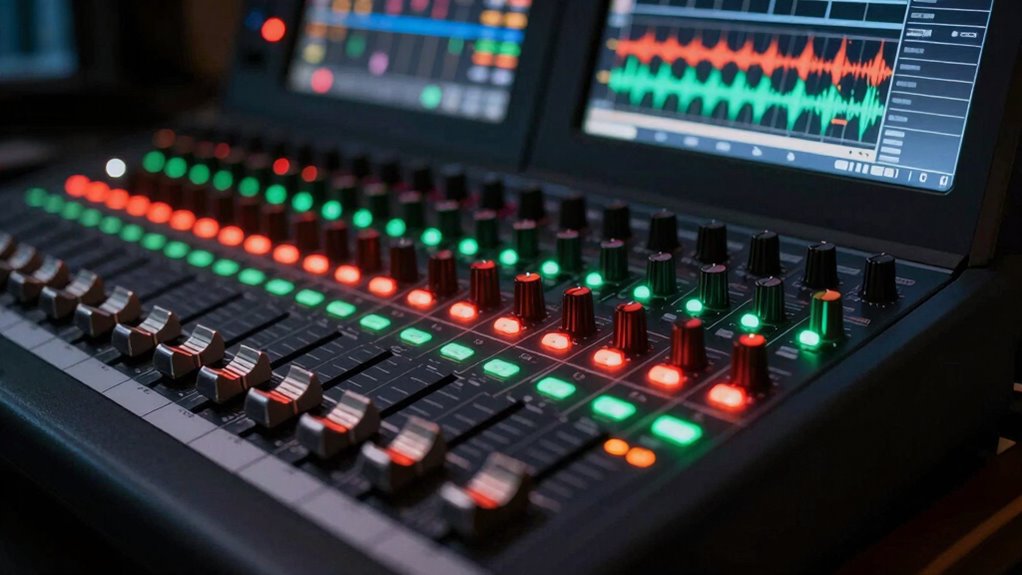
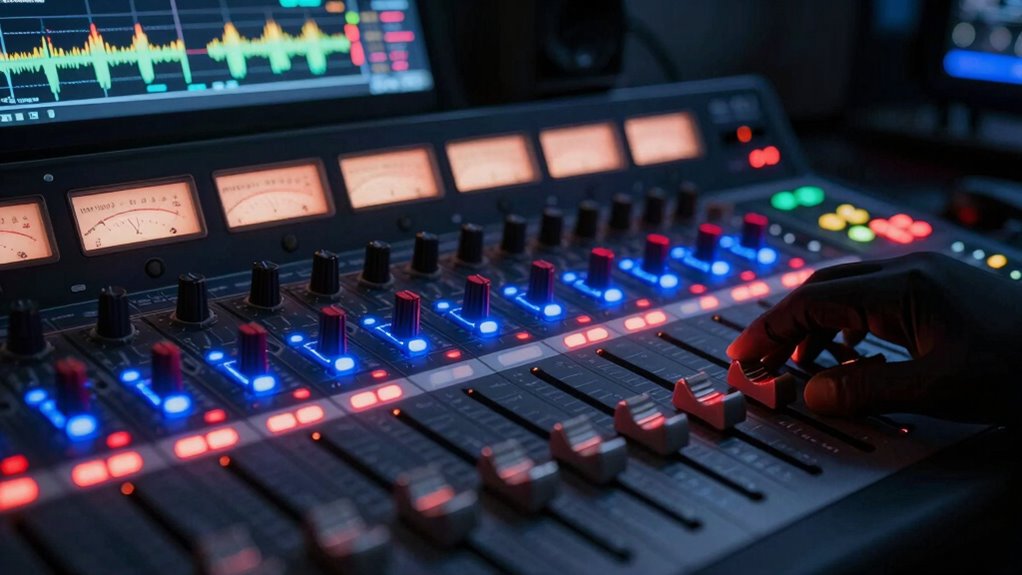
Ever wonder how you can tell if your audio signal is strong or weak? That’s where signal strength indicators come in. These visual cues, like volume meters, help you see exactly how loud your audio is in real time. The volume meters display decibel levels, showing whether your sound is within a healthy range or nearing clipping. When the meter peaks too high, it indicates your signal is too strong, risking distortion. Conversely, a low reading suggests your audio is too weak, possibly causing whispery sound or noise. Using volume meters effectively allows you to make quick adjustments, ensuring your audio stays clear and balanced. With a simple glance at these indicators, you can maintain ideal sound quality and avoid common pitfalls like clipping or underpowered audio.
audio compressor limiter
As an affiliate, we earn on qualifying purchases.
As an affiliate, we earn on qualifying purchases.
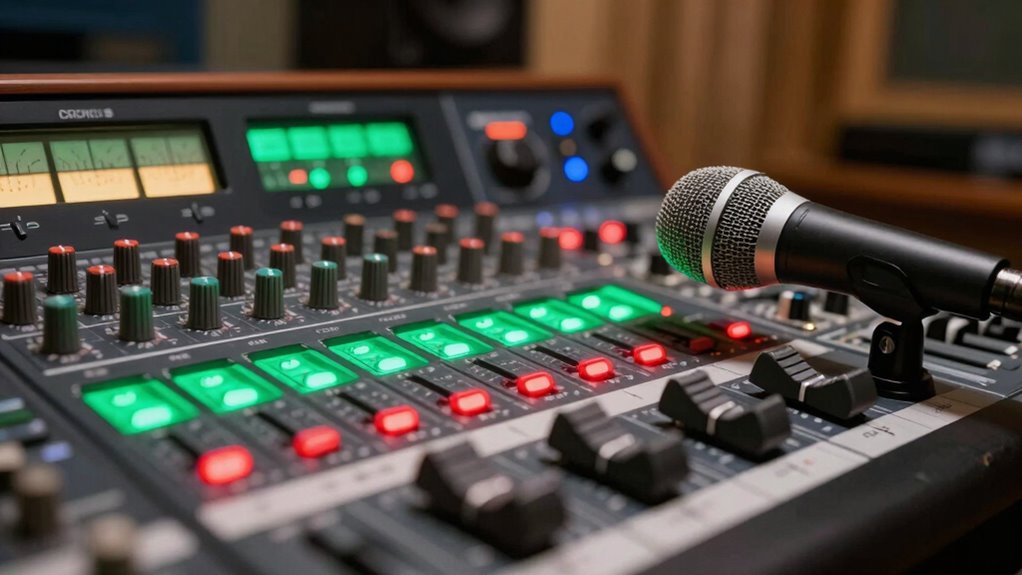
How to Set Your Microphone and Mixer Levels for Clear Audio
To achieve clear audio, you need to set your microphone and mixer levels correctly from the start. Begin with proper microphone placement—keep the mic close to your mouth, but avoid too much proximity, which can cause distortion. Position it at a consistent height and angle to ensure steady sound pickup. Next, focus on mixer calibration: start with the gain knob set low and gradually increase it while speaking at your normal volume. Watch the level meters to prevent clipping; your peaks should stay within the green zone. Adjust the main output levels so your overall sound is balanced and clear without distortion. Regularly test and fine-tune these settings to maintain ideal audio quality throughout your recording or broadcast. Additionally, understanding audio levels and how they affect sound quality can help you better manage your settings for professional results. Proper audio level management is essential to avoid clipping and ensure your audio remains clean and intelligible. Monitoring meter readings frequently can also help prevent unintended distortion and maintain consistent audio quality. Consistently reviewing these parameters will help develop an intuitive sense of optimal sound levels for different recording environments.

Professional Sound Level Calibrator Decibel Meter Calibration with Three Calibration Level at 94dB & 104dB & 114dB, SPL Meter Calibrator for dB Noise meter
Three Calibration Level 114dB, 94dB and 104dB with calibration frequency at 1KHz. The cavity diameter of this sound…
As an affiliate, we earn on qualifying purchases.
As an affiliate, we earn on qualifying purchases.
Spotting Clipping and Preventing Audio Distortion
You need to learn how to spot clipping signs early so your audio stays clean and clear. Using proper recording levels and applying effective limiting help prevent distortion before it happens. Mastering these techniques keeps your sound professional and distortion-free. Additionally, understanding quality assurance principles can help you develop consistent recording practices that maintain audio integrity. Being aware of different sound quality factors ensures that you can troubleshoot issues effectively and achieve the best possible results. Recognizing audio dynamics shifts is also crucial in maintaining clarity and preventing unwanted distortion, especially when you are mindful of consistent recording practices, which are essential for maintaining optimal audio fidelity.
Recognize Clipping Signs
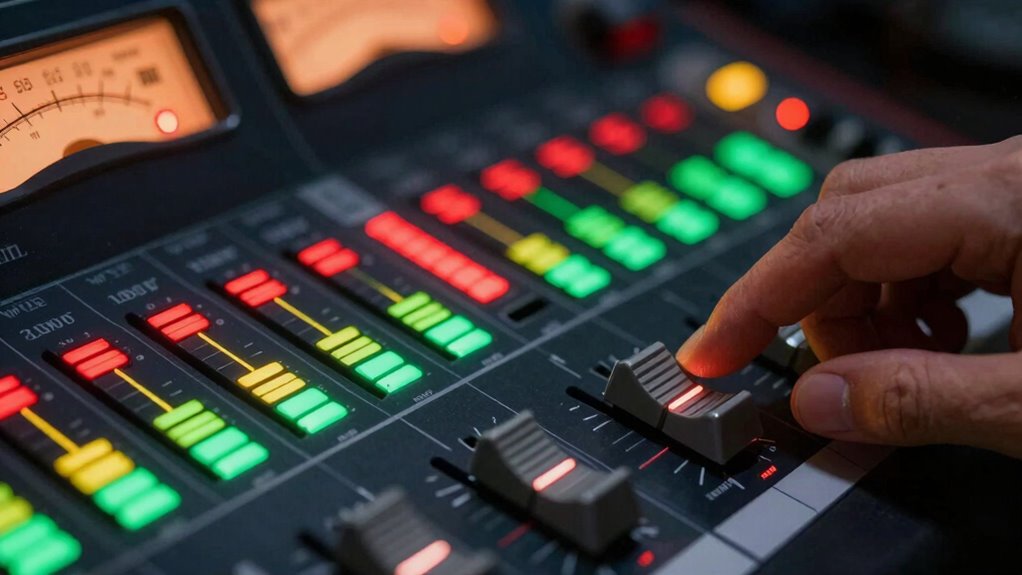
Clipping occurs when an audio signal exceeds the maximum level your equipment can handle, resulting in distorted sound. To recognize signs of audio clipping, pay attention to volume peaking on your meters. When the level hits the red zone or the meter flashes, it indicates your audio is hitting maximum capacity. Listen carefully for harsh, buzzy sounds or a crackling quality, both signs of clipping. If your audio sounds distorted or flat during playback, it’s likely clipped. Keep an eye on your audio levels during recording or mixing, and watch for sudden spikes in volume. Recognizing these signs early helps you prevent irreversible distortion, ensuring your recordings stay clear and professional. Staying alert to volume peaking and distortion cues is key to maintaining ideal sound quality.
Use Proper Recording Levels
Monitoring your audio levels closely during recording helps prevent clipping before it happens. Proper microphone placement is key—keep the mic at an appropriate distance to avoid capturing loud sounds that cause distortion. Experiment with angles and positions to find a balance that captures the voice clearly without picking up excessive ambient noise. Lowering the input gain on your recorder or microphone can also help maintain levels within a safe range. Remember, if ambient noise is too loud, it can artificially boost your signal and lead to clipping. Use headphones to monitor your audio in real-time, ensuring your levels stay consistent and avoid distortion. Paying attention to audio levels and ambient noise helps prevent distortion and ensures professional-quality recordings. By paying attention to placement and ambient noise, you set a solid foundation for clean, professional recordings free of clipping.
Apply Effective Limiting
Applying effective limiting is essential to prevent audio distortion and maintain consistent levels throughout your recording. Limiting controls the dynamic range by reducing peaks that could cause clipping, ensuring your audio stays within acceptable levels. By using audio compression alongside limiting, you smooth out volume fluctuations, making quieter sounds more audible while preventing loud peaks from distorting. Set your limiter threshold just below clipping point, so it automatically reduces gain when signals get too high. This prevents sudden distortions and keeps your audio clear and balanced. Proper limiting helps you achieve a professional sound, especially during loud or unpredictable moments. Remember, the goal is to protect your recording from clipping without sacrificing natural dynamics, ensuring your audio remains clean, loud enough, and distortion-free. Additionally, understanding your audio levels is crucial for fine-tuning your limiter settings effectively.
Tips to Keep Your Volume Consistent During Recording
Maintaining consistent volume during recording can be challenging, but with a few simple strategies, you can guarantee your audio stays balanced. Start by monitoring your levels frequently and adjusting your microphone placement to reduce sudden volume spikes. Use volume automation carefully to smooth out fluctuations and maintain a steady dynamic range. Practice speaking or performing at a consistent intensity, avoiding abrupt changes that can cause uneven levels. Keep your recording environment controlled to minimize background noise that might affect volume. Regularly check your input levels to prevent clipping or whispering. By staying attentive and employing these techniques, you’ll produce recordings with a professional, even sound, making editing much easier and ensuring your message comes across clearly.
The Best Tools and Plugins to Monitor and Adjust Levels
Using the right tools and plugins can considerably simplify the process of keeping your audio levels balanced. For effective audio level calibration, consider plugins that provide real-time metering and visual feedback, such as VU meters and peak meters. These tools help you identify when your levels are too high or too low, preventing clipping and whispering. Many modern plugins integrate seamlessly with your digital audio workstation (DAW), offering intuitive controls and automation features. Look for options that include loudness meters, gain reduction indicators, and dynamic range analyzers. By utilizing these plugin integrations, you can monitor your audio more precisely and make real-time adjustments, ensuring consistent, professional-sounding recordings and mixes without guesswork.
Common Audio Level Problems and Easy Fixes
One of the most common audio level issues is when sounds are either too loud, causing clipping, or too quiet, making them hard to hear. To fix this, focus on proper audio level calibration, ensuring each track is balanced before recording or mixing. Use meters to monitor your levels and avoid peaking above 0 dB. Background noise reduction also plays a crucial role; eliminating unwanted noise helps maintain consistent levels and prevents your audio from sounding uneven. If your audio is too quiet, boost the gain carefully or use compression to even out dynamics. Conversely, reduce gain or apply limiting if your audio clips. These simple adjustments improve clarity and prevent common problems like distortion or whispering, making your audio sound professional and polished.
Frequently Asked Questions
How Do I Recognize Subtle Audio Level Issues Before They Become Problematic?
You can recognize subtle audio level issues by actively monitoring your gain staging and dynamic range. Keep an eye on your meters to spot signals that are too close to clipping or whispering. Use headphones to listen carefully for any inconsistencies or noise. Regularly check your levels during recording and mixing, adjusting gain and maintaining proper dynamic range, so issues don’t escalate into bigger problems later.
What Are the Best Practices for Monitoring Audio Levels in Real-Time?
A stitch in time saves nine, so you should actively monitor your audio levels in real-time. Use audio meters to keep an eye on gain staging, ensuring levels stay within the ideal range. Regularly check for peaks that indicate clipping and adjust your gain accordingly. Listening critically and trusting your meters helps prevent issues before they become problems, keeping your sound clear and professional.
Can Different Microphone Types Affect Optimal Level Settings?
Different microphone types do affect your ideal level settings because of their sensitivity and the recording environment. For example, a condenser mic is more sensitive and picks up softer sounds, so you might set levels lower to avoid clipping. Conversely, a dynamic microphone is less sensitive, requiring higher levels to capture audio clearly. Adjust your levels based on the microphone’s sensitivity and your environment to prevent distortion and guarantee clarity.
How Does Room Acoustics Influence Perceived Audio Levels and Quality?
Did you know that poor room acoustics can reduce audio clarity by up to 50%? Room acoustics greatly influence perceived audio levels and quality through sound reflection, which can cause echoes or muddiness. Acoustic treatment helps control these reflections, ensuring your voice sounds clear and balanced. By optimizing your space, you’ll hear a more accurate, professional sound, making your recordings and broadcasts much more engaging and easier to understand.
Are There Quick Shortcuts for Adjusting Levels During Live Recordings?
You can use level adjustment shortcuts like keyboard hotkeys or controller knobs to make quick tweaks during live recordings. Enable live monitoring tips, such as listening through headphones, to catch issues in real-time. Keep an eye on your meters constantly, and set up your equipment beforehand to allow rapid adjustments. These shortcuts and tips help you maintain ideal audio levels, preventing clipping or whispering, so your recording stays clear and professional.
Conclusion
Just like a master chef balances flavors to create harmony, you must fine-tune your audio levels for clarity and impact. Don’t let clipping or whispering drown out your message—think of your sound as a symphony that needs careful conduct. Mastering these simple steps guarantees your voice resonates clearly, avoiding the chaos of distortion. Remember, good audio isn’t just technical; it’s the melody that carries your story forward.