
To effectively capture animals with trail cameras, focus on spots wildlife frequent, like water sources, trails, or feeding areas, and look for signs such as footprints or droppings. Position your camera at the right height and angle—matching animals’ typical height and keeping a slight downward tilt—while blending it into natural cover. Adjust settings for quick trigger speeds and review your setup regularly to make improvements. Keep exploring for more tips to optimize your camera placement.
Key Takeaways
- Place cameras near animal pathways, water sources, or feeding sites with signs like tracks or droppings.
- Adjust camera height and angle to match target animals’ typical movement height for clearer footage.
- Use natural cover and camouflage to conceal cameras, blending them into the environment.
- Minimize shadows and obstructions by positioning cameras at appropriate angles and avoiding direct sunlight.
- Regularly review footage and fine-tune placement, angle, and settings based on animal activity and environmental changes.
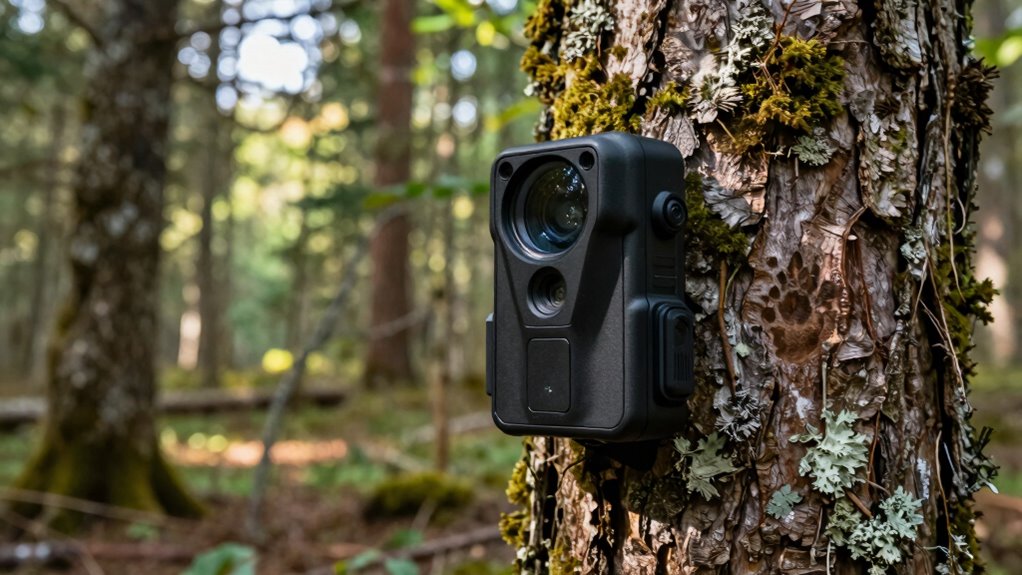
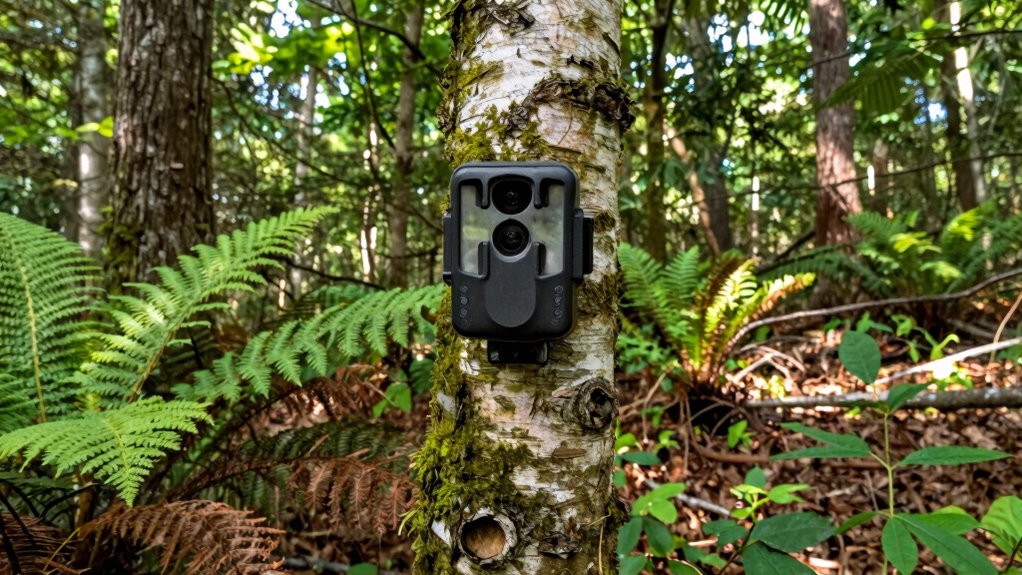
trail camera with quick trigger speed
As an affiliate, we earn on qualifying purchases.
As an affiliate, we earn on qualifying purchases.
Find the Best Spots Wildlife Frequent for Camera Success
Choosing the right location is essential for capturing quality wildlife photos. Focus on spots where animals naturally gather, such as feeding areas and water sources. These locations attract animals regularly, increasing your chances of a successful shot. Look for signs like footprints, trails, or droppings near these spots to confirm animal activity. Placing your camera near feeding areas, like fruit trees or berry patches, ensures you’ll catch animals during their feeding times. Water sources, such as streams, ponds, or mud puddles, draw animals seeking hydration, especially during dry periods. Position your camera at an angle that covers these areas without disturbing the wildlife. Consistently monitoring these hotspots will improve your success rate and help you learn animal habits over time. Understanding animal behavior patterns can further enhance your ability to anticipate where wildlife will appear. Additionally, observing natural habitat features can guide you to the most active and promising locations for your trail cameras. Recognizing animal movement patterns can also help you set up your camera more effectively and increase the likelihood of capturing interesting shots.
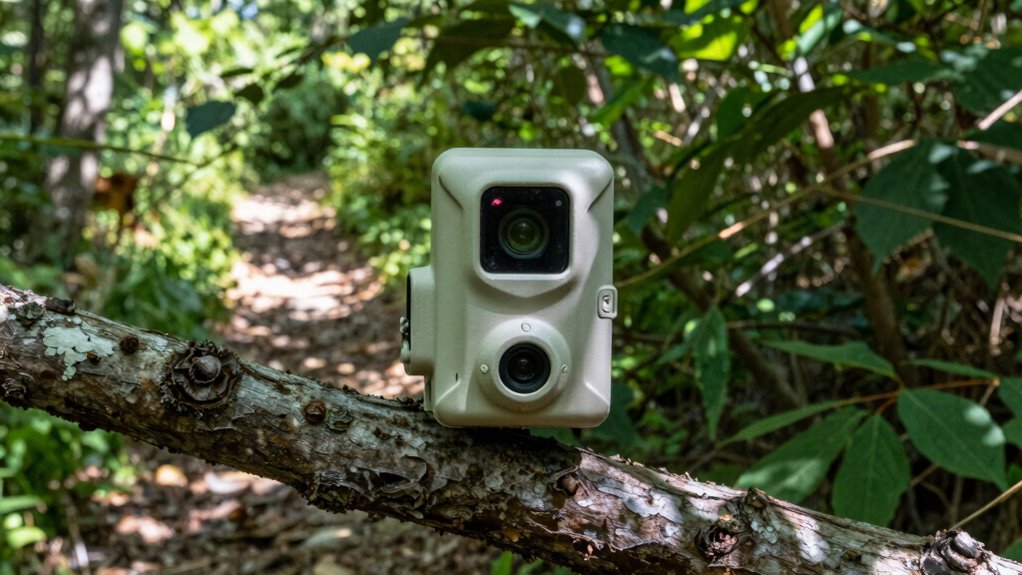
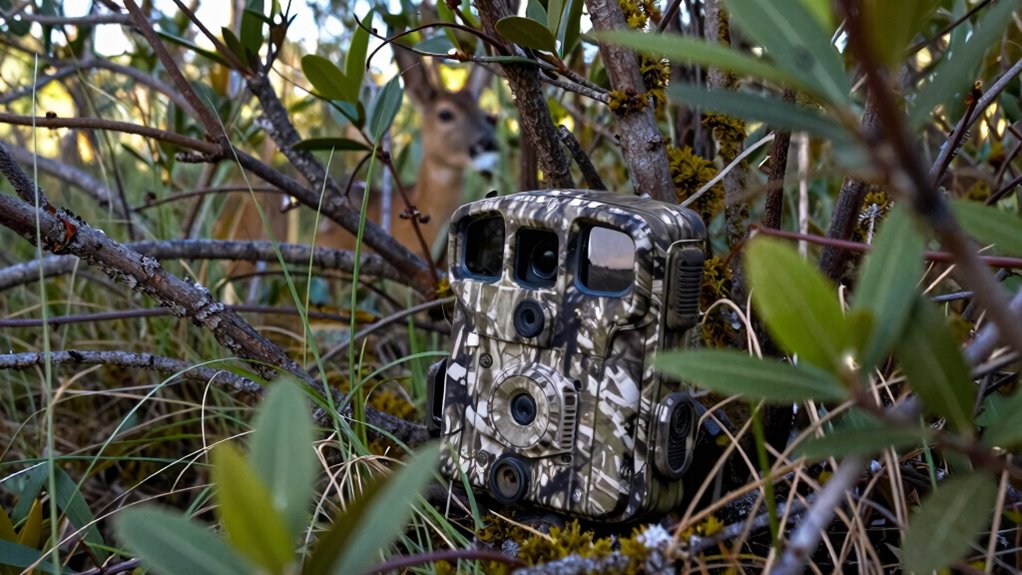
wildlife trail camera camouflage
As an affiliate, we earn on qualifying purchases.
As an affiliate, we earn on qualifying purchases.
Choose Terrain and Vegetation to Maximize Visibility
To get the best shots, choose open spaces where animals feel comfortable moving. Use natural cover like shrubs or fallen logs to hide your camera without blocking the view. Also, consider animal pathways—they’re prime spots for capturing movement and activity. Incorporating environmental factors can further improve your success by aligning your camera placement with natural animal behaviors. Additionally, selecting areas with appropriate contrast ratio can help your camera distinguish animals from the background, resulting in clearer images. Evaluating habitat types can help you identify the most effective locations for different species and increase your overall success rate. Understanding the horsepower of electric dirt bikes can guide you in choosing the right terrain for more active or powerful models, ensuring better coverage and footage. Applying knowledge of interdisciplinary insights can also enhance your placement strategies by integrating ecological data with technological tools.
Select Open Spaces
Selecting open spaces for trail cameras is essential because it directly affects visibility and footage quality. You want to choose areas with clear sightlines, avoiding dense vegetation that can obstruct the view. When considering bait placement, position it where animals are likely to approach openly, ensuring the camera has a full view of their movements. Proper camera orientation is critical; aim your camera at a slight downward angle to capture animals as they come in, without blind spots. Open spaces with minimal cover not only improve detection but also make it easier to monitor activity patterns. Keep the area well-lit by avoiding thick brush or shadowy areas that could hide animals. This strategy maximizes your chances of capturing clear, detailed footage of passing wildlife.
Use Natural Cover
Using natural cover effectively involves choosing terrain and vegetation that enhance visibility while blending seamlessly into the environment. By selecting areas with natural cover, you improve concealment strategies and increase your chances of capturing animals on camera. Look for thick bushes, fallen logs, or rocky outcroppings that provide cover without obstructing the camera’s view. Position your trail camera to overlook animal pathways or feeding spots, ensuring the cover doesn’t block the lens. Understanding how to position cameras according to terrain can further optimize your results. Incorporating battery capacity considerations can also ensure your camera remains operational during extended monitoring periods. Additionally, being aware of AI trends in trail camera technology can help you select models with smart features like motion detection or image analysis to improve detection accuracy. Recognizing camera placement techniques that leverage natural cover can significantly boost your success rate. Optimizing environmental factors such as light and weather conditions can further enhance your chances of a successful capture.
Consider Animal Pathways
Identifying animal pathways is essential for capturing clear images, and choosing the right terrain and vegetation can considerably enhance your chances. Focus on animal trails and wildlife corridors where animals naturally travel, as these routes increase the likelihood of activity. Look for well-worn paths through thick brush, along ridges, or near water sources—places animals frequent regularly. Position your trail camera along these routes to maximize visibility, ensuring the camera’s angle captures movement without obstructions. Avoid dense vegetation that could block the view, but don’t place the camera where it’s too exposed. By selecting terrain and vegetation that align with animal trails, you improve your chances of capturing sharp, well-framed images of wildlife passing through their natural corridors. Incorporating cameras with adjustable angles can further optimize your setup for better coverage and clearer shots, especially when considering Indonesian decor masks and their placement to highlight natural features.
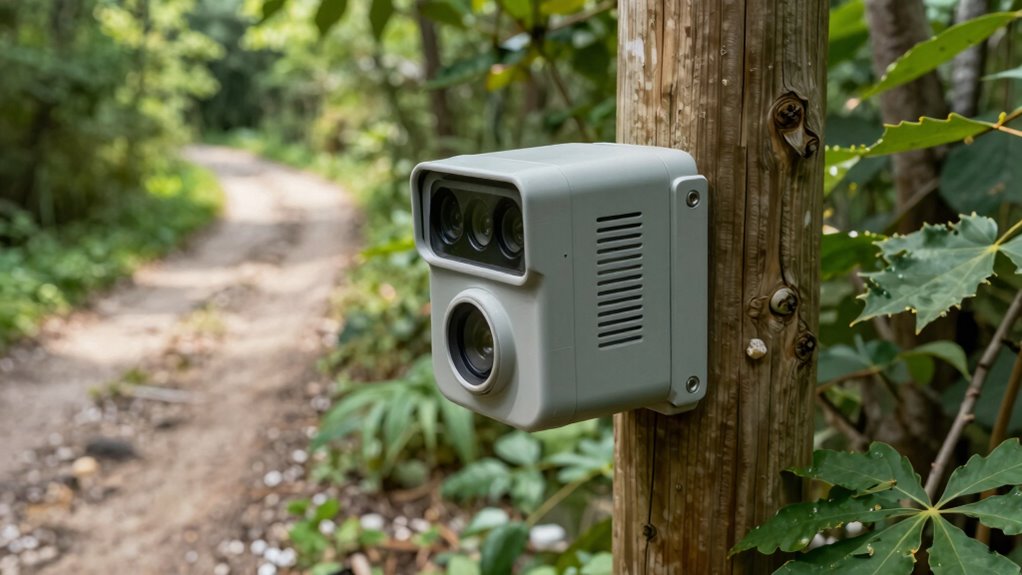
water source wildlife camera setup
As an affiliate, we earn on qualifying purchases.
As an affiliate, we earn on qualifying purchases.
Position Your Camera at the Right Height and Angle
To get the best shots, position your camera at the animal’s typical height. Think about natural sight lines and avoid placing it where shadows or obstructions could block the view. Adjusting the angle guarantees you capture clear, useful footage. Additionally, consider placement safety to prevent pets or wildlife from disturbing or damaging the camera. Ensuring proper filter sizing can also help maintain clear images by reducing glare and reflections. Remember that understanding regional flavors can help you choose optimal placement areas based on animal activity hotspots. Incorporating brewing science principles, like understanding how positioning impacts detection, can further improve your camera setup for more successful captures. Paying attention to light and humidity conditions in the area can also influence image quality and camera performance.
Match Animal Height
Positioning your trail camera at the correct height and angle is essential for capturing clear images of animals. To match the animal’s behavior, consider the species you’re targeting. For example, deer often browse at shoulder height, so place your camera around 3 to 4 feet high. Smaller animals like foxes or raccoons may require lower positioning, around 1 to 2 feet. Proper height helps guarantee the camera captures the full body and avoids missed shots. Regular camera maintenance, like cleaning lenses and adjusting angles, keeps your setup effective. When you align your camera with the animal’s typical height, you’re more likely to get sharp, detailed images. This strategic placement respects species behavior and minimizes unnecessary camera adjustments, saving you time and increasing your chances of success. Understanding camera placement strategies can also help you optimize your placement by analyzing which camera setups yield the best results. Additionally, considering species-specific behavior can further enhance your success rate by tailoring your camera setup to the habits of your target animals.
Consider Natural Sight Lines
Aligning your camera with natural sight lines makes sure you capture animals as they move through their environment. Positioning your camera at the right height and angle ensures it stays consistent with the animals’ visual pathways. Observe how animals naturally approach food sources, water, or trails, and set your camera to match their line of sight. By doing so, you maximize the chances of capturing clear, close-up images. Keep in mind that animals tend to follow specific pathways that are consistent with their natural behavior. Adjust your camera’s height and tilt to mirror these pathways, making it easier to record their movements without startling them. Proper alignment with natural sight lines helps you get more accurate, compelling footage of wildlife.
Avoid Obstructions and Shadows
Avoiding obstructions and shadows is essential for capturing clear, usable images with your trail camera. Position your camera at the right height and angle to minimize lighting issues caused by uneven sunlight or shadows from nearby objects. Shadows can obscure animals or create false triggers, so choose a spot that avoids direct sunlight during peak hours. Weather considerations, like rain or fog, can also cause shadows or reduce visibility, so adjust your camera’s placement accordingly. Keep the camera a few feet off the ground to get a good view of wildlife at eye level, and angle it slightly downward to avoid shadows cast by vegetation or branches. By considering these factors, you’ll improve your chances of capturing sharp, well-lit images without obstructions.
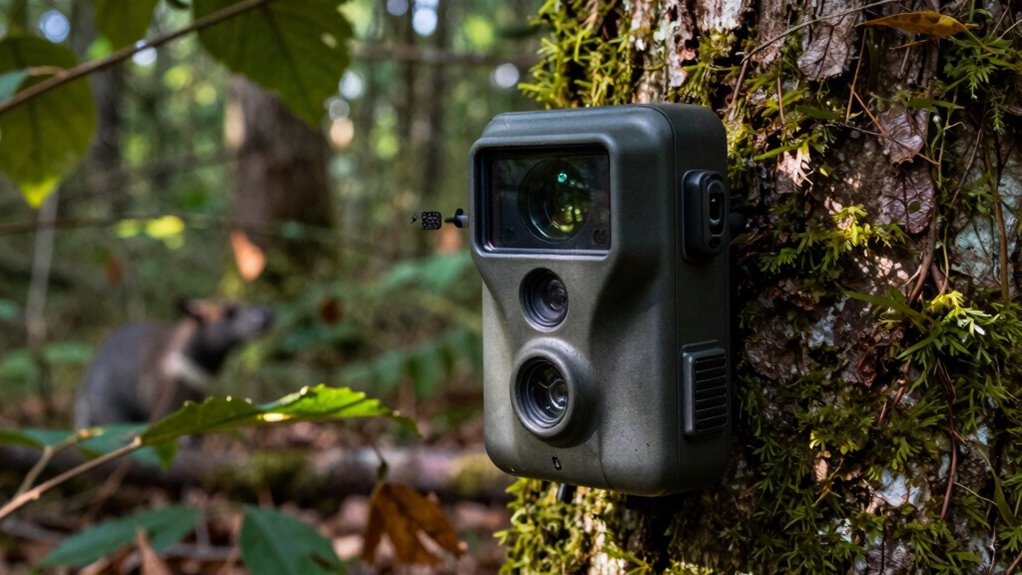
trail camera for animal tracking
As an affiliate, we earn on qualifying purchases.
As an affiliate, we earn on qualifying purchases.
Use Natural Cover and Camouflage to Stay Hidden
Using natural cover and camouflage is essential for staying hidden when setting up trail cameras. By blending your camera into the environment, you minimize the chance animals will spot it and alter their behavior. Employ camouflage techniques like placing the camera behind bushes, tree trunks, or tall grasses. Position it near natural concealment strategies such as thick foliage or rocky outcroppings. Adjust the camera’s color and pattern to match surrounding terrain, ensuring it doesn’t stand out. Keep the lens and sensor hidden from view to avoid detection. Remember, the goal is to make your camera as unobtrusive as possible so animals remain undisturbed. Proper use of natural cover and concealment strategies considerably improves your chances of capturing authentic animal activity.
Set Your Camera With the Best Trigger Speed and Settings
Once your camera is well-hidden, setting the right trigger speed and settings guarantees you don’t miss important wildlife moments. Your trigger speed determines how quickly the camera captures images after detecting motion. For fast-moving animals, choose a quick trigger speed—usually around 0.2 seconds or less. Adjust your camera settings to match your goals; for example, set the photo burst mode if you want multiple shots in rapid succession, or lower resolution for longer battery life. Make sure motion detection sensitivity is optimized—too high can cause false triggers, too low might miss animals. Test different settings to find the best balance for your environment. Properly configuring your trigger speed and camera settings guarantees you capture clear, timely images of wildlife activity.
Test, Review, and Adjust Your Placement for Better Shots

To improve your wildlife photos, you need to regularly test, review, and adjust your camera placement. Start by checking the sensor calibration to guarantee your camera captures clear images without blurriness or misalignment. Review the photos to see if the subject is well-framed and if the trigger speed is sufficient for quick-moving animals. Pay attention to battery management—if images are blurry or missed, your batteries might be running low, affecting performance. Adjust the camera’s position if needed, perhaps changing height or angle to get better shots. Repositioning for ideal lighting and animal pathways also helps. Regularly testing and reviewing your setup ensures your trail camera remains effective, capturing more animals with sharper, well-framed images.
Frequently Asked Questions
What Is the Ideal Number of Trail Cameras to Deploy?
You should deploy 2 to 4 trail cameras for effective coverage. This allows you to optimize camera placement, covering different angles and habitats. Use bait strategies to attract animals to key spots, increasing your chances of capturing activity. Avoid overloading the area with cameras, which can scare animals away. By balancing camera placement and bait strategies, you’ll gather extensive data while minimizing disturbance to wildlife.
How Often Should I Check and Maintain My Cameras?
You should check and maintain your trail cameras every 2 to 4 weeks, depending on battery life and camera placement. Regular checks guarantee batteries stay charged, preventing missed shots. When inspecting, clean the lens and ensure the camera is securely positioned. Proper camera placement minimizes false triggers and maximizes battery efficiency. Frequent maintenance keeps your cameras functioning at their best, capturing clear images and extending their lifespan for better wildlife monitoring.
What Is the Best Time of Day to Capture Wildlife Activity?
The best time of day to capture wildlife activity is during dawn and dusk, when animals are most active—dusk activity peaks as creatures emerge from hiding, while daytime sightings are often quieter. You’ll want your camera to be ready during these periods, capturing the busy moments when animals forage, drink, or travel. Keep your camera positioned for these times, and you’ll increase your chances of recording dynamic, natural wildlife behavior.
How Do Weather Conditions Affect Camera Performance?
Weather conditions can considerably impact your camera’s performance. Rain and snow can affect camera waterproofing, potentially causing malfunctions if not properly protected. Wind interference may trigger false captures or miss real activity. To guarantee reliable photos, secure your camera against the elements, use weatherproof housings, and position it away from heavy wind zones. Regularly check and maintain your camera, especially after storms, to keep it functioning at its best.
Can Trail Cameras Be Used for Monitoring Specific Species?
You can absolutely use trail cameras to monitor specific species; it’s like having a front-row seat to wildlife! To do this effectively, focus on species identification and strategic camera placement. Position your camera where the animals naturally travel, such as trails or watering holes. Adjust settings to capture clear images of your target species, and monitor regularly. This way, you’ll get detailed insights into their behaviors and presence.
Conclusion
By carefully choosing compelling locations, camouflaging cleverly, and consistently calibrating your camera, you’ll capture mesmerizing creatures in their candid moments. Remember, placement, patience, and precision are your partners in this pursuit. With thoughtful tactics and a keen eye, you’ll turn your trail camera into a true tool for tracking talented wildlife. Stay strategic, stay subtle, and let your patience produce picture-perfect, pristine wildlife portraits that tell compelling stories of nature’s wonders.