To digitize your tapes and guarantee clean audio, start by choosing the right equipment like a quality cassette deck and an audio interface, then select user-friendly software with noise reduction features. Before recording, clean your tapes and inspect them for damage, and set your levels correctly. Record in high-resolution formats like WAV for clarity. Organize and back up your files to protect your memories—keep going to discover detailed steps for perfect results.
Key Takeaways
- Use quality audio equipment and compatible software with noise reduction features for optimal digitization.
- Carefully inspect and clean tapes to prevent damage and ensure clear playback during recording.
- Set proper recording levels and record in high-resolution formats like WAV for best sound quality.
- Apply editing tools to remove noise, clicks, and unwanted sections for a cleaner audio output.
- Save, label, and back up digital files to preserve recordings and facilitate easy access later.

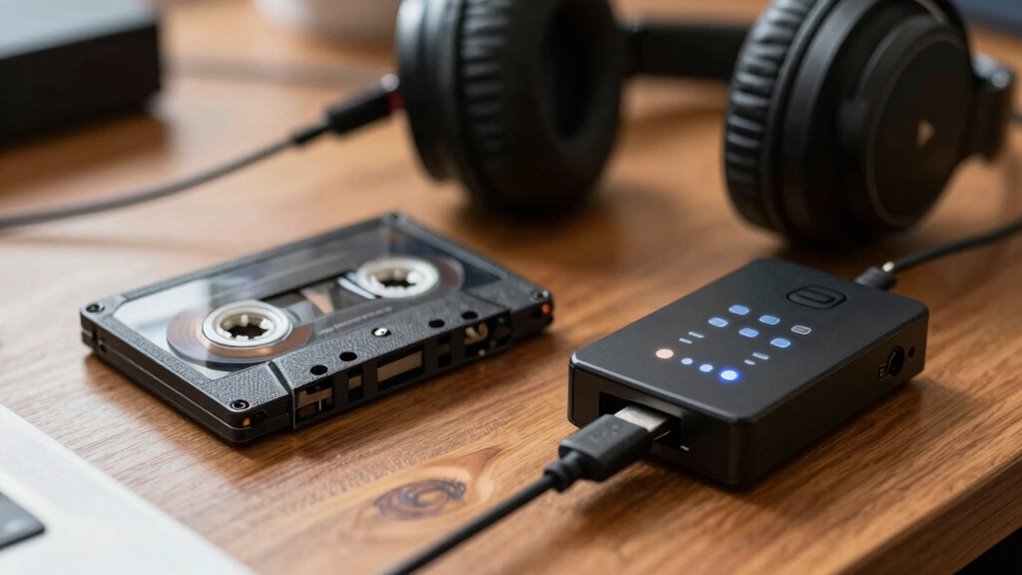
DigitPro USB 2.0 Audio Capture Card for Vinyl Records, Audio Grabber for Cassette Tapes to Digital MP3 Converter with Stereo RCA/3.5mm Music Interface, Support Mac & Windows 7/8/10/11/XP/Vista
Plug and Play: No extra power supply needed. Easily transfer analog audio (cassette tapes, LPs, radio) to USB…
As an affiliate, we earn on qualifying purchases.
As an affiliate, we earn on qualifying purchases.
Why Digitizing Your Tapes Preserves Quality and Memories
Digitizing your tapes is essential because it protects both your memories and the quality of your recordings. Over time, tapes degrade, risking the loss of cherished moments and important audio details. By converting them to digital formats, you preserve the nostalgia and emotional value tied to each recording. Digital files maintain high audio fidelity, ensuring your memories sound as clear as when they were first captured. This process also prevents issues like tape deterioration, warping, or damage caused by environmental factors. With digital copies, you can easily organize, back up, and enjoy your recordings without fear of losing precious moments. Additionally, understanding Free Floating can help you optimize playback settings for the best audio experience, ensuring your recordings sound their best in digital format. Ultimately, digitization safeguards your history, allowing you to relive and share your memories with clarity and confidence.

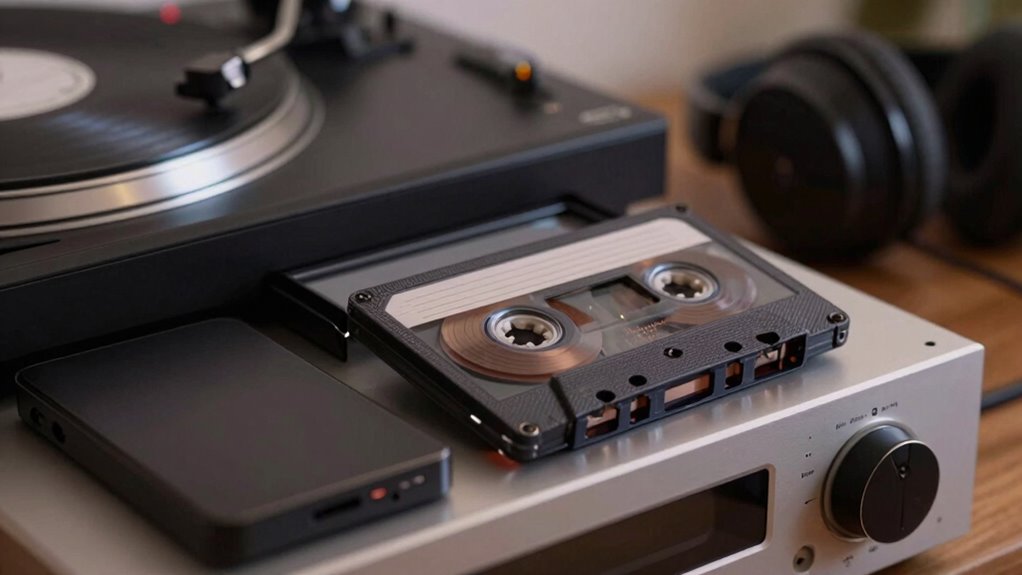
PyleUsa Dual Stereo Cassette Tape Deck-Double Cassette Recorder w/ MP3 Music Converter, RCA for Recording, Dubbing, USB, Retro Design – for Standard/CrO2 Tapes, Home Use
DUAL SPEED DUBBING: The dual stereo cassette tape deck features direct dubbing from cassette in two speeds. It…
As an affiliate, we earn on qualifying purchases.
As an affiliate, we earn on qualifying purchases.
How to Pick the Right Equipment and Software for Tape Conversion
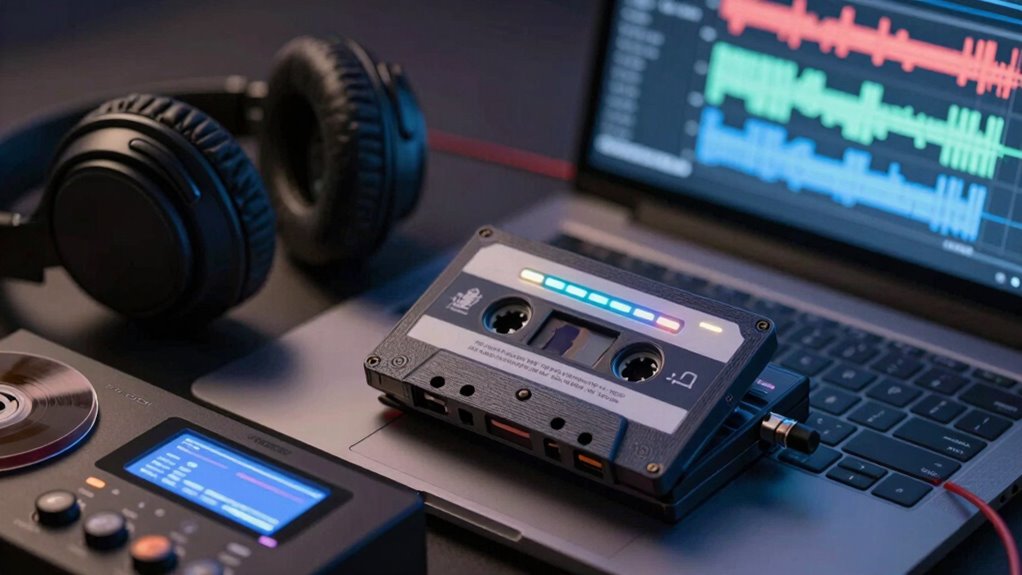
Choosing the right equipment and software is essential to ensuring a smooth and effective tape conversion process. Start by exploring various equipment options, such as audio interfaces, cassette decks, and analog-to-digital converters, that match your tape type and quality needs. Look for software features like noise reduction, equalization, and editing tools to enhance your recordings. Prioritize programs that are user-friendly and compatible with your system. Consider whether you need basic recording capabilities or advanced editing options. Budget wisely—there are quality options at different price points. Remember, investing in reliable equipment and versatile software will save you time and frustration, ensuring your tapes are digitized with clarity and preserved for years to come. Content formats can greatly influence the quality and usability of your digital files, so choose tools that support your desired output.
![WavePad Audio Editing Software - Professional Audio and Music Editor for Anyone [Download]](https://m.media-amazon.com/images/I/B1fcLEGCs6S._SL500_.png)
WavePad Audio Editing Software – Professional Audio and Music Editor for Anyone [Download]
Full-featured professional audio and music editor that lets you record and edit music, voice and other audio recordings
As an affiliate, we earn on qualifying purchases.
As an affiliate, we earn on qualifying purchases.
Preparing and Cleaning Your Tapes Before Digitizing

Before you start converting your tapes, it’s important to guarantee they’re clean and in good condition. Proper preparation ensures better sound quality and protects your equipment. First, inspect your tapes for signs of damage or mold, which can worsen with poor tape storage or neglect. Second, gently clean the tape surface using a soft, lint-free cloth to remove dust and debris. Third, ensure your playback equipment is well-maintained; regular equipment maintenance prevents issues that could damage tapes. Fourth, store tapes in a cool, dry environment to prevent deterioration. Taking these steps helps preserve your tapes and ensures a smoother digitizing process, giving you clearer audio and reducing the risk of equipment trouble. Additionally, paying attention to air quality considerations can help prevent dust and mold buildup on tapes and equipment. Controlling environmental factors can further safeguard your tapes during storage and handling.

136GB Digital Voice Recorder with Playback,9000 Hours Audio Recording Device,Voice Activated Recorder with Noise Reduction,A-B Repeat,Mp3 Player and Password for Lectures Meeting/Classes/Interviews
【PCM Recording and Automatic Noise Reduction】:This digital voice recorder is equipped with advanced dual noise reduction microphones and…
As an affiliate, we earn on qualifying purchases.
As an affiliate, we earn on qualifying purchases.
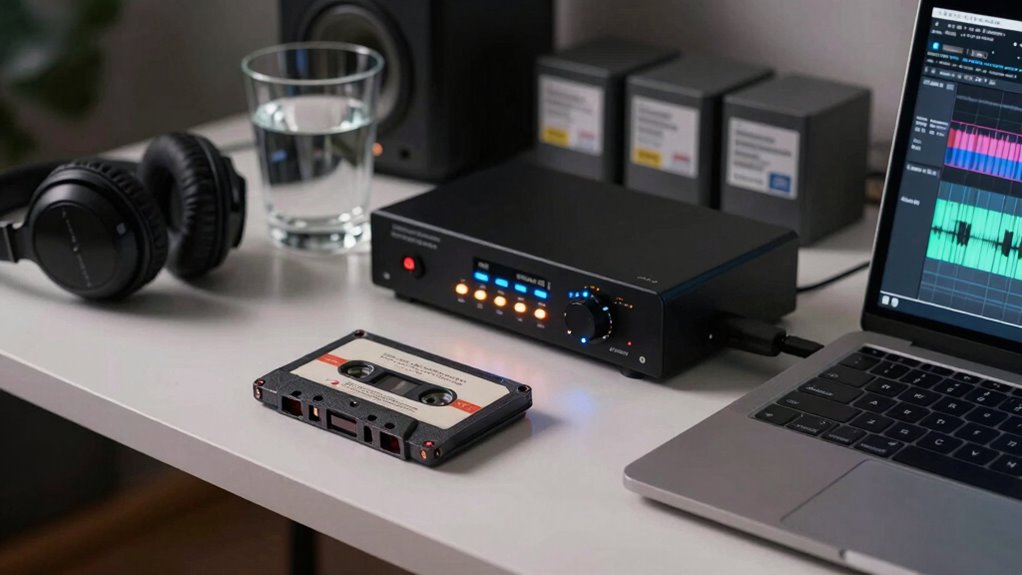
Step-by-Step Process for Digitizing Your Tapes and Ensuring Clear Sound

To guarantee your tapes are converted accurately and sound clear, you should follow a systematic step-by-step process. Begin by connecting your analog formats device to a reliable computer or audio interface. Make sure your tape player is well-maintained, as proper tape maintenance prevents issues like hiss or dropouts. Set your recording levels to avoid clipping or distortion, checking the audio input for clarity. Use quality software to record the audio in a high-resolution format, such as WAV. Play each tape from start to finish, monitoring sound quality throughout. Once recorded, save the files securely and label them appropriately. Regularly clean and maintain your tapes and equipment to ensure consistent, clear sound during the digitization process. Additionally, ensure your equipment’s audio settings are properly calibrated to optimize sound quality during recording.
Editing, Enhancing, and Protecting Your Digital Recordings
Once your digital recordings are saved, the next crucial step is editing and enhancing them to guarantee the best possible sound quality. You’ll want to focus on audio restoration to remove noise, clicks, or pops that may have carried over from the original tapes. Proper metadata management is essential for organizing your files, making future retrieval easier. Here are four key tasks to contemplate:
- Use editing software to trim unwanted sections and improve clarity.
- Apply noise reduction techniques to enhance audio quality.
- Add descriptive metadata such as titles, dates, and descriptions.
- Save backups to protect your recordings from loss or corruption.
- Ensure proper audio file organization to streamline access and management of your digital recordings.
Frequently Asked Questions
How Long Does Each Tape Conversion Typically Take?
The time it takes to convert a tape depends on its length and your conversion speed. For a standard 60-minute tape, it usually takes about an hour to digitize if you’re recording in real-time. Longer tapes, like 90 or 120 minutes, may take 1.5 to 2 hours. Remember, faster conversion speeds can save time but might compromise audio quality, so balance speed with clarity.
Can I Digitize Tapes Without Professional Equipment?
Think of digitizing tapes like painting a masterpiece—you don’t need a gallery full of expensive brushes. You can DIY with affordable equipment, like a basic audio interface and free editing software. While professional gear offers pristine quality, your simple setup still captures your memories effectively. With patience and care, you can transform old tapes into digital treasures, making preservation accessible without breaking the bank.
What Are Common Mistakes to Avoid During Digitization?
You should avoid rushing the process and neglecting audio quality or equipment calibration. Don’t skip cleaning your tapes or using the right cables, as poor connections hurt sound clarity. Keep your equipment properly calibrated to prevent distortion, and always monitor audio levels to avoid clipping. Rushing through steps leads to lower quality, so take your time, double-check settings, and clean tapes regularly to make certain of the best digital sound.
How Do I Store Digital Files for Long-Term Preservation?
Imagine stacking your favorite photos in a neat album; now, picture your digital files stored securely. To guarantee long-term preservation, choose stable file formats like WAV or FLAC for audio, and save copies across reliable storage media such as external hard drives, cloud services, or SSDs. Regularly back up your files, verify their integrity, and update storage media to prevent data loss, keeping your cherished recordings safe for years.
Is It Possible to Convert Tapes With Damaged or Degraded Sections?
Yes, you can convert tapes with damaged or degraded sections by performing tape restoration and audio repair. Start by carefully cleaning the tape, then use specialized software or hardware to repair scratches, dropouts, or other imperfections. While some damage might be irreparable, professional restoration tools can often salvage significant portions, allowing you to digitize and preserve the audio quality as much as possible.
Conclusion
Digitizing your tapes preserves both your memories and audio quality for years to come. Did you know that over 90% of old tapes degrade within 20 years if left unconverted? By following the right steps and using proper equipment, you can enjoy clear, lasting recordings. Don’t wait — start digitizing today to safeguard your priceless moments and guarantee they sound perfect for generations to come.


![New AI Tutor Achieves 0.71-1.30 SD Effect Size In Dartmouth Course [Pdf]](https://fatsil.org/wp-content/uploads/2026/07/new-ai-tutor-achieves-0-71-1-30-sd-effect-size-in-dartmouth-course-pdf-featured-260x140.jpg)